

Using ScrapSimple Paper Templates
(This tutorial was created using Photoshop CS5 but should work the same in Photoshop Elements)
For many digital scrapbookers, using ScrapSimple products can be quite intimidating. In this tutorial, I will show you how relatively easy and fun it is to create finished papers using a template from my Modern Messy paper templates. Once you get the hang of it, you will be pleased with how versatile and how much value you get out of your ScrapSimple products. They are versatile because you can customize the templates to suit your needs – and they are a great value because you can create many different looks using a single template!
Let’s get started!
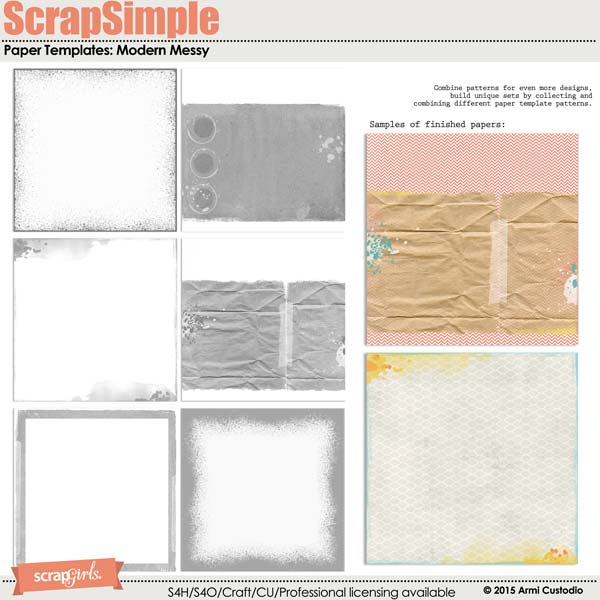
For this example, I am using ScrapSimple Paper Templates: Modern Messy template 1.

There are several ways to “finish” paper templates. I will discuss three of them in this tutorial.
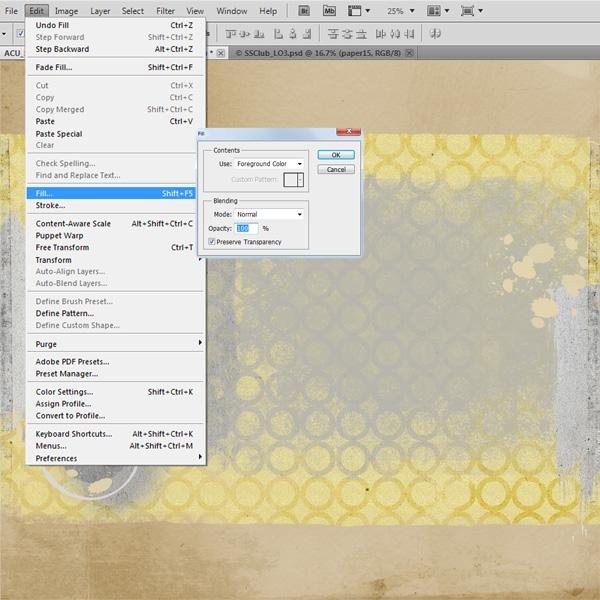
1. Color Fill
First, set your foreground color to the desired hue. Select the layer to be recolored, then click Edit > Fill > OK. This is the technique I used to color the paint splats in this paper template.
2. Hue and Saturation
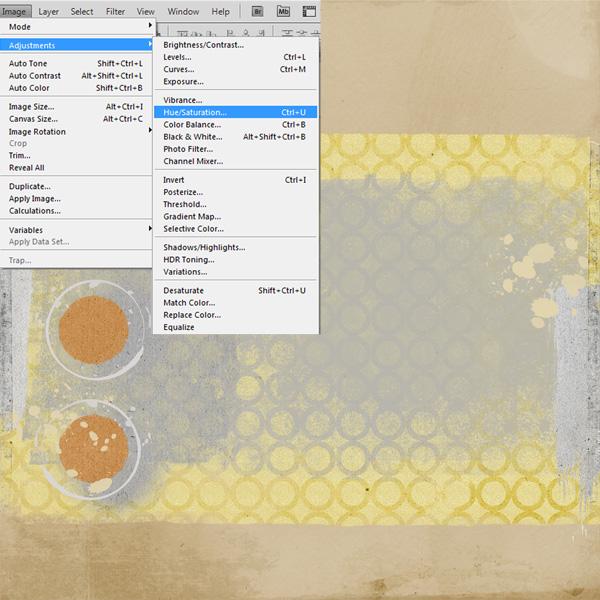
Notice that most of the layers in this template are textured. In order to retain these textures, you will need to use the Hue and Saturation sliders to recolor them.
Again, set your foreground color set to the desired hue. Select the layer to be recolored, then click Image > Adjustments> Hue and Saturation. Click on the box that says Colorize. Play around with the Hue, Saturation, and Lightness sliders. When you are happy with the resulting color, click OK. I used this method to color the textured circles.
3. Clipping Mask
You can also clip your favorite Scrap Girls papers onto the template layers. Simply position your paper above the template layer and hit Ctrl+Alt+G (in Photoshop) or Ctrl+G in Photoshop Elements. In my example, I clipped a striped paper to a paint block layer.
These three techniques are just some of the many ways you can finish your paper templates. Use these methods in combination to give your finished paper an artsy look!
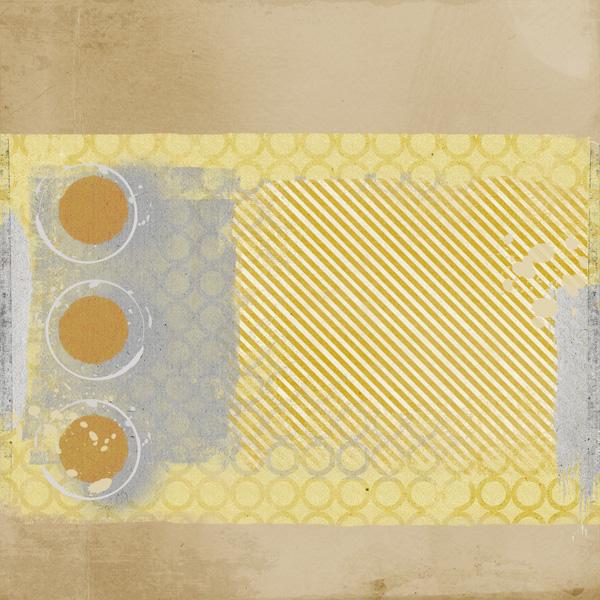
Here is my finished paper and layout.

Layout by Armi Custodio
![]()
PRODUCTS USED:
(Click on the image below to be taken to the product page)

ADDITIONAL PRODUCTS:
ScrapSimple Embellishment Templates: Taped and Stapled Frames
Brush Set: Manuscript
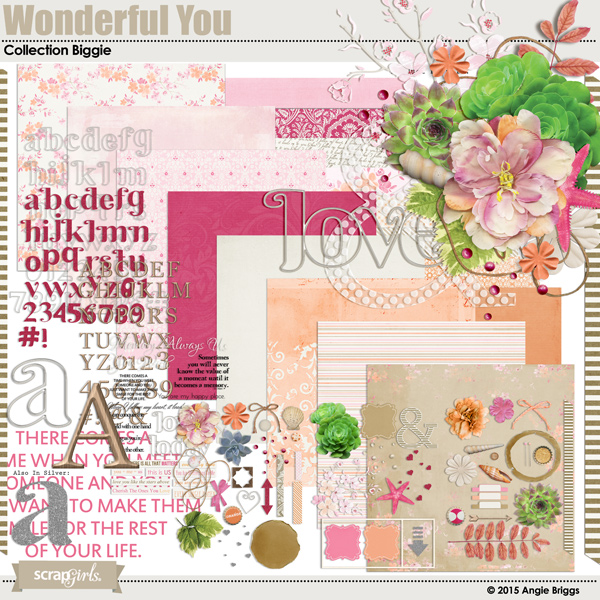
Wonderful You Paper Super Mini
![]()
Tutorial written by Armi Custodio


