
Using Custom Gradients with ScrapSimple Paper Templates
Note: Tutorial created using Adobe PhotoshopCS5
This tutorial will show you how to create custom gradients that you can use with any ScrapSimple Paper Template such as ScrapSimple Digital Layout Templates: Music Mania
We will be focusing on using the Sound Waves Paper. Begin by opening the file DCA_SSPaper_MusicM_SoundWaves.psd. If you are using software other than Photoshop or Photoshop Elements, you can assemble the PNG files that are included.

Next, let’s select the SoundWaves1 layer in the Layers Box. Right-click and choose Blending Options.
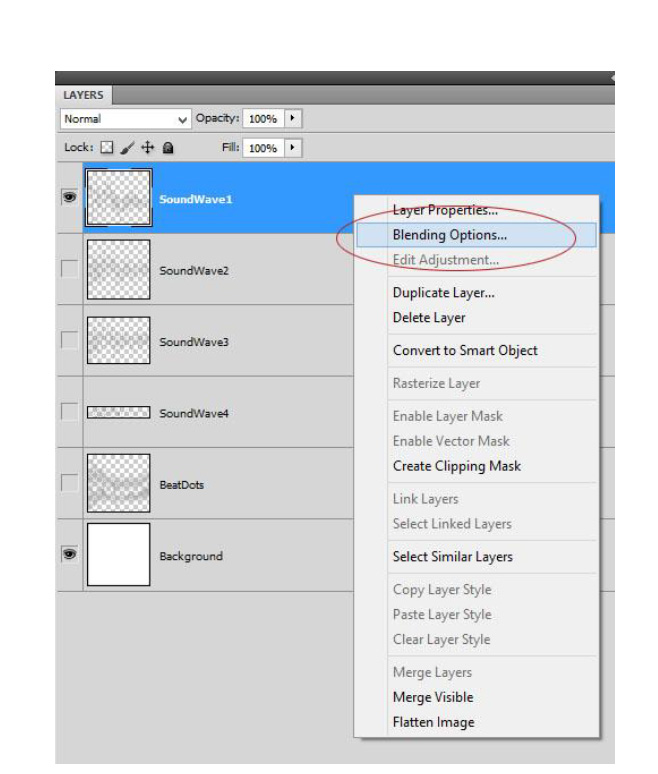
This will open up a Layer Style Box that has a multitude of choices of effects that can be applied to the layer. We will focus on the Gradient Overlay option. When you check the box on Gradient Overlay, you are presented with various choices to create a gradient on that particular layer selected. The Blend Mode is how it overlays onto the layers below it and how it affects the layers above it.
The Opacity tells how transparent the layer can be. Next is the Gradient. There are so many ways to use just this one function to create awesome effects.

When you click on the Gradient pull- down menu, it will show you a set of default preset gradients (unless you have previously altered the set). You can choose a preset gradient and then alter the colors to suit your design layout or you can create your own.
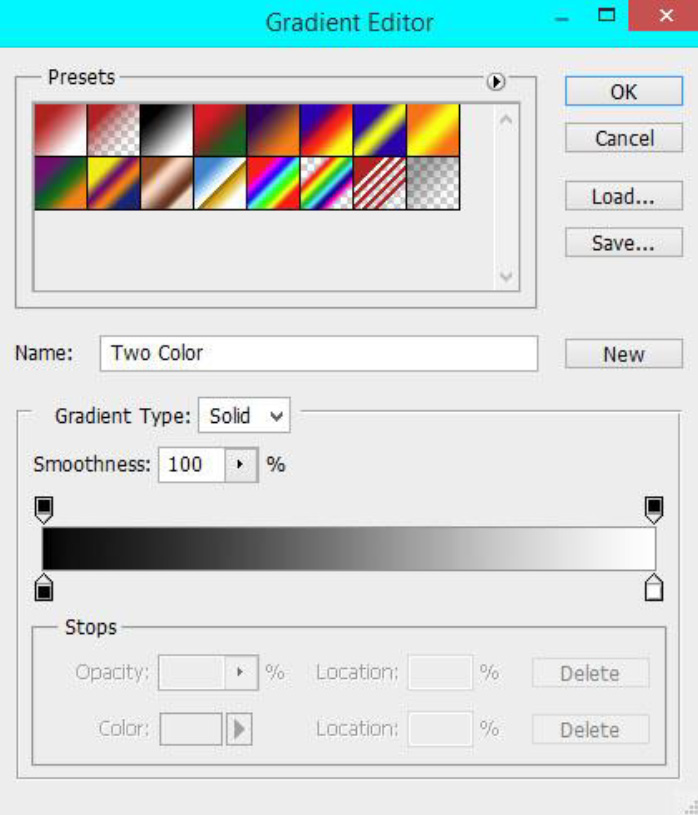
Be sure to play with the choices and numbers of colors, moving the sliders around and adding effects to the gradients. You can also go back to the Layer Style box and adjust the angle of the gradient, the types (the choices are Linear, Radial, Angle, Reflected and Diamond). Even click the Reverse button to see what happens. Have fun with the myriad of gradients that can be created. If you create one you particularly enjoy, you can save it! Save it as a gradient to load later as a gradient or you can save it along with the other Layer Options as a new Style.
Here I used the Rainbow gradient against a black background for a high contrast, colorful look:
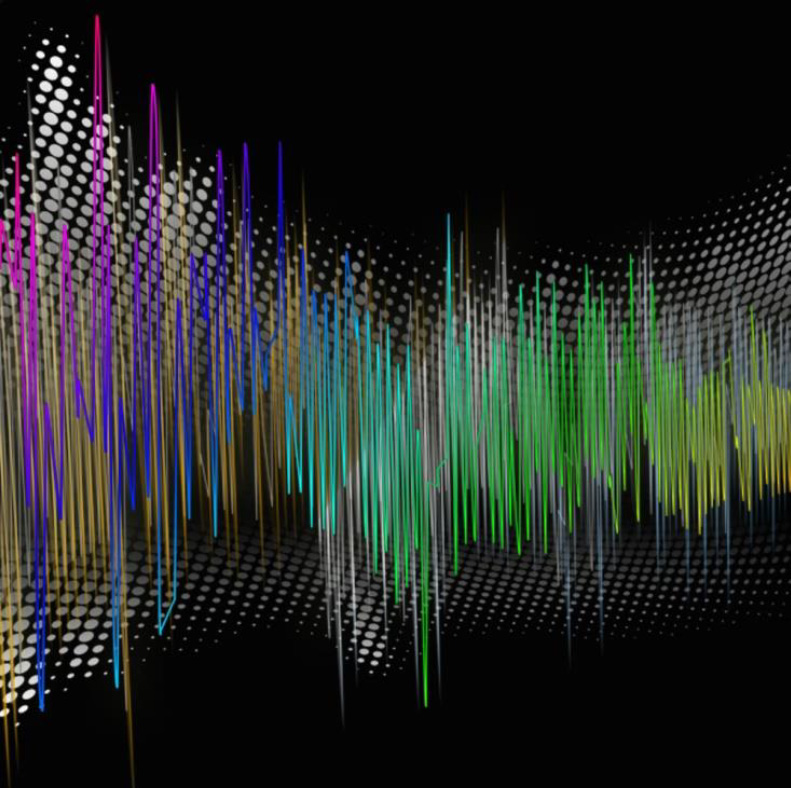
Here is a layout using a gradient on the Sound Wave layer of the Sound Wave paper.

I hope this tutorial has inspired you to be creative and play with the amazing number of types of gradients that can be applied to the Sound Wave and other embellishments and backgrounds in your layouts.
![]()
Tutorial written by Doris Castle