

Photos Inside Letters
Tutorial created using Photoshop Elements 9
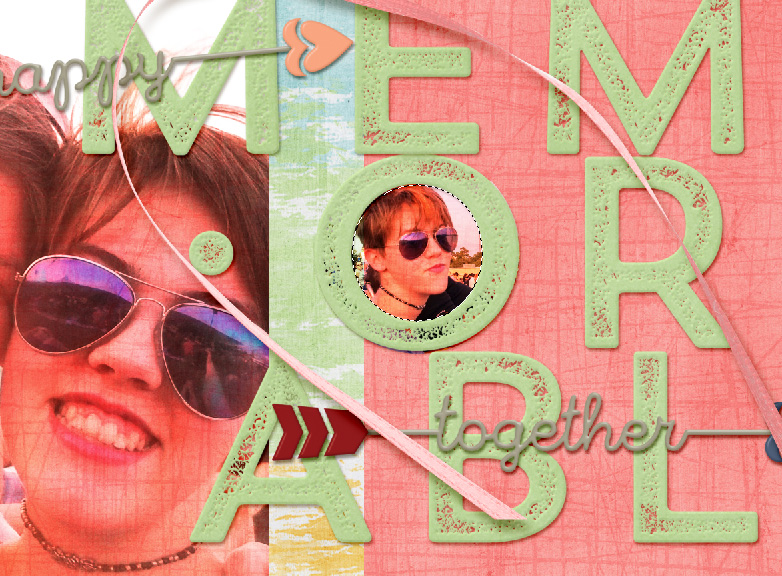
Oversized titles with photos integrated into them are a new, unique way way to make both the text elements and the photo the star of your pages. While there are many ways you can do this, here are two of my favorites.
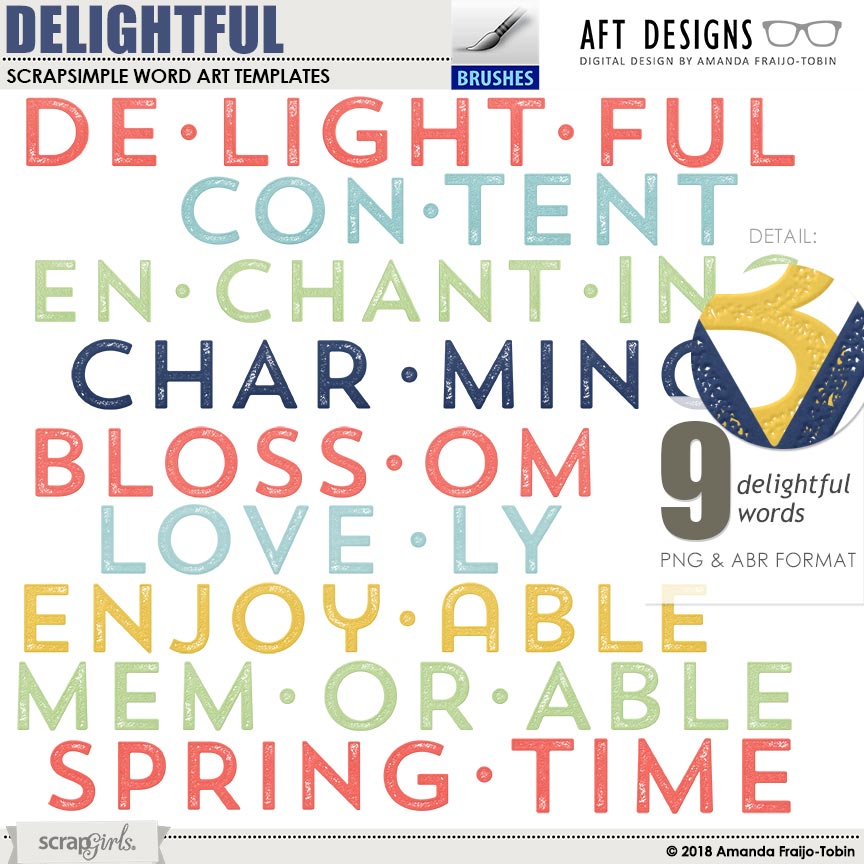
Premade Word Art:
Using word art or an alpha created by a designer is the easiest method. Most of the work is already done for you. The word art or alpha are already colored, textured, decorated, etc. They usually coordinate with a premade collection, which makes completing your scrapbook page quick and seamless. There are a few things to look for when picking a piece of word art or an alpha.
- Choose a word that has a letter in it with space for a picture.
The letter “O” is the obvious choice, but D, P, Q, etc. will also work. A simple, thick font will work better than a thin ornate one.
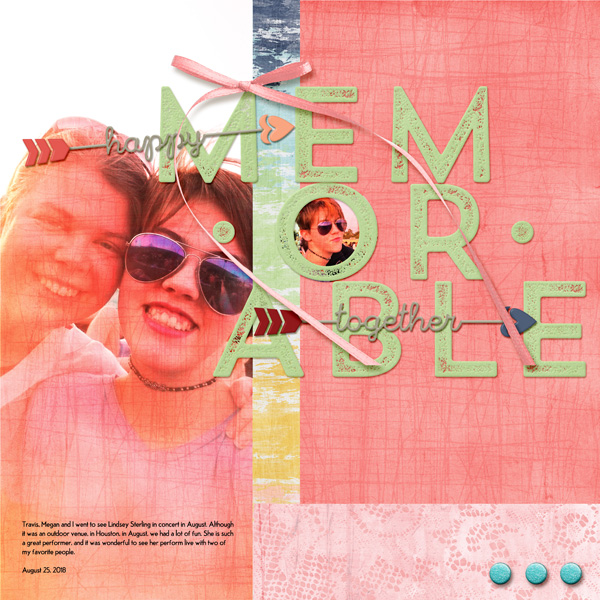
- Place your word art or alpha on your page.
Arrange it and size it to work with your planned layout. Position your photo below and make any adjustments to size or place so the main focus fits within the space in the letter you plan to fill.
- Make the word art layer active in the Layers palette and use the Magic Wand tool to select the inside of the letter you are filling.
Use the shortcut Shift+Ctrl+I to select everything outside of the selection. Make the photo layer active and press Delete. The parts of the photo that were not within the letter will be deleted.
Link or Merge the word art and photo, just in case you need to resize or move any of the layers.
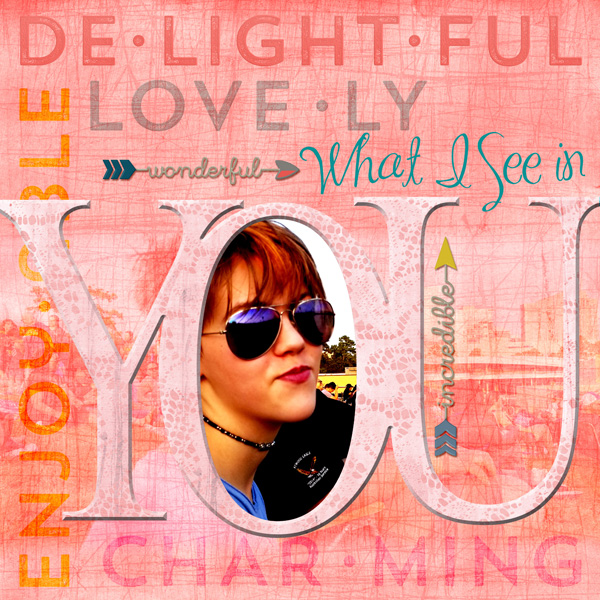
Custom-made Word Art:
Just like using premade word art or alphas, you can type any word you want, using any font that you want, and place a photo inside one of the letters.
- Type the word.
Size and arrange it on your layout.
- Decorate it.
Clip a paper to it, add a style, etc.
- Follow the steps above to combine the text with a photo.
Don’t forget about numbers as well. Numbers would make a fun birthday layout or a layout featuring a list of favorites.
Have fun experimenting with new ways to use word art and alphas, and be sure to post your creations in the Scrap Girls Gallery!
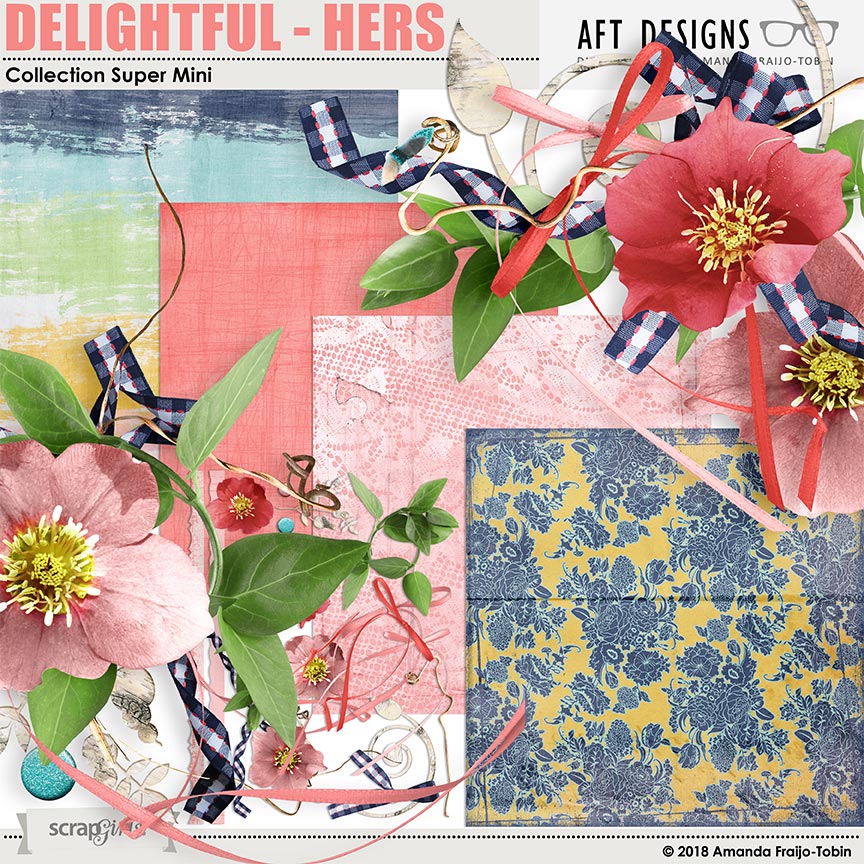
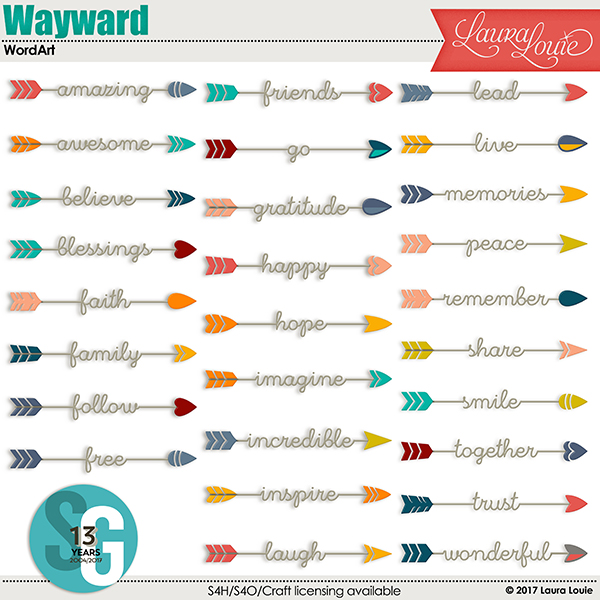
 (Click on images below to be taken to their product page)
![]()


