

Recoloring Papers & Elements Nondestructively
In this tutorial, you’ll learn how to create different background effects using the ScrapSimple Paper Templates: End Papers.
Products used:
ScrapSimple Paper Templates: End Papers
ScrapSimple Embellishment Templates: Little Reader Collage
- Create a New Document (File > New) at 12×12 inches at 300 dpi with a white background. In Photoshop Elements, click File > New > Blank
- Open the SRO_SSPaper_EndPapers_01.png and drag it onto your new document, pressing the Shift key before you let go of your mouse so that it lands in the
- Click on the Foreground Color Chip to open the Color Picker and select a color you would like for your end paper. I chose Hex Col: #8bab7F, which is an antique green. Click OK to close the Color
- On the End Paper layer, press Alt Shift Backspace (Mac: Opt Shift Delete) to fill the end paper overlay with your chosen color. Here’s what it should now look like on the white background.
If you duplicate the layer by pressing Ctrl J (Mac: Cmd J), it will make the color darker
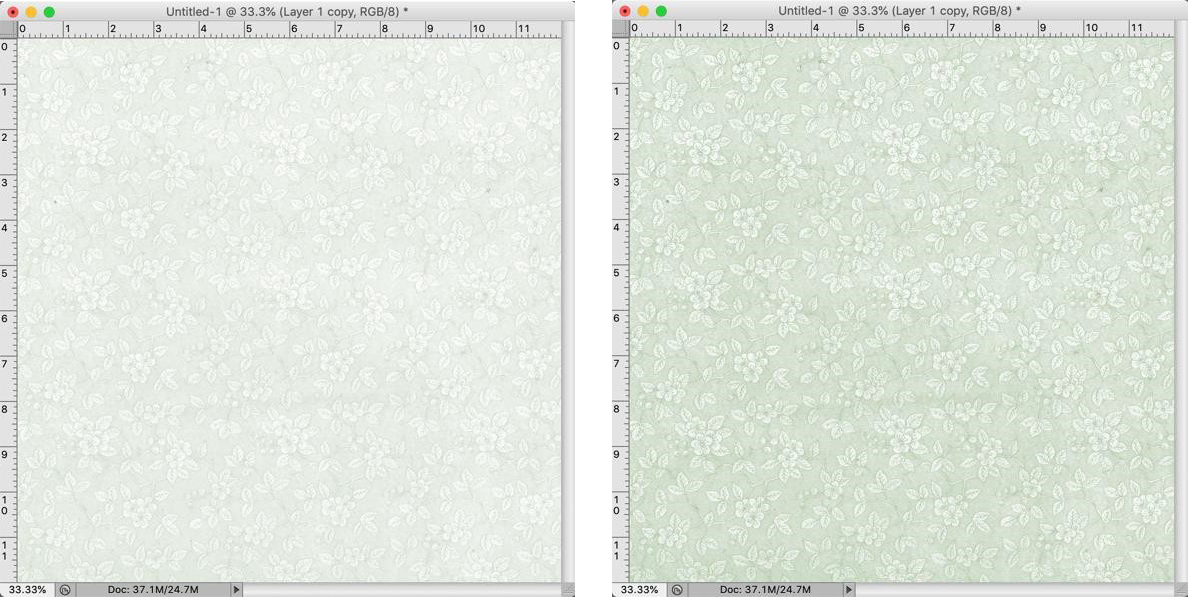
This is what we call a clean end paper.
If you would like one that looks aged, as if it were taken from a vintage book, then follow these steps:
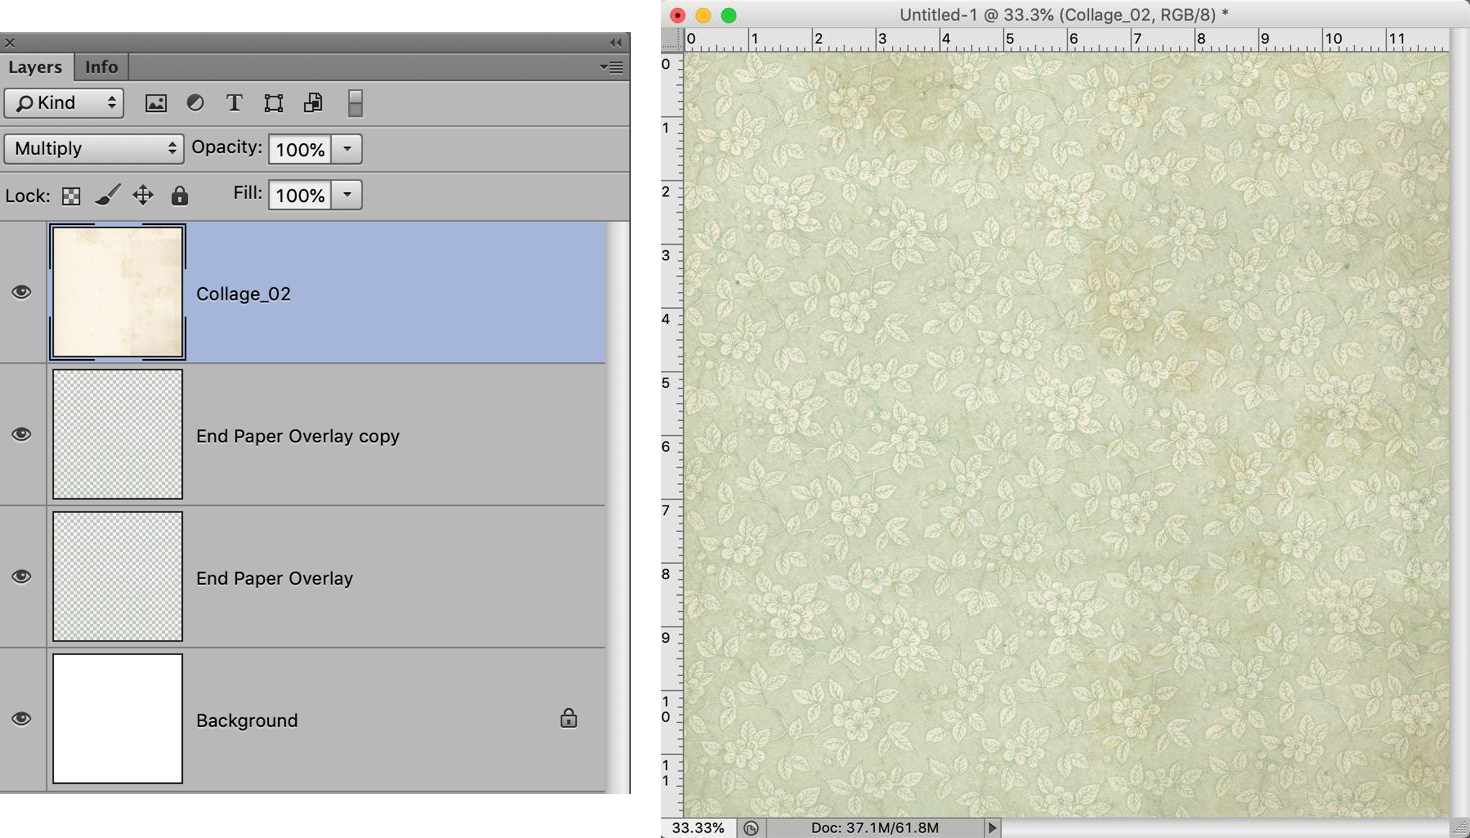
- Open SRO_LittleReaderCollage_02.jpg from the ScrapSimple Embellishment Templates: Little Reader Collage or any other vintage background that takes your
- Drag it onto the layer above your two end paper layers, and in the Layers panel, change the Blending mode to
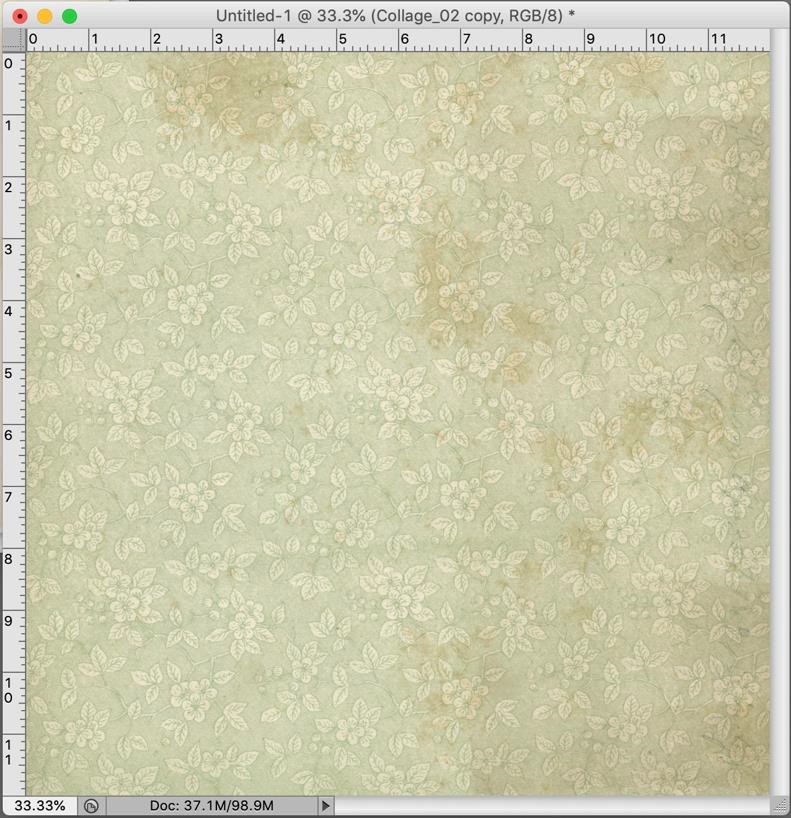
- You can go one step further and duplicate the Collage_02 layer to get a much darker, dirtier end paper. If you think you have gone too far, just lower the opacity of that second layer until you are happy with the
- Here’s an example of an Opacity at 60% for the second collage
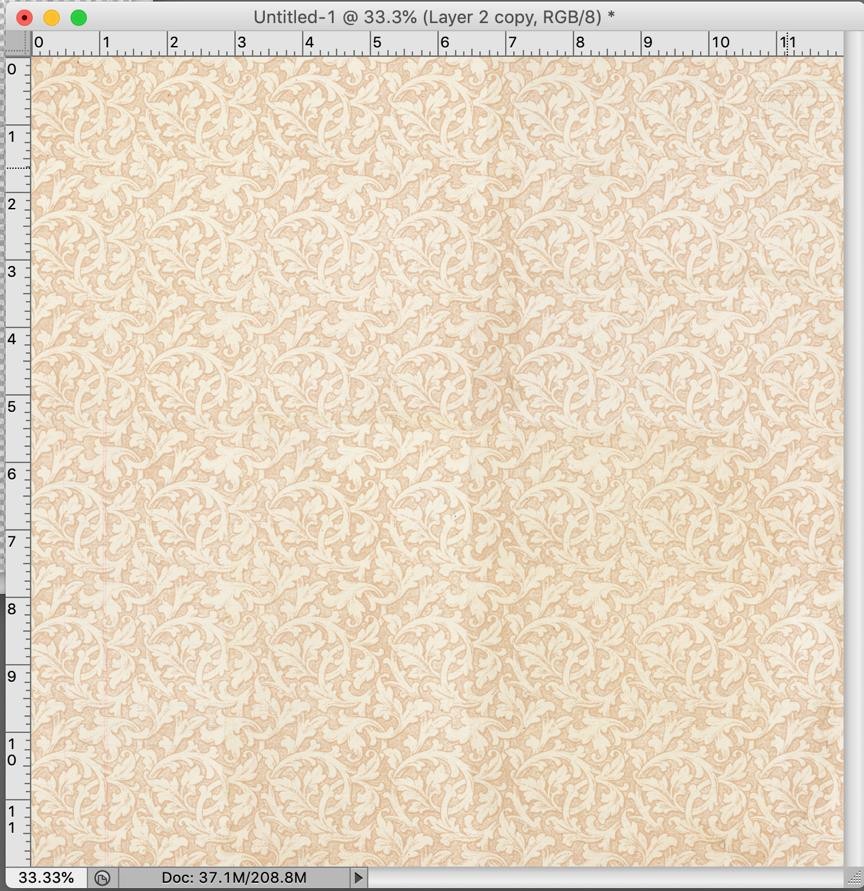
Here’s another example, using the original method above, of two end paper layers and one collage paper layer, with SRO_LittleReaderCollage_01.jpg and SRO_SSPaper_EndPapers_03.png. The Hex Code of the color used is: #da9c6b.
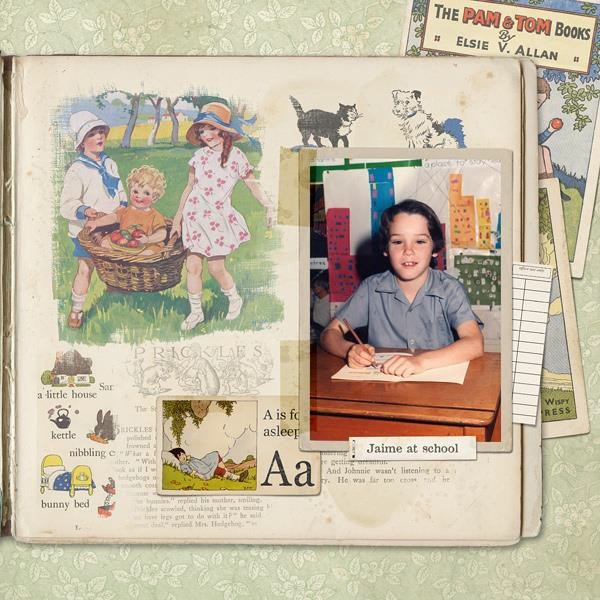
Here is my finished page using the vintage end paper as a background.
Happy scrapping!
![]()
Tutorial written by Susie Roberts


