

Add a Little Vintage to Your Photos
Tutorial created using Photoshop Elements 9
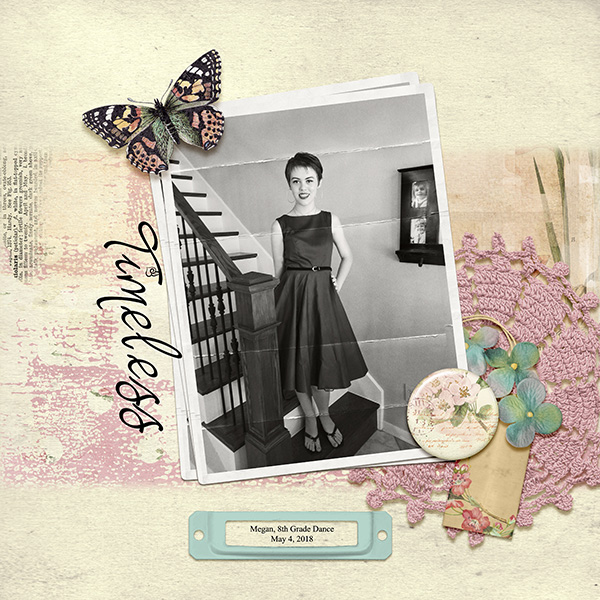
I love thumbing through the old photo albums that my mom put together. The vintage photos have a different type of light and color to them. The folds and torn edges have history. They were taken before mobile phones, before we could snap a hundred different selfies to get the perfect shot. It all adds up to giving each photo a feeling of importance, a feeling of being more than just another picture, a little moment of art.
I love taking special photos of my own and giving them a hint of that vintage charm. I know there are a million different apps and filters on our phones that we can play with, but I like to have more control over my edits. So when I want to add it to my pictures, I prefer to open up Photoshop Elements and make the changes there. Layer masks and Adjustment layers make it easy to get the look you want. And with a few ScrapSimple Styles, it is almost as easy as adding a filter on your phone – with much better results.
Here are a few of my favorite techniques to get that vintage look.
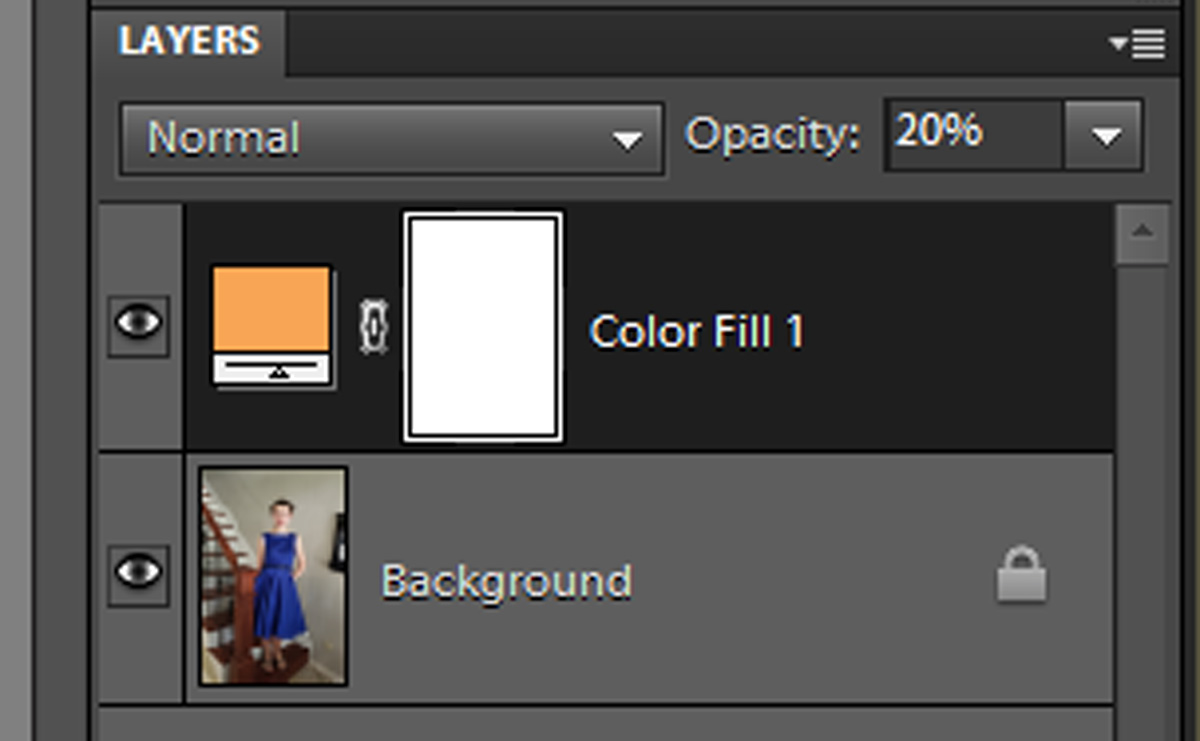
- Add a Solid Color Adustment Layer
This is the easiest way to change the look of a picture. Create a solid color adjustment layer and place it above the picture layer in the Layers palette. Clip (Ctrl+G) the layers together. Vintage photos usually have a slight yellow, brown, or orange cast to them so start with one of those colors.
Once you’ve picked your color, lower the opacity until you like the look – usually between 10-20% is enough to tint the picture without overwhelming it. You can also change the Blending mode, but I find that just lowering the opacity is usually enough to get the look I want.
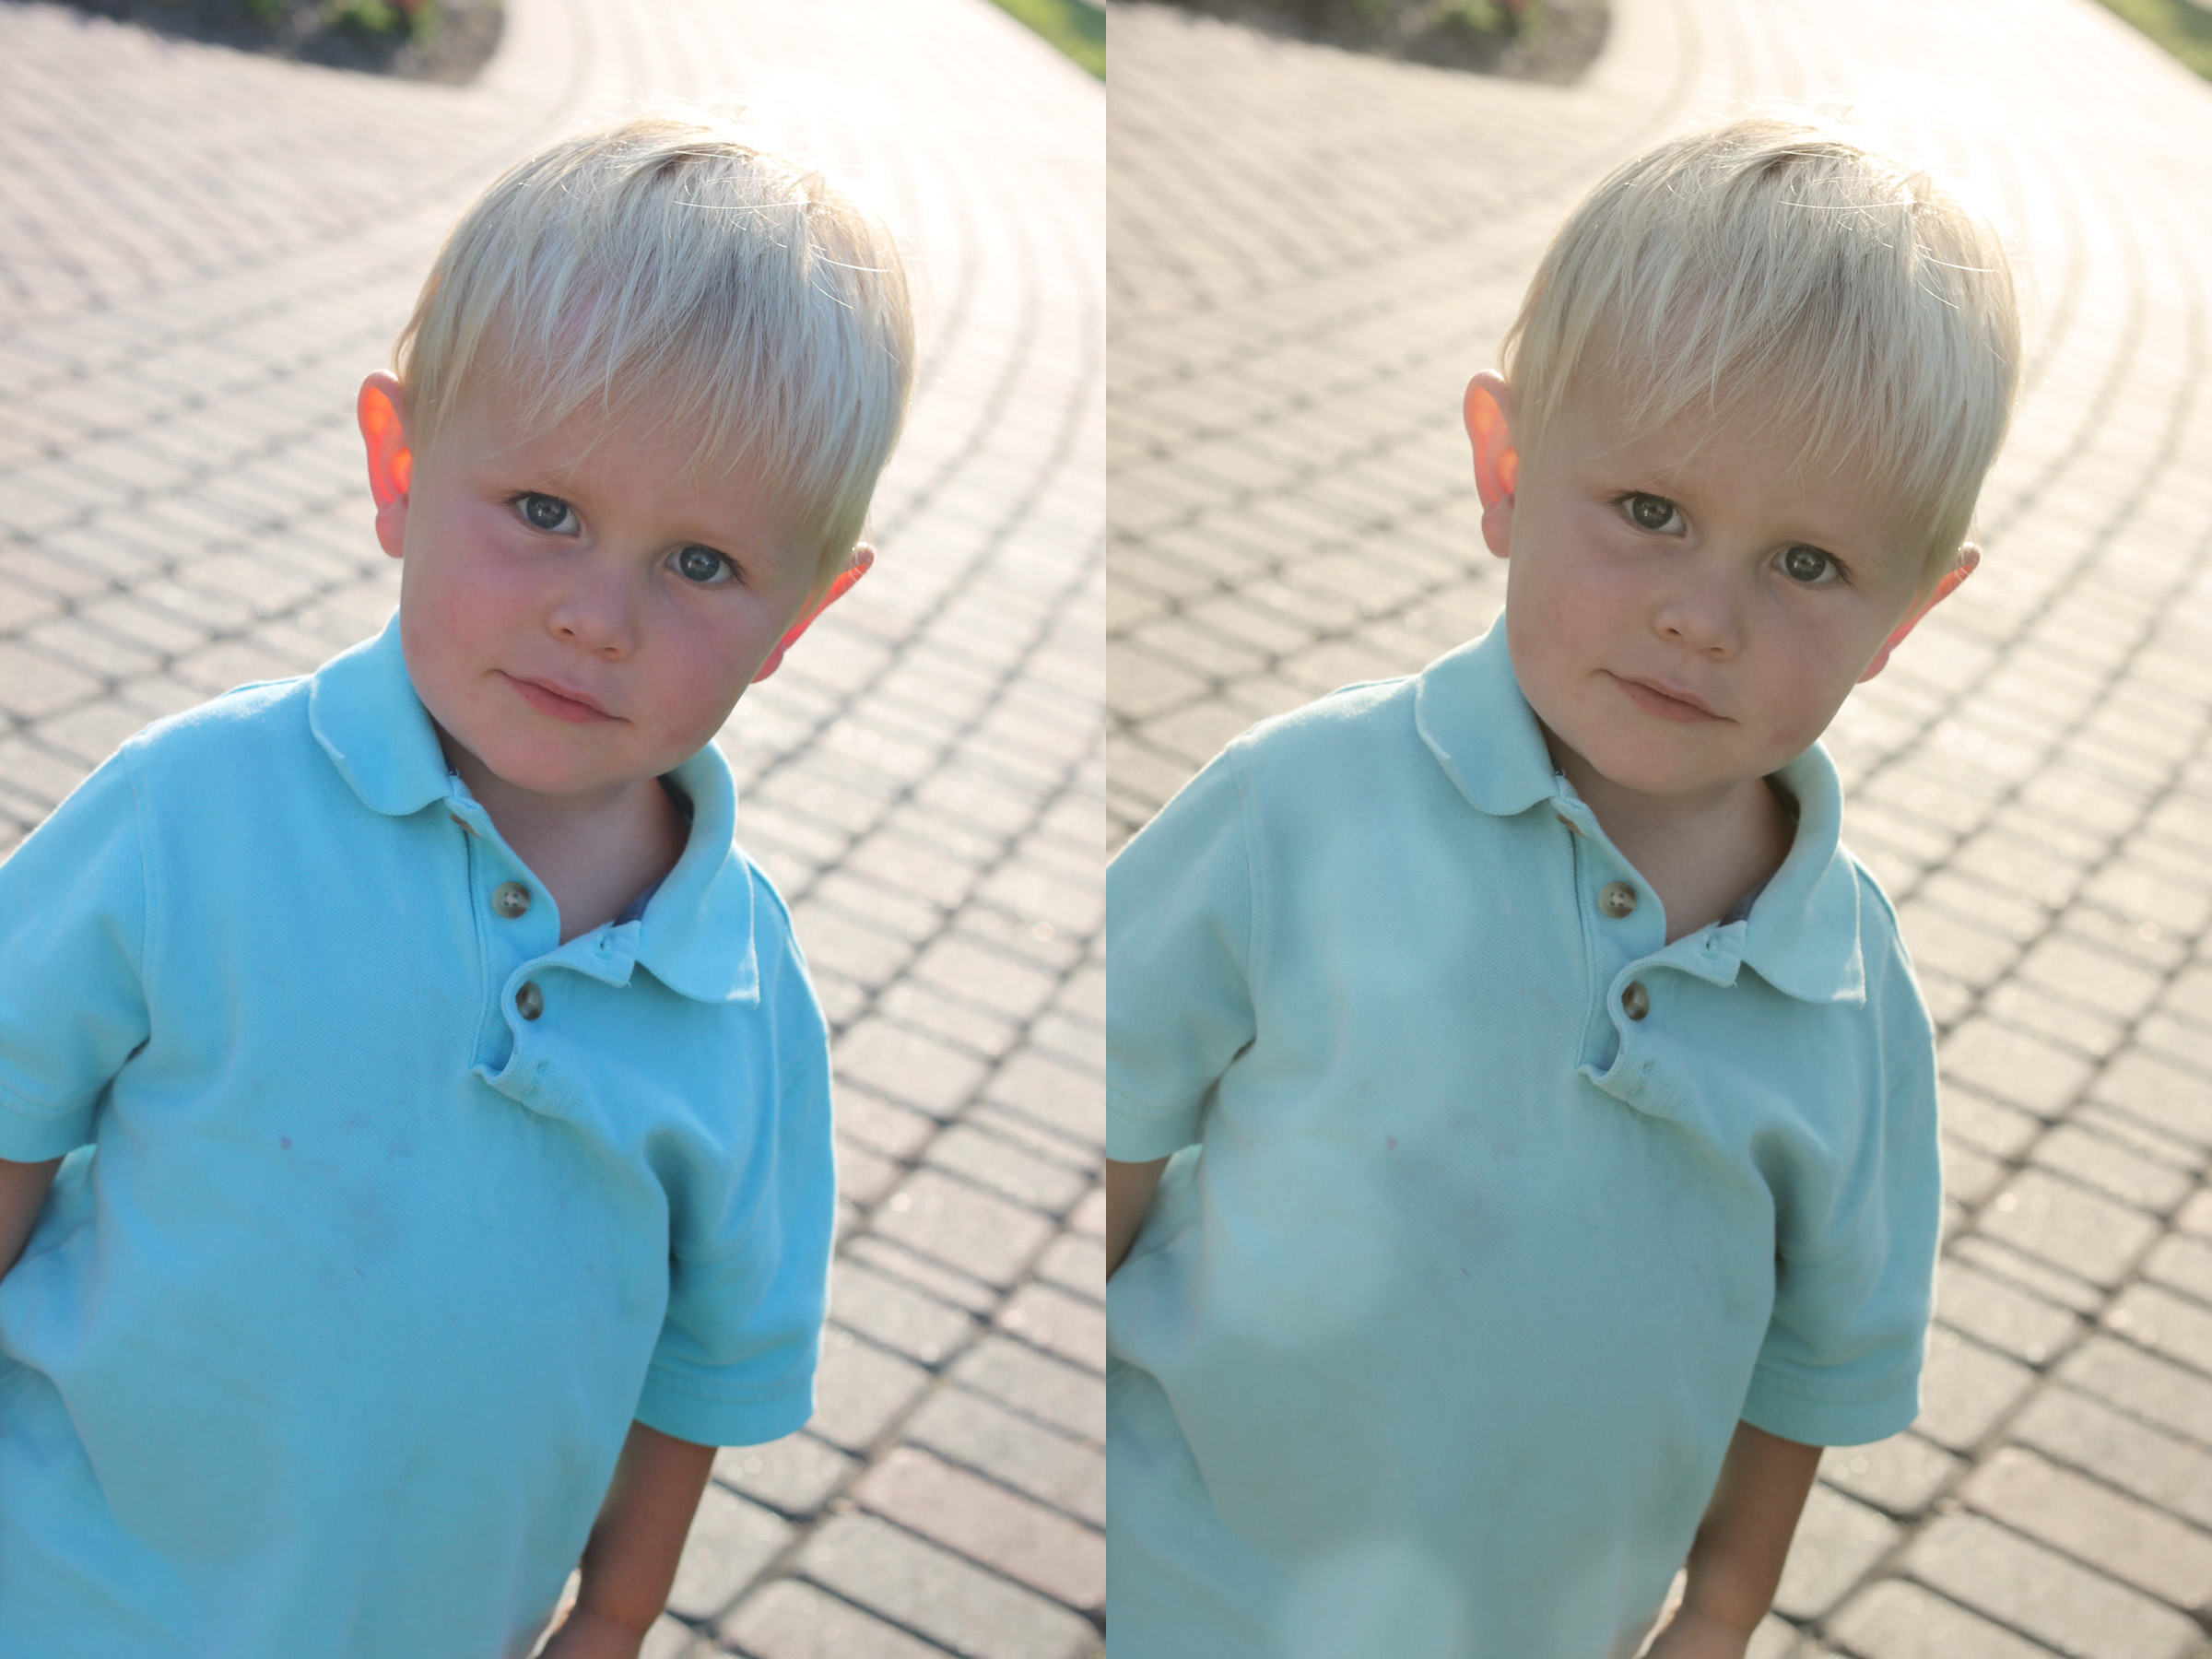
- Make your picture black and white or sepia.
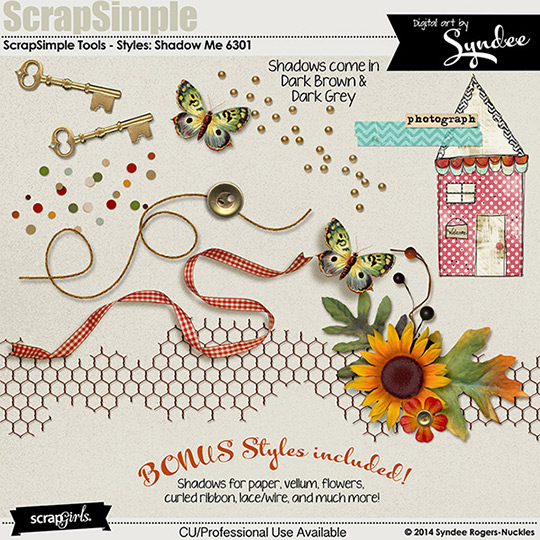
There are a number of ways to to this, but the easiest is with a ScrapSimple Style. Remember that you can soften the look of a style by first making a copy of the photo layer and adding the style to the top copy. Play with the opacity levels until you like the look.
In this example, the left is unedited. On the right, I used ScrapSimple Tools – Styles: Sepia Magic 6301, but I reduced it to 40%.
- Add some age.
Using a ScrapSimple Style or template to add some creases or tears to your photo will go a long way toward making it look old. And it isn’t difficult to do! I had a lot of fun playing with ScrapSimple Tools – Styles: Creased Frames 6301 to add folds at the click of a button.
- Give it a frame.
Old pictures often have a white or cream border around the edge. Sometimes they have rounded corners, sometimes they are square. And sometimes they have a fancy edge called a deckle.
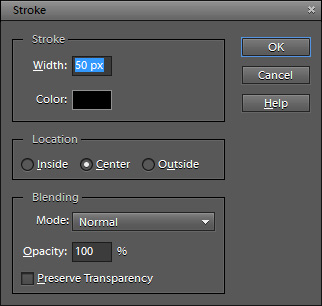
A simple frame can be added to a photo by first making the photo active in the Layers palette and then clicking Edit > Stroke (Outline) Selection. You can create the frame in the the window that opens. The Width option will be how thick your frame is – 50 px is a good starting point, but you may want it to be larger or smaller, depending on your project. By clicking on the Color box, you can select the color of your frame. The location setting will determine the corner type. Inside will give you square corners, outside makes rounded corners, and center will be slightly rounded.
If you want a frame with a deckled edge or with creases or tears or texture, there are many frames to which you simply clip your picture.
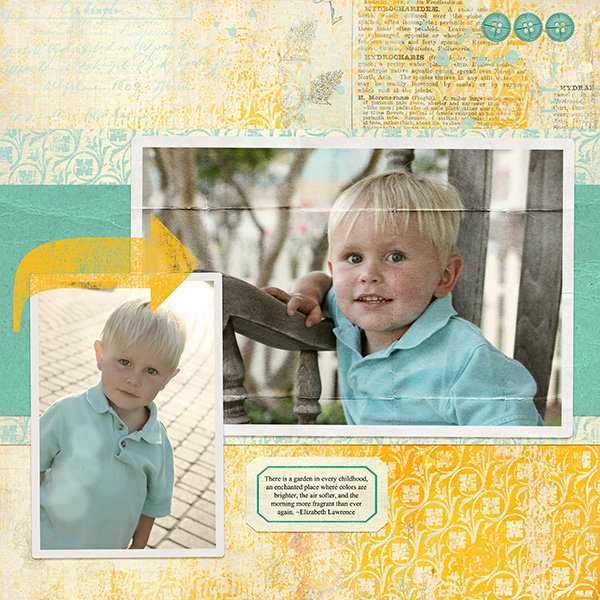
I hope this gives you some ideas on ways to turn your modern-day snapshots into little vintage pieces of art. I can’t wait to see what you come up with! Don’t forget to post your pictures and layouts in the Scrap Girls Gallery!
 (Click on images below to be taken to their product page)


![]()


