

Those of you that use Photoshop Elements are well aware of the frustrations caused when brushes you load or create disappear from the Brush Picker. Not to mention the inability to organize your brushes. That’s one of the huge benefits Photoshop has over Photoshop Elements. Although brushes can disappear from PS as well, it happens rarely compared to Elements. In Photoshop Elements as soon as you choose a different brush preset your loaded or custom brushes are gone.
Brushes can be permanently installed in Photoshop Elements. However, keep in mind that installing brushes in this manner can overload the program and cause it to slow down when opening, as well as clutter up your Brush Picker. Scrolling through a thousand different brush sets can slow you down and cause major frustration as well.
So what can be done? Well, I’ve come up with a sort of ‘work-around’, a way to permanently install my regularly used and most favorite brushes so they are easy to access. But it doesn’t slow down my computer or give me a million brushes to scroll through when looking for a particular brush! A win win in my book. It’s not perfect and takes a couple extra steps, but I think in the long run it’s totally worth it, certainly better than having to constantly re-load your brushes.
Normally we load our brushes through the Brush Picker and they land in whatever Preset Brush Set that we had open last. Once you use a brush from another set of brushes in the Brush Picker, your loaded brushes will disappear. What we are going to do is create a new Brush Preset that will permanently appear in the Brush Picker drop down menu.
PART 1: Create a Favorites Brush Set
The first thing we want to do is create a brush set that includes our favorite brushes, ones we know we’ll use on a regular bases. Keep in mind that you still should steer clear of having a ton of brushes in this set, the more you have the more likely it will be to bog down your program, and who wants to look through hundreds of brushes anyway?!
Step 1: Add Brushes to the Preset Manager
-
- Get the Brush tool.
- In the Tool Options, open the Brush Picker and open the fly-out menu and choose Preset Manager.
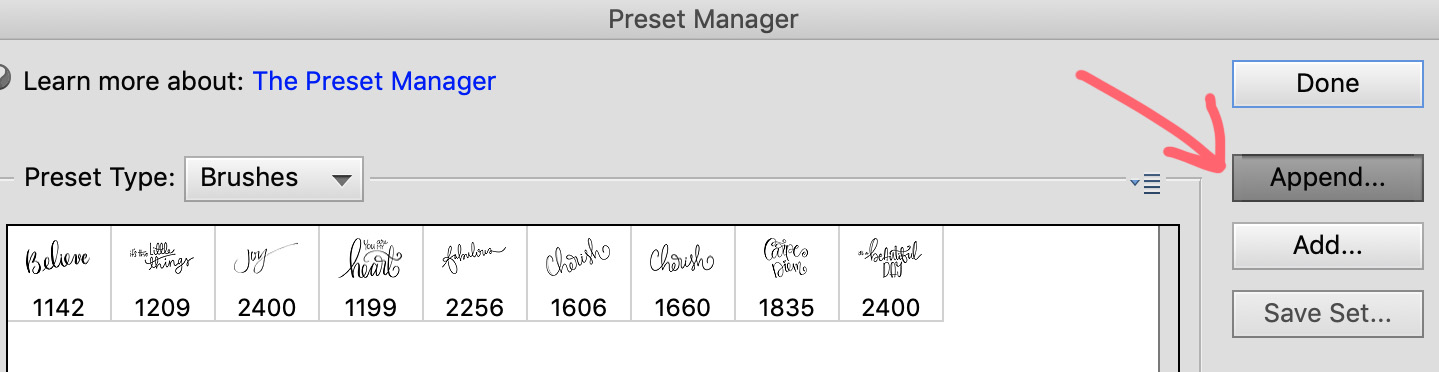
- In the Preset Manager, choose Add.
- Navigate to the .abr brush file you want to include in your favorites, double click on the file to load it.
- To add additional brushes, click Append and then navigate to the .abr brush file and double-click on it to load.
-
- Continue the step above to add additional brushes, making sure to choose Append.
- You can delete unwanted brushes by clicking on the brush in the the Preset Manager and then clicking on delete.
Step 2: Save the Brushes
-
- Once you are happy with your brush selection, click on the first brush in the Preset Manager, hold down the Shift key and select the last brush to select them all.
- Click on Save Set and navigate to an easy to find location and name it something like Favorites and click Save.

-
- Close Photoshop Elements.
PART 2: Add Brush Set to Brush Presets
Step 3 : Navigate to the Adobe Photoshop Program File
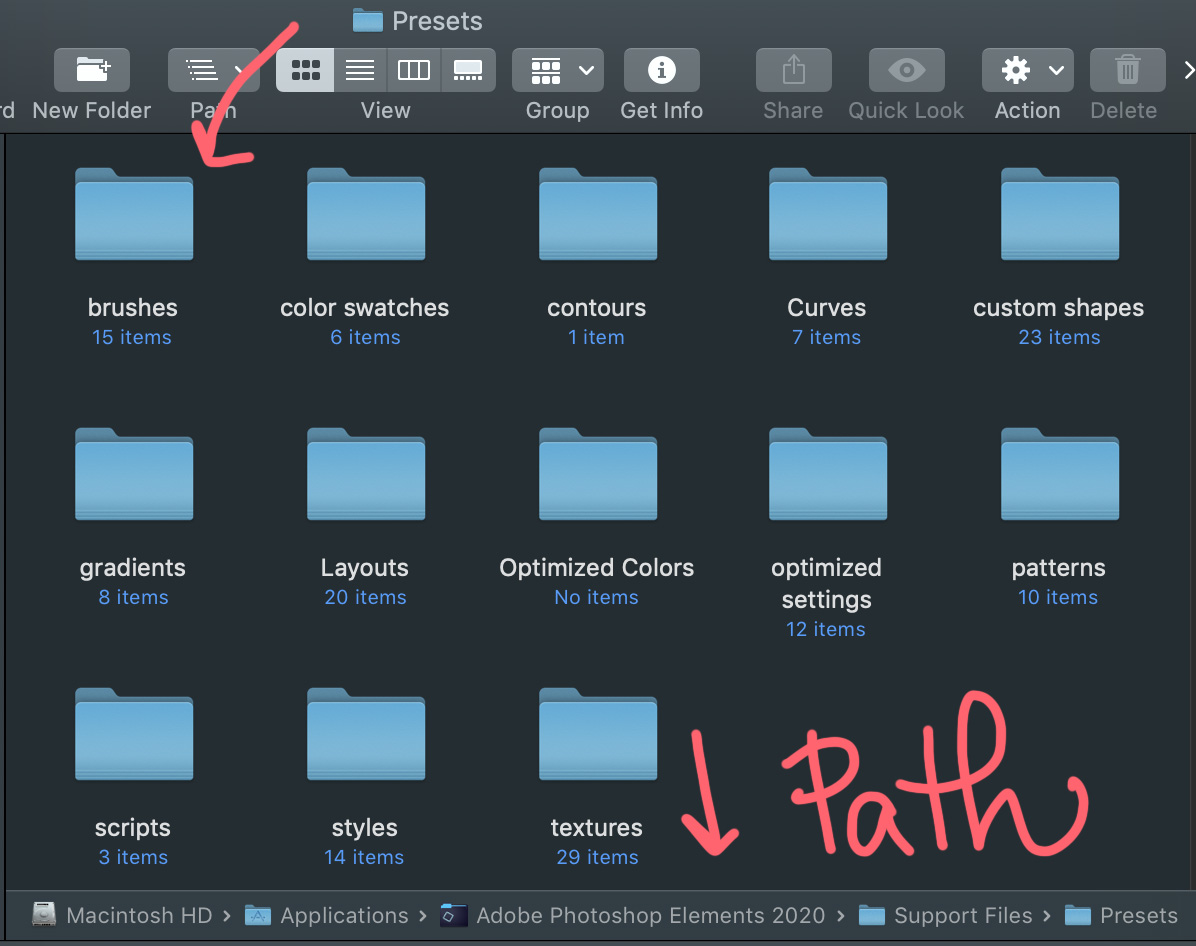
Navigate to the Photoshop Elements Program File following one of the paths below:
MAC:
Applications > Adobe Photoshop Elements (Version #) > Support Files > Presets > Brushes
PC:
C: > Program Files > Adobe > Adobe Photoshop Elements (Version #) > Presets > Brushes
Step 4 : Create a Favorites Folder
-
- Once you are inside the brushes folder, create a new folder for the brushes you would like to permanently add to your Brush Library. Name it something like Custom Brushes or Favorite Brushes.
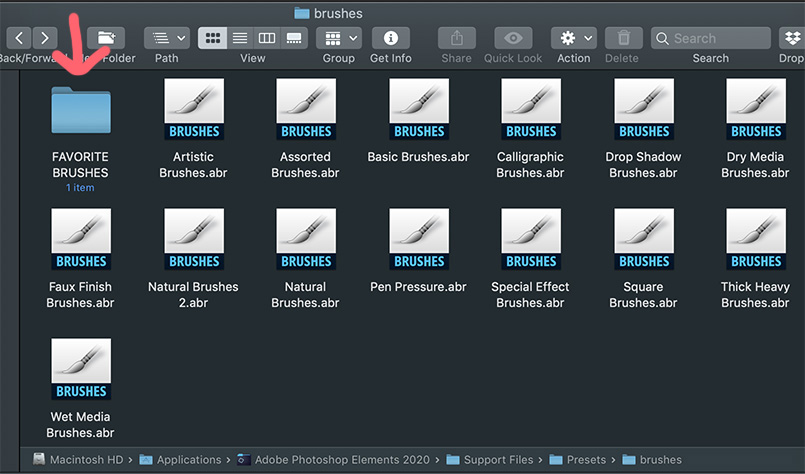
- Once you are inside the brushes folder, create a new folder for the brushes you would like to permanently add to your Brush Library. Name it something like Custom Brushes or Favorite Brushes.
Step 5 : Add Your Favorites Brush Set from Part 1
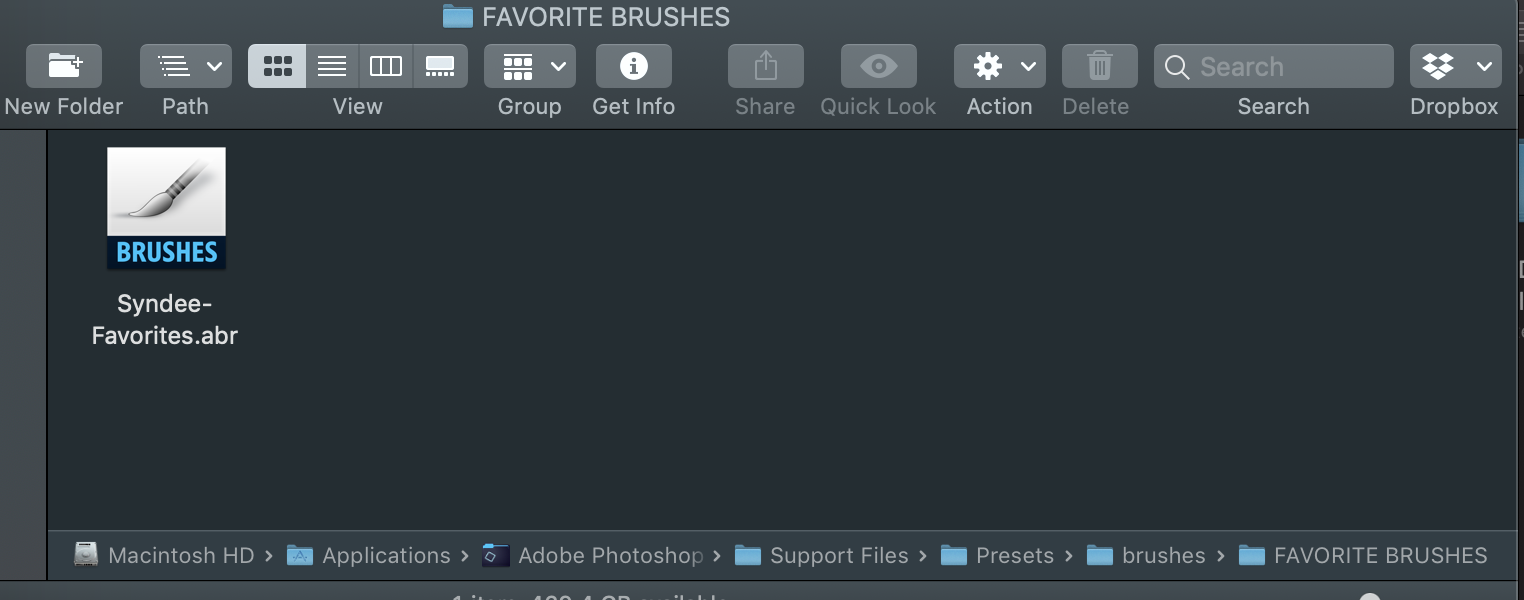
Add the favorites brush set you created in Step 1 to your new folder in the brushes preset folder by doing one of the following:
1- Drag and drop the .abr brush file into your new folder.
2- Copy the .abr brush file (Ctrl C or Cmd C on a Mac) and then paste (Ctrl V or Cmd V on a Mac) into your new folder.
Step 6: Open Photoshop Elements
-
- Open Photoshop Elements.
- Get the Brush tool.
- In the Tool Options, open the Brush Picker and your new favorites brush set should show up!

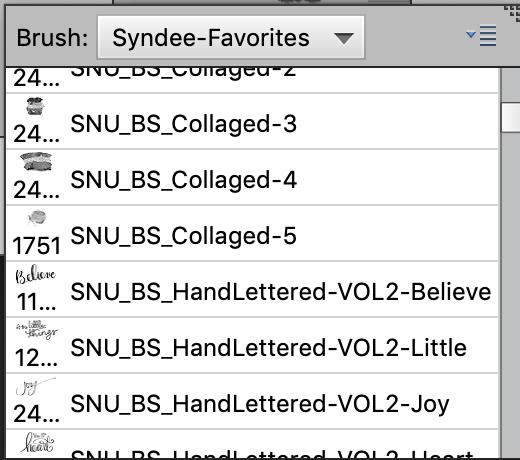
No more disappearing favorites! And never fear, if you get tired of any of the brushes you saved into your set, just follow the steps in Part 1 to create a new set and follow Part 2 to install it. Make sure to delete the old brush set out of your favorite folder.


Thank you soooo much! I’m pretty new to PSE and couldn’t figure out how adding brushes work, and this helped immensely. My main question now is when they ask if you want to save the changes to a brush set when you go to use a different one – I never know what to click!
Unless I make a change to a brush set, I always say no