

Are you looking for a quick, personalized gift for family and friends? If hearing someone say they are creating calendars for family for the holidays has you running for the hills then this is the tutorial for you!
Recently I have been dipping my toe in the ‘minimalist’ trend. Now, don’t go panicking on me! I will always love chaotic and complicated layouts and artwork filled with lots of goodies! LOL But I do love clean and graphic images and designs, so I thought that would be the best direction to go with my calendars this year. So join me on this fun and hopefully quick and uncomplicated tutorial!
Step 1: Create a new 11×8.5” document, at 300ppi with a white background. This will be our master calendar template.
Next, we are going to create guides that will help us create our calendar and keep images and elements from being too close to the edge. There will be two calendar months per page so that you will only have to print 6 pages per calendar.
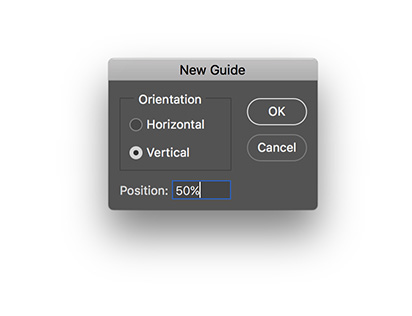
Step 2: In the Menu bar, choose View > New Guide. In the dialog box choose Vertical and enter 50% into Position. Click OK. This center line divides our two calendar pages.
Step 3: In the Menu bar, choose View > New Guide. In the dialog box choose Vertical and enter .25in into Position. Click OK.
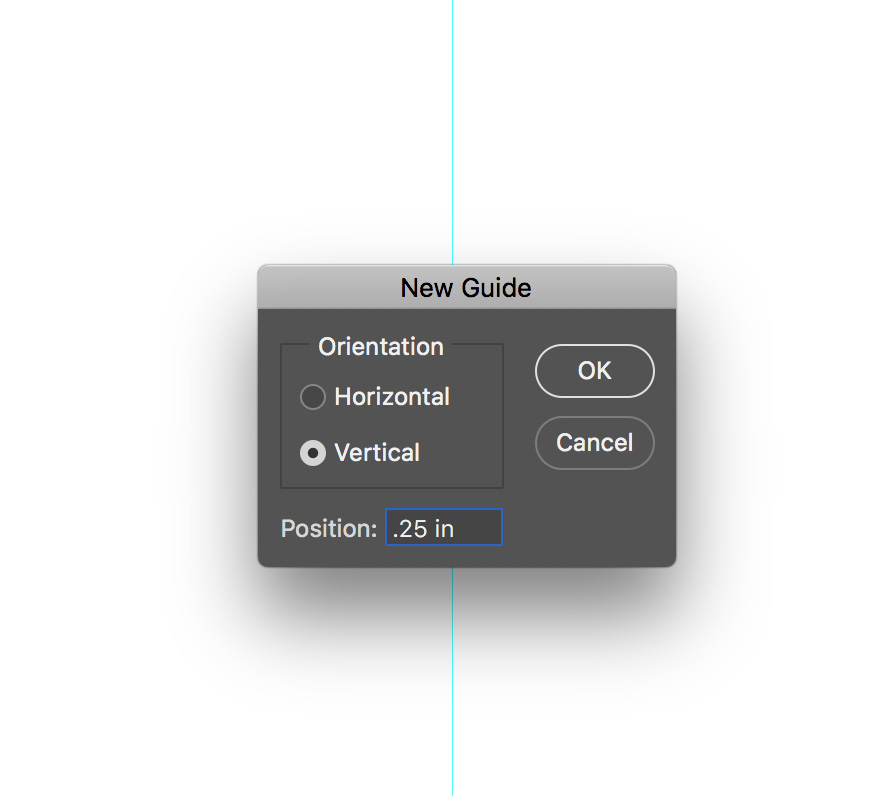
Step 4: Repeat the above step and enter 10.5in into Position. Click OK.
Step 5: In the Menu bar, choose View > New Guide. In the dialog box choose Horizontal and enter .25in into Position. Click OK.
Step 6: Repeat the above step and enter 10.5in into Position. Click OK.
The area inside of the guides is where we want to create our calendar. This will insure that it prints without being ‘cut off’. You can however, choose Borderless printing if your printer has that capability and then that shouldn’t be an issue. I like having the white space around the edges so I like to keep my elements inside the guides.
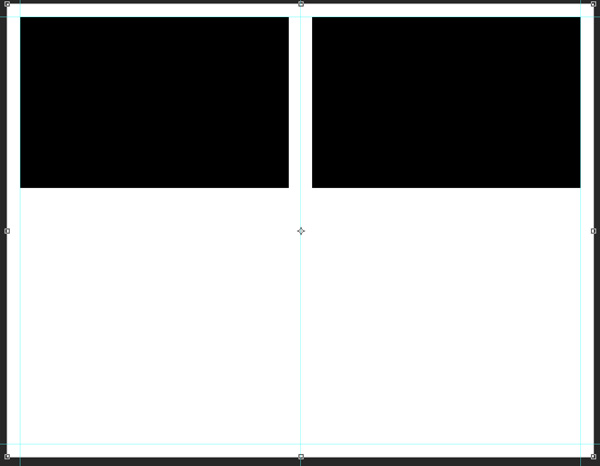
Now we’re going to create two rectangles that can be used as photo masks, but for this tutorial we are using these to signify, roughly the area we add our elements to.
Step 7: Make sure you have black as your Foreground color. Get the Rectangle Tool. Click on your page and in the dialog box enter 5in for the Width and enter 3.5in for the Height. Click OK. Move the rectangle up so that it sits up snug against the top left and far left guides. Press Cmd J (PC: Ctrl J) to duplicate the layer. Move the copy over to the right side and nudge up against the far right Guides.
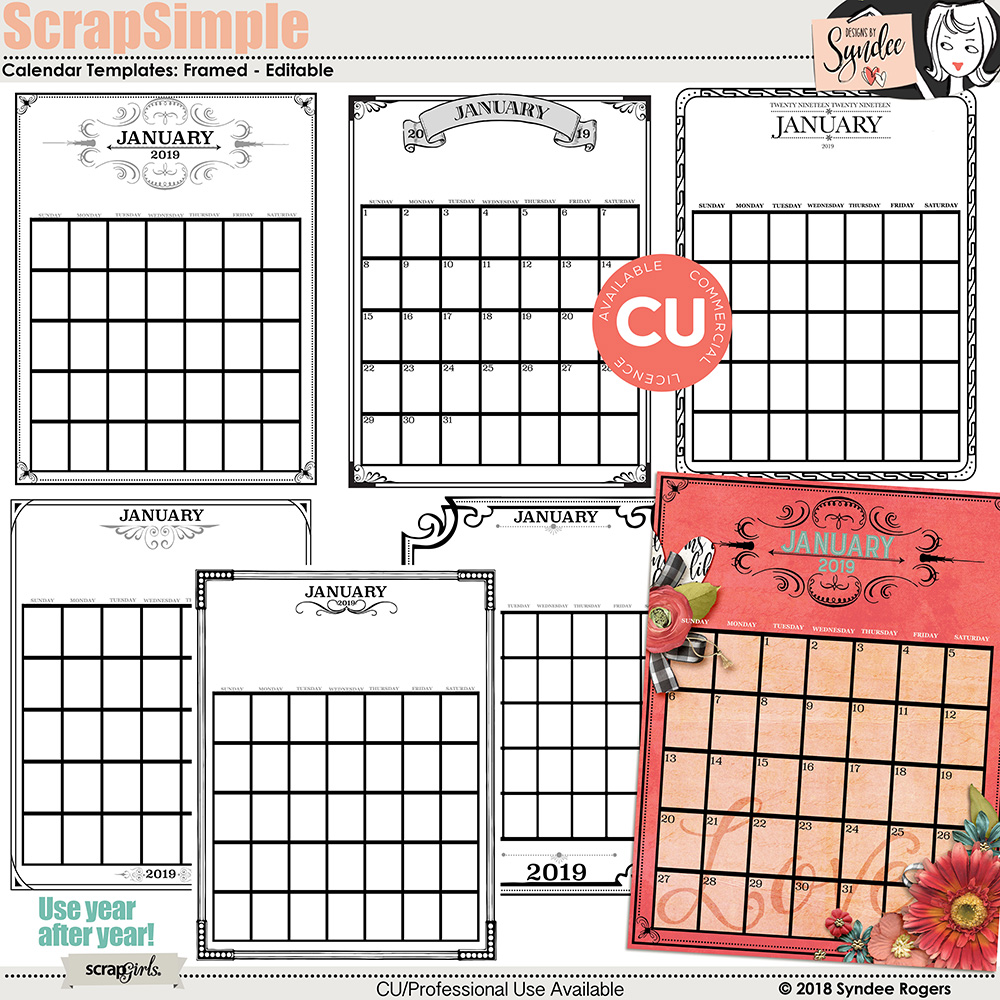
I am using the dates and days of the week from one of my calendar sets: ScrapSimple Calendar Templates: Framed. Using calendar template components are a great way to mix up your calendar designs and help keep your calendar making ‘quick’.
Step 9: Grab the dates and days of the week from a calendar template. (Or you can create your own.) Resize the days and dates to fit on the left side of your calendar. I like to group or link my days and dates together to make them easy to move around. Once you are happy with the size and placement, duplicate and drag over to the right side and position. You can now edit the font and size if desired.


Step 10: Save your new calendar templates as a psd file. Make a duplicate copy and close the original.
Helpful tips:
– Create a quick calendar folder on your computer. Place your template inside. Gather kits, templates, graphics, images and ideas before you sit down to create your calendar.
– Jot down notes on what you want to use for each month. Remember to keep it fairly simple. Once you have created a few of these ‘quick’ calendars it will be easier to create more elaborate versions in the future.
– Make six copies of your master calendar template and save them in your folder. Name them something like this : Jan-Feb2019, Mar-Apr2019 etc.
– You can take organization even further by creating folders for each calendar page inside your main quick calendar folder. Then place elements and notes you want to use for each 2 month calendar spread inside. This will help keep your focused on each 2 month calendar spread.
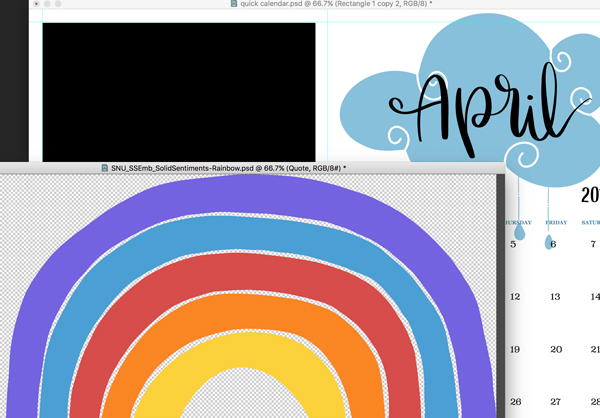
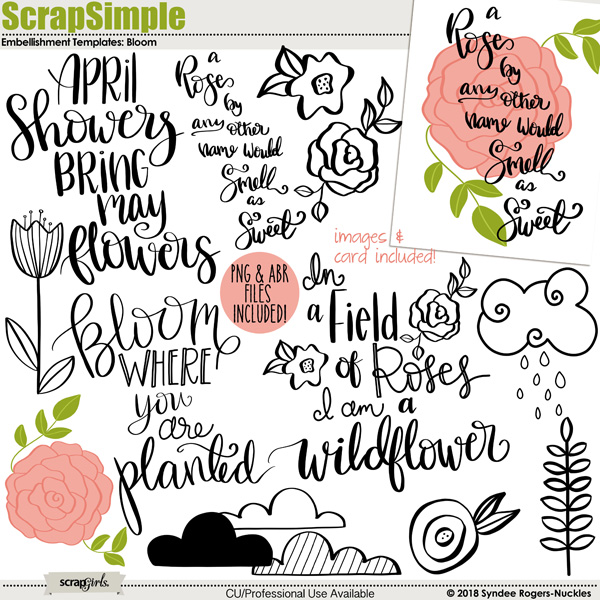
Step 11: Start adding elements to your calendar. I am using my ScrapSimple Word Art Templates: Hand Lettered Months and various images from several of my ScrapSimple Embellishment Template sets. These are listed at the end of the tutorial.
I didn’t mess with the actual ‘dates’ for each of the months on these samples. But, using calendar templates makes it easy for you to edit the dates and some calendar sets have ready to use individual months for you to add to your calendars. Such as this set: ScrapSimple Calendar Templates: Year 11×17.
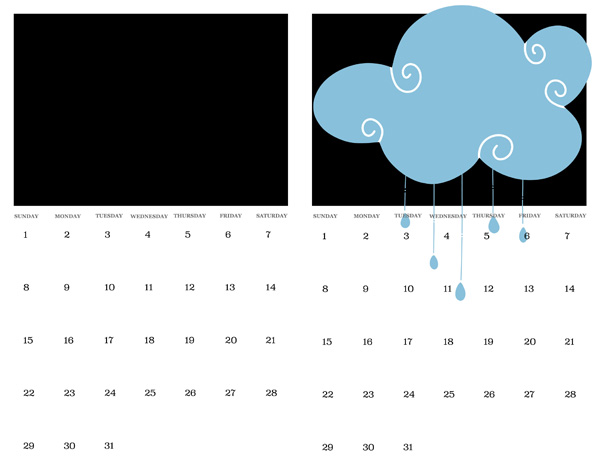
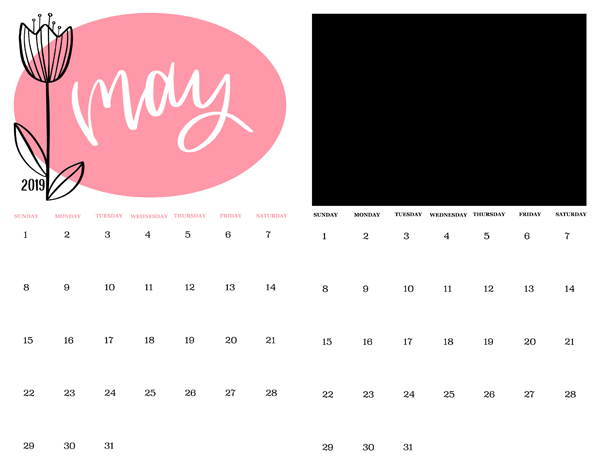
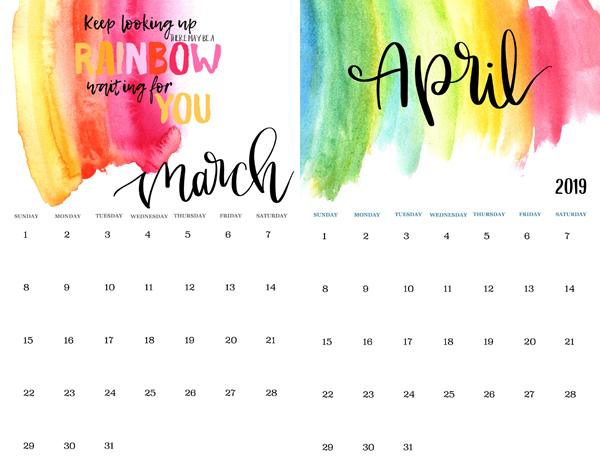
 Here are some more sample calendar pages:
July (below) has a spot for a photo or quote.

On the samples below I actually used elements from my ScrapSimple Layout Templates: Watercolor Rainbow. You could create several months out of one set of layout templates.
Watercolor elements also look amazing as well as blended mask clusters. The possibilities are endless!
I used some Christmas images for the samples below:

For the more detailed calendar pages to keep the time you spend ‘reigned’ in, it’s a good idea to make notes and sketch out your calendar pages and gather kits before you sit down to work on it.
Once you are done with your calendar, save as jpgs and print on a medium weight cardstock. Use a paper trimmer to cut each page in half.
You can use ribbon to bind them together or take them into an office supply store to have them bound together.
This is a fabulous gift for family and friends!
Please post your creations in the Scrap Girls gallery, we all want to see!

Click on images below to be taken to their product page


Also used:
ScrapSimple Embellishment Templates: Flamingo Frenzy
ScrapSimple Embellishment Templates: Mermaid Kisses


