
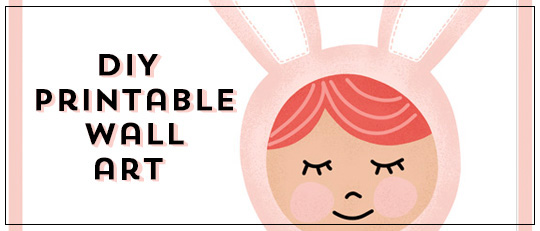
A few weeks ago we created printable cards and this week we’re going to see how easy it is to create printable wall art! It’s a great way to creatively use your digital scrapbooking kits and products. With all the fabulous themes and styles in the Scrap Girls Boutique, you literally have an endless supply of creative options! From wall art for a baby’s nursery to a motivational quote for your office, the sky’s the limit.
In this tutorial, we are creating a sweet little sign for a baby nursery. Let’s get started!
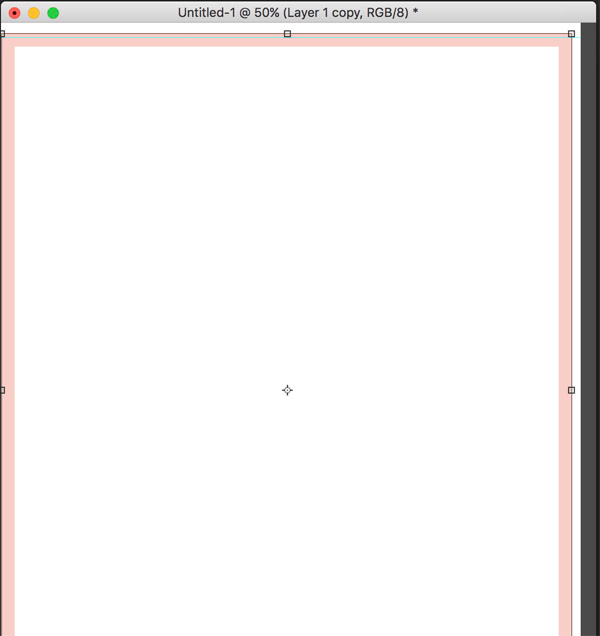
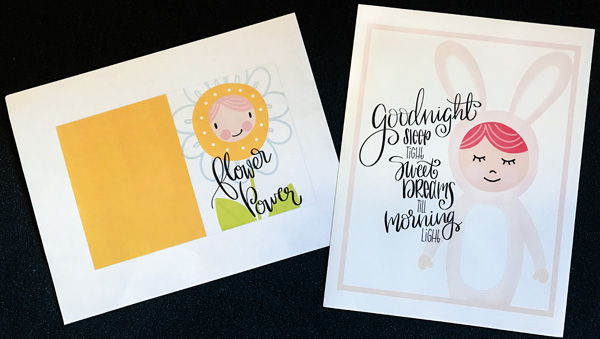
Step 1 – Create Printable Base
Create a new 8×10″ document with a white background.
Step 2 – Create Matte
Select your background layer in the Layers Panel. Press Ctrl J (MAC: Cmd J) to create a duplicate layer.
PS
In the Menu Bar, choose Layer Style > Stroke. In the Dialog box set the size to 57px, Position to Inside, Blend Mode to Normal, and Opacity to 100%. Fill Type should be Color. Click on the Color Box to open up the Color Picker. Choose a color that compliments the images you are using on your printable. Click OK.
PSE
In the Menu Bar, choose Layer Style > Style Settings. In the Dialog box, check the Style box, set the size to 57px, Position to Inside, and Opacity to 100%. Click on the Color Box to open up the Color Picker. Choose a color that compliments the images you are using on your printable.
Get the Transform tool Ctrl T (MAC: Cmd T). Grab the top right-hand corner of the bounding box and drag down and inward to reduce the size of the matte layer. When you are happy with the results, click the checkmark to commit. Then center the matte.
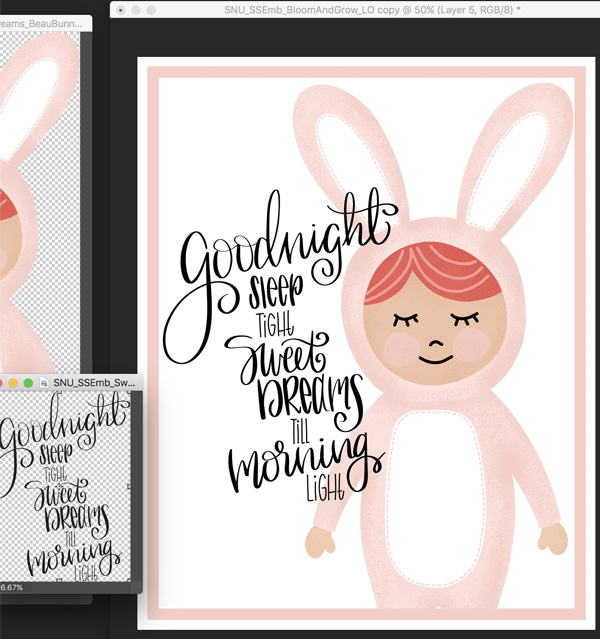
Step 3 – Add Images and Word Art
Open images and word art to add to your printable base. Drag images over to your printable on top of your matte, and arrange until you are happy with their placement.
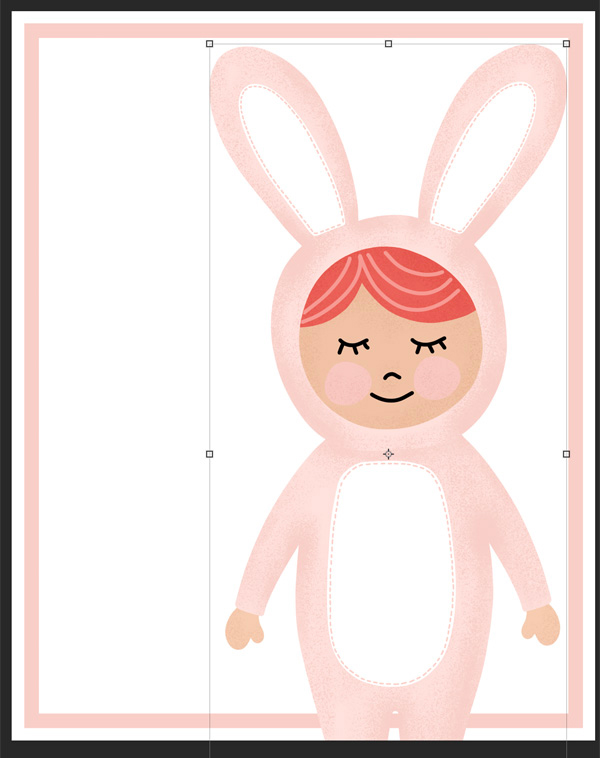
In the Layers panel, while holding down the Alt key (Mac: Opt key), click between the image layer and the matte layer to clip them together.
Step 4 – Save the original file as a PSD file. Then Save as a jpg. Print on a medium weight matte paper.
Step 5 – Add to frame and hang on a wall or desk.
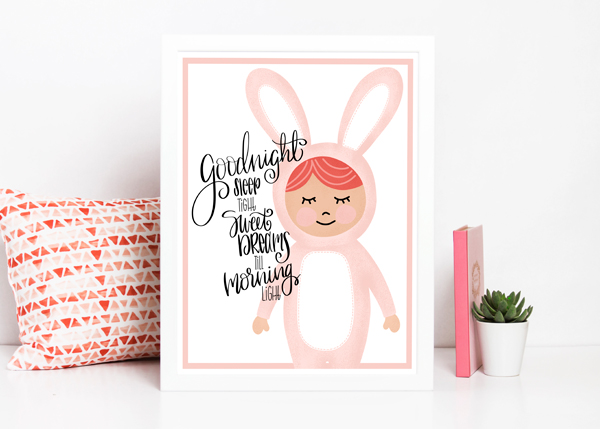
How fun and easy was that?! What a fun gift idea as well!
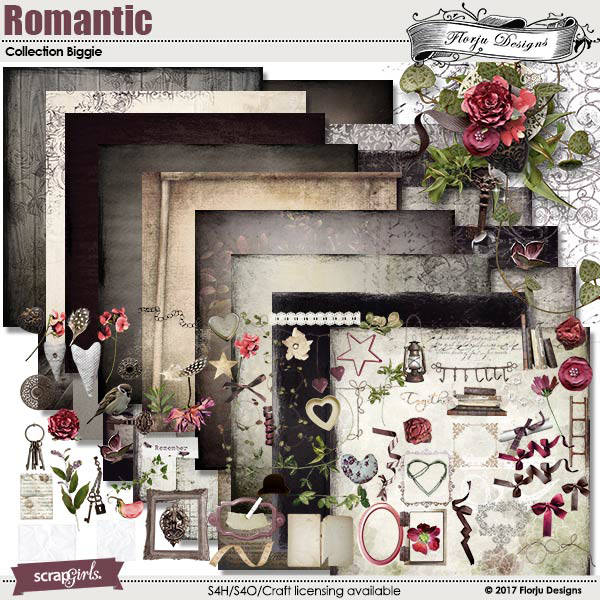
 (Click on images below to be taken to the product page)

Other products that would make great printable art:


I hope this gives you some ideas for making your own printable wall art! We’d love to see what you create in the Scrap Girls Gallery!


