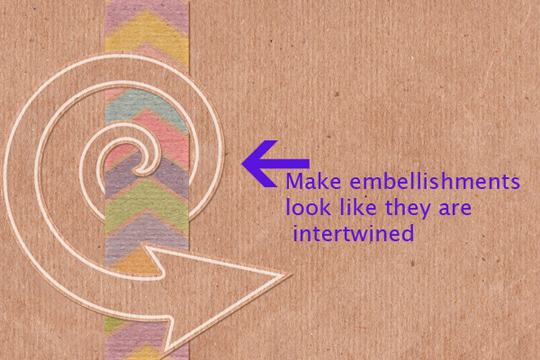
Have you ever looked at a digital scrapbook layout with lots of interwoven layers and embellishments and wondered how it was done? Chances are good that layer masks were used. A layer mask is a non-destructive tool you can use to control the transparency of parts of your layer, unlike the opacity sliders which control the transparency of the entire layer you are working on or erasers which permanently edit your layer.
Let me show you what I’m talking about.
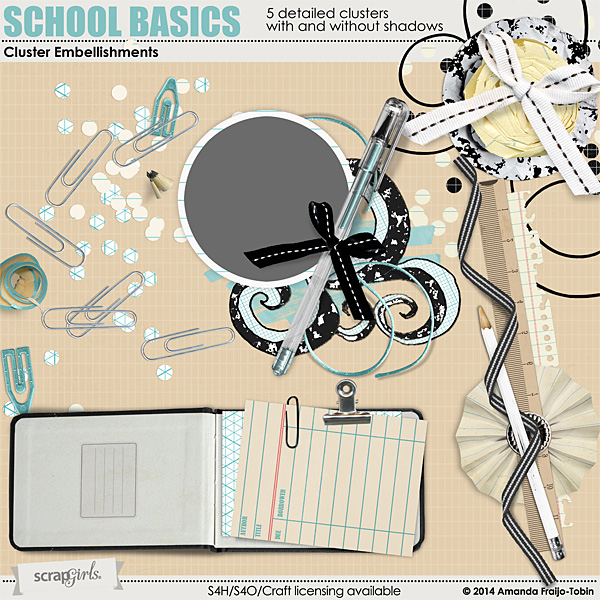
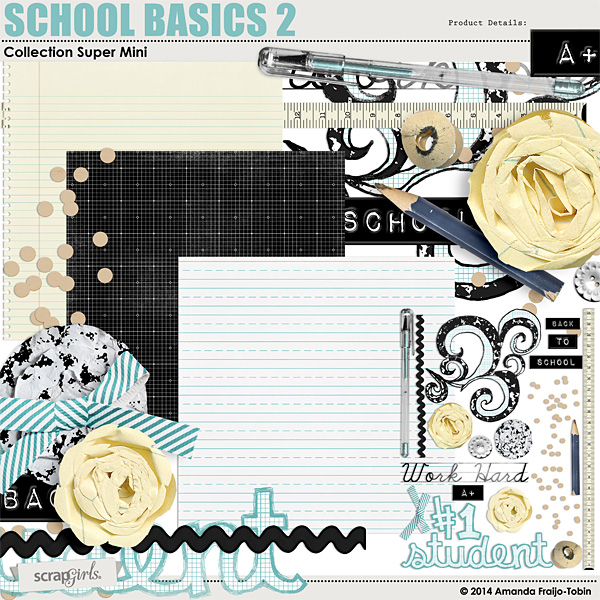
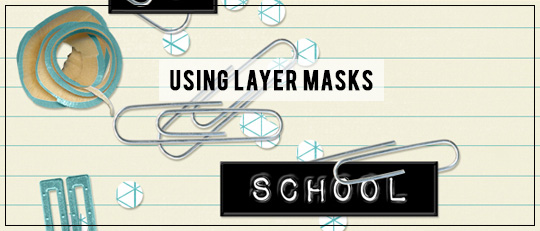
On this example, I want to add some word art to one of Amanda Fraijo-Tobin’s School Basics Cluster Embellishment Mini, and I want the word art to look like it is in the paper clip.
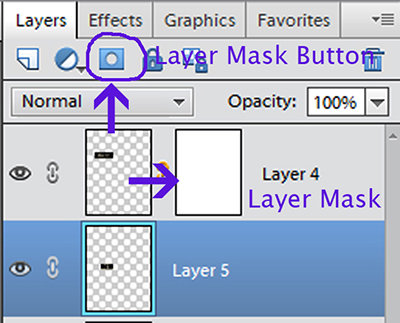
Step 1: Add a layer mask to the word art.
- Make sure the color chips are set to the black and white default colors.
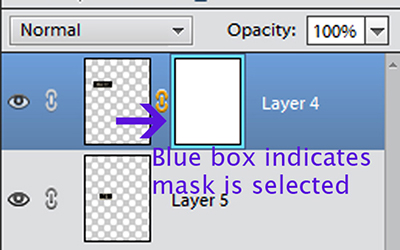
- With the word art layer selected, click the Layer Mask icon in the Layers palette (the blue square with the hole in the middle). You will notice a big white square appears next to that layer.
- Choose a brush to use, generally a hard round brush works well, but it will depend on your embellishment.
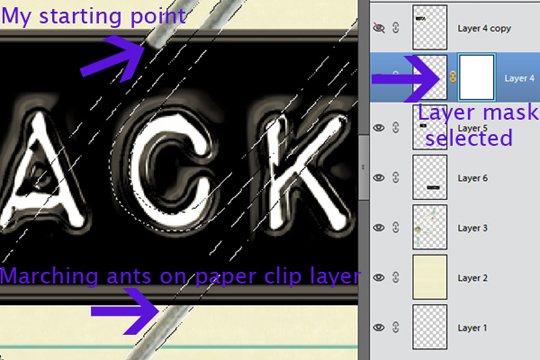
- Make certain that the layer mask is selected and not the layer itself. You will be able to tell by the blue box surrounding the selected layer.
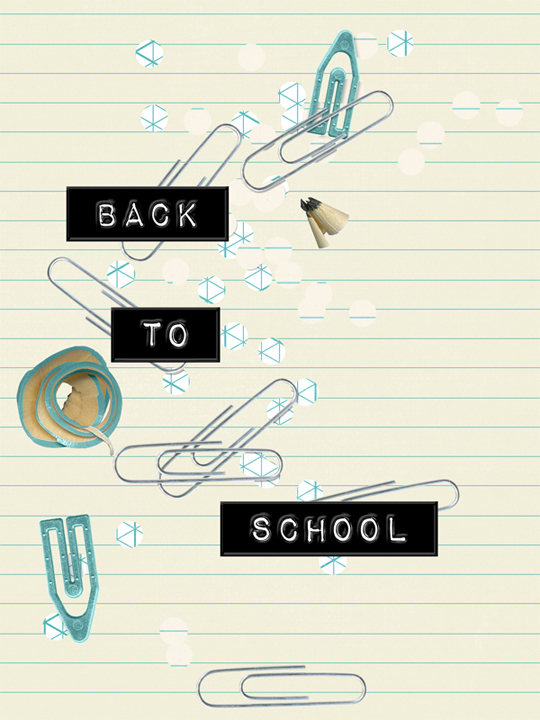
Because I was working with such a tiny area on the paper clip, I made a direct selection (Ctrl+Click the layer) of the paper clip cluster to get the marching ants, then used the brush on my layer mask.
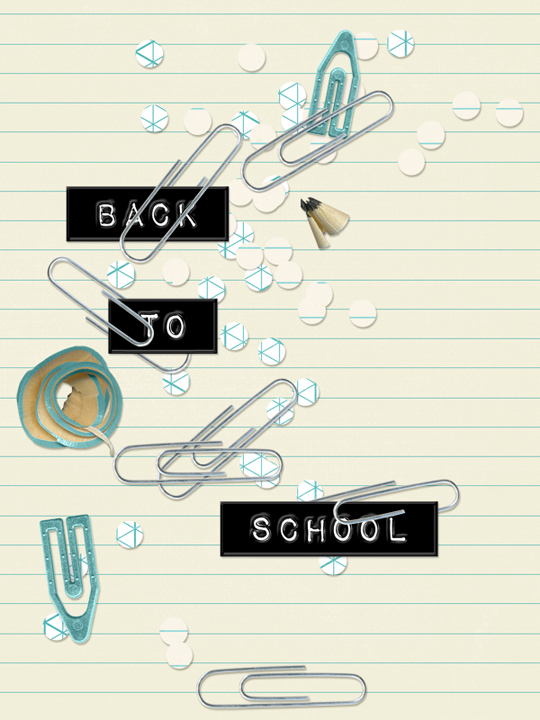
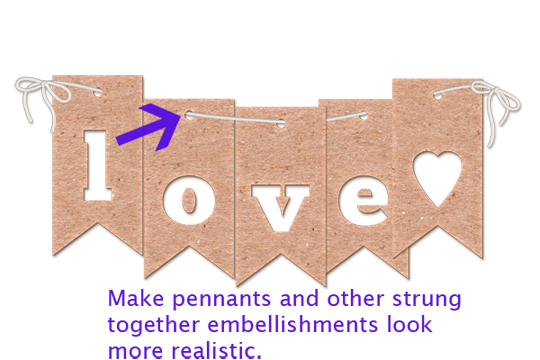
Some other fun examples: