

Working With Life Journey Butterflies
Tutorial created in Photoshop CC
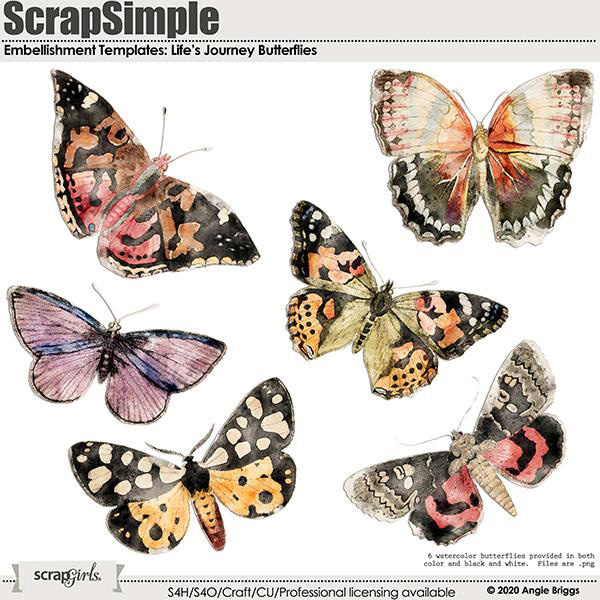
I love the watercolor butterflies included with the ScrapSimple Embellishment Template: Life’s Journey Butterflies collection. The colors are gorgeous! I also provided a black-and-white version, if you want to color them yourself. In this tutorial, I’m going to show you a way to recolor the butterflies with a method you may not have thought of!
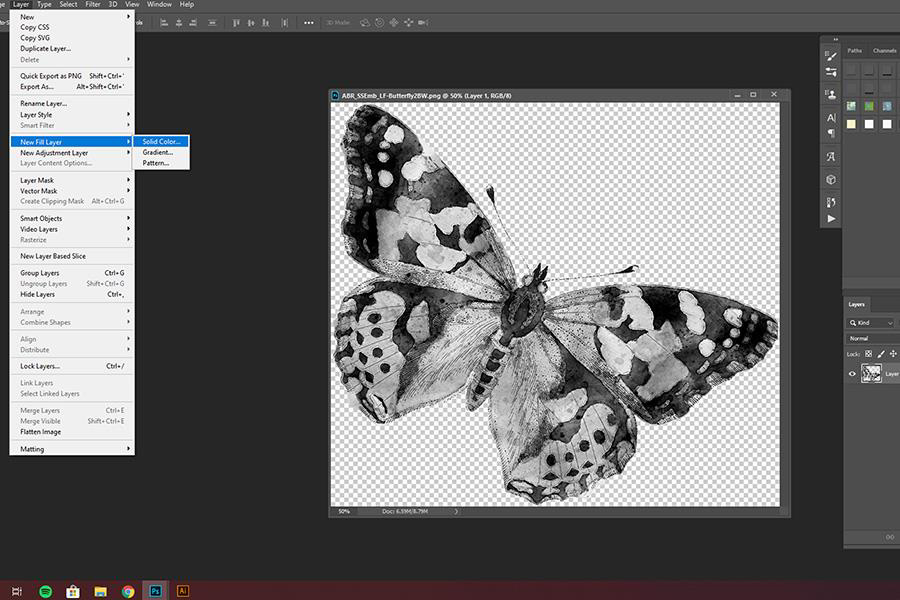
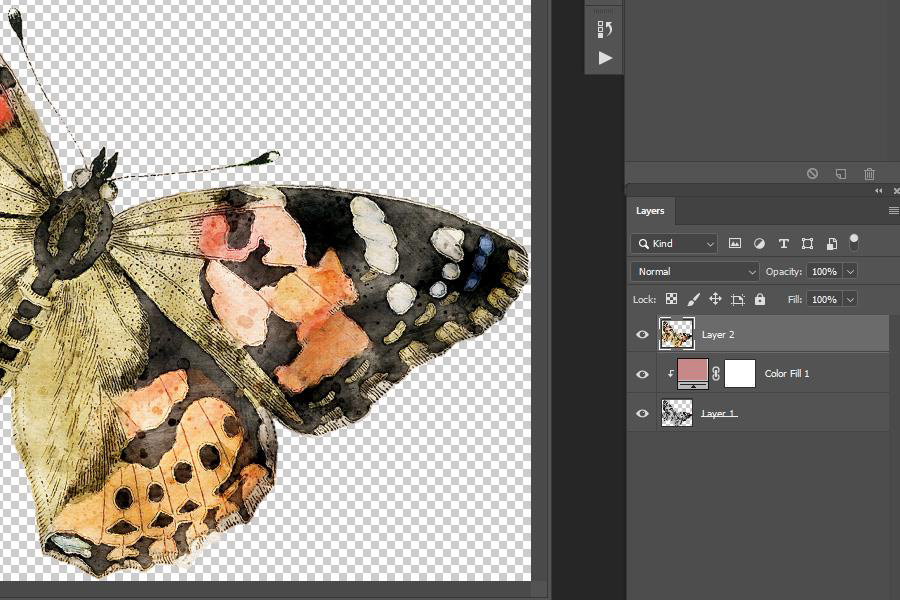
You’re going to start off by opening both the black-and-white and color versions of the butterfly you want to work with. Then with the black-and-white version selected, go to Layer > New Fill Layer > Solid Color.
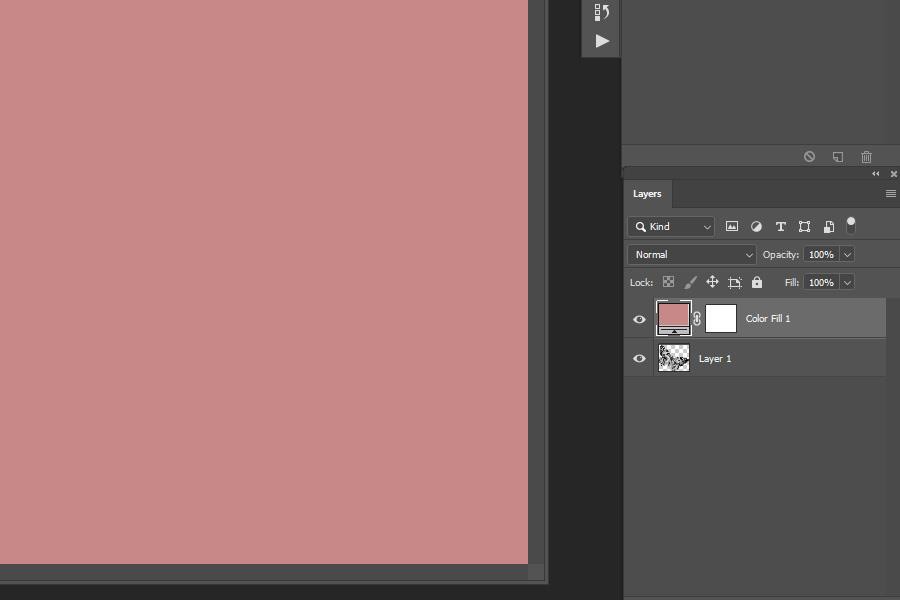
Next, choose the color you want to use. For this example, I chose a mauve color.
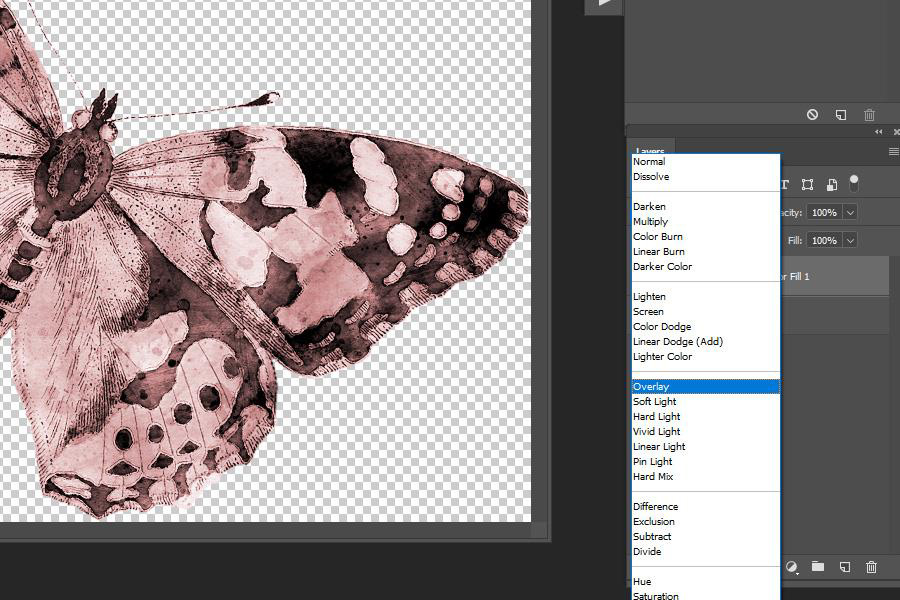
Using a clipping mask, attach the Color Fill layer to the butterfly, then adjust the Layer’s Blending mode. Try different modes, as each one will give you a different look. For this example, I chose the Overlay mode.
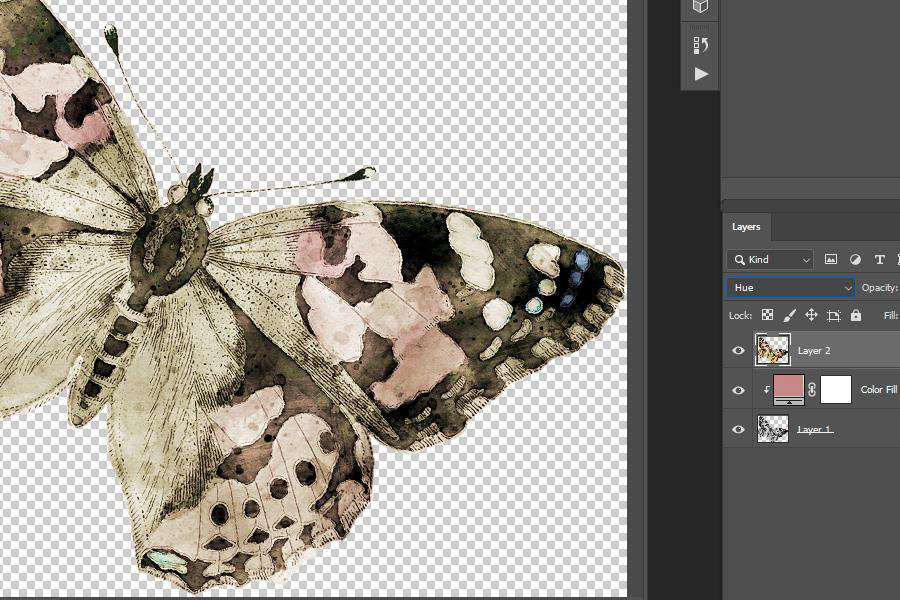
Now, add your colored butterfly on top of your Color Fill layer.
Next, adjust the Layer’s Blending mode of the colored version. Again, each mode you choose will create a new look for your butterfly. In the example below, I chose to use the Hue mode.
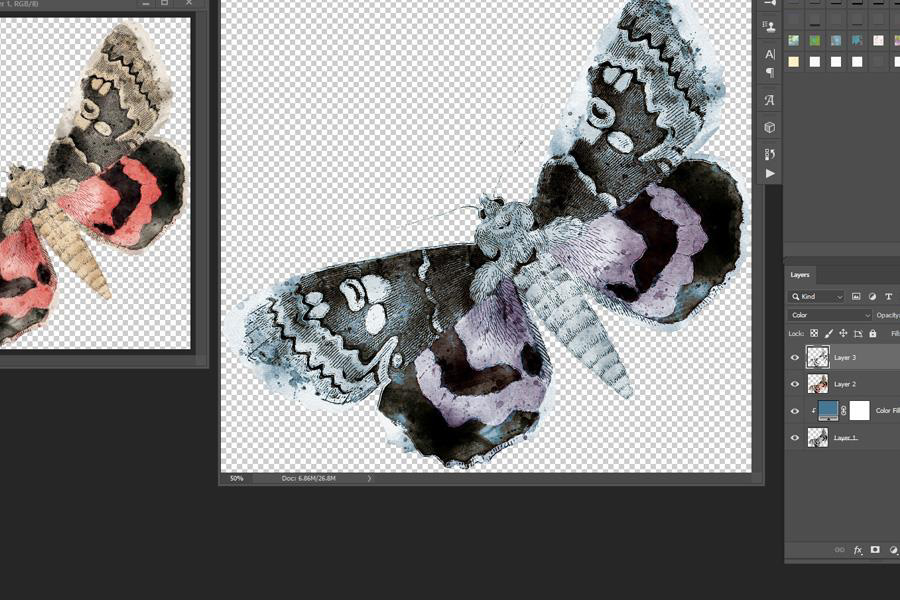
When using this method, keep in mind your color wheel theory. As an example, in the version below, I used a blue Color Fill layer, and the colored version of the butterfly had pink wings. When those two layers were combined, I ended up with a butterfly with purple wings.
I hope this tutorial has given you some fresh ideas on recoloring the butterflies in this club. I can’t wait to see what you come up with, so be sure to post your next layout in the Scrap Girls Gallery!
![]()
Tutorial written by Angie Briggs


Angie,
Can this method be used with PSE2020?
Christine
Hi Christine! Since this is just using blending modes, yes you can use this method in both PSE and PS