

Wood Mask Tutorial
(This tutorial was created using Photoshop CC & Windows)
Product Used In This Tutorial:
In this tutorial, I’ll show you how to easily combine the Pretty Neutral Wood slice Embellishment Templates with the Pretty Neutral Masks.
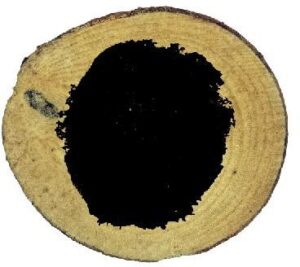
- I’m using the following Wood Slice for my example: AFT_SSEmb_PrettyNeutral- Wood_4.png with the following mask file: AFT_SSEmb_PrettyNeut_Masks1-1.png
- I created a new 12×12 blank document for my example and placed the wood slice with the mask on
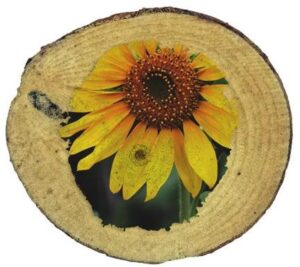
- Place your photo on top of the Mask layer. Apply a clipping mask using shortcut: crtl + alt + g (or by right clicking on your photo later and selecting “create clipping mask”
- Select your AFT_SSEmb_PrettyNeut_Masks1-1.png mask layer and let’s play around with the blending modes for more added interest. I ended up choosing the “darken” blending mode since I like the way it looks like the photo is imprinted on the
Alternately you can use more than one more mask on top of each other to add different effects or add papers, etc. I added another mask below my original one and added a paper and changed the blending modes on the second mask. I used: AFT_SSEmb_PrettyNeut_Masks1- 4.png in combination with one of the Paper Templates from ScrapSimple Paper Templates: Pretty Neutral
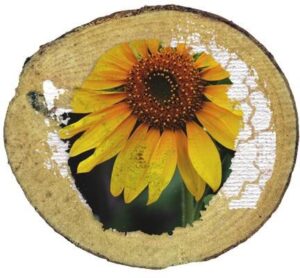
Take a look at how my layers were setup to achieve the 2 layered mask effect.
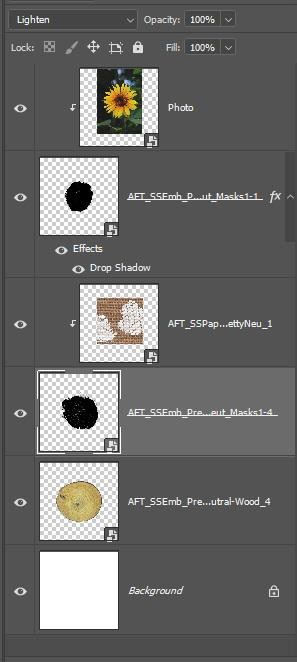
Layer, blend, and just test combinations and effects. That’s the fun part of digital scrapbooking, you can always “go back” so don’t be afraid to experiment.
![]()
Tutorial written by AFT Designs


