

Filling Brushes with Patterned Paper
(This tutorial was created using Photoshop but should work the same in Photoshop Elements)
We’ve all used brushes the traditional way or even as an eraser. But have you ever wanted to give a brush image a special “pop”? I will sometimes do this by filling in the images with pattern paper.
Now, I will admit sometimes this will take a little bit of work, depending on the brush. Some brushes, like the ones in this set, are more sketch brushes. These brushes don’t always have a defined open/close to the design. But if you work with it a bit, you can get a fun, new look.
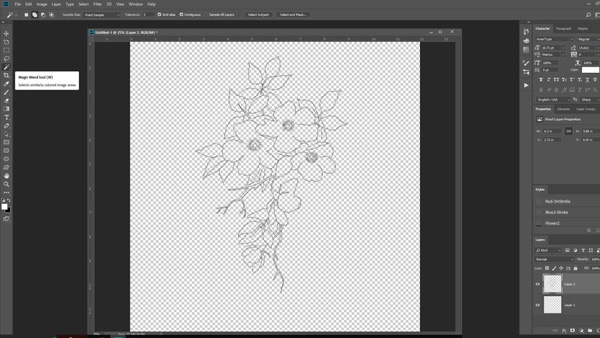
Step 1: Open a new document and bring your PNG image onto it and select your Magic Wand tool. (I’ve used ScrapSimple Brush Set: Fine Line Florals in my examples – see link at the end of the tutorial)
Step 2: Bring over your paper you want to use and put it on the bottom layer. If you’d like, rescale the paper so that the pattern fits your image better.
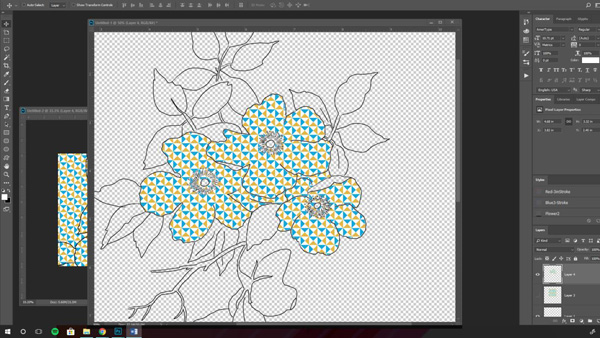
Step 3: Next, take your Magic Wand tool, and on your brush layer, select the inside of sections of the brush you want to select; you will begin to see the “marching ants.”
Step 4: Now on the pattern paper layer, press Ctrl-J to “cut out” your paper.
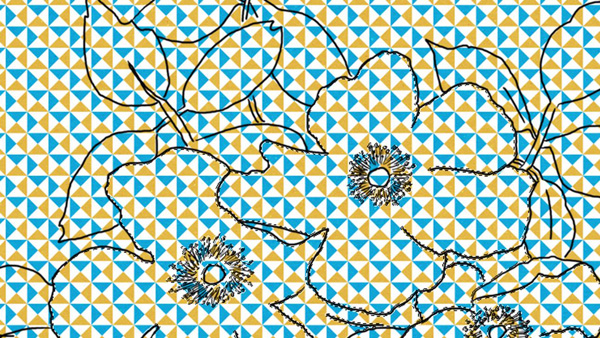
Step 5: Turn off your paper layer to see what part of the paper was cut out.
As you see above, there are some parts of the flower that did not get selected and other parts (which I didn’t want) that did get selected.
Step 6: Take your Lasso tool and follow a section of the brush that didn’t get picked as closely as possible.
Step 7: Select the paper layer, and again, press Ctrl-J.
Step 8: For the areas that got selected that you did not want, you can either take your Eraser tool and erase those portions, or take your Lasso tool to select it and press Delete.

Play around with this. Get as creative as you like and play around with how much of the PNG file you fill in. I can’t wait to see what you come up with!
![]()
(Click on the images below to be taken to the product page)
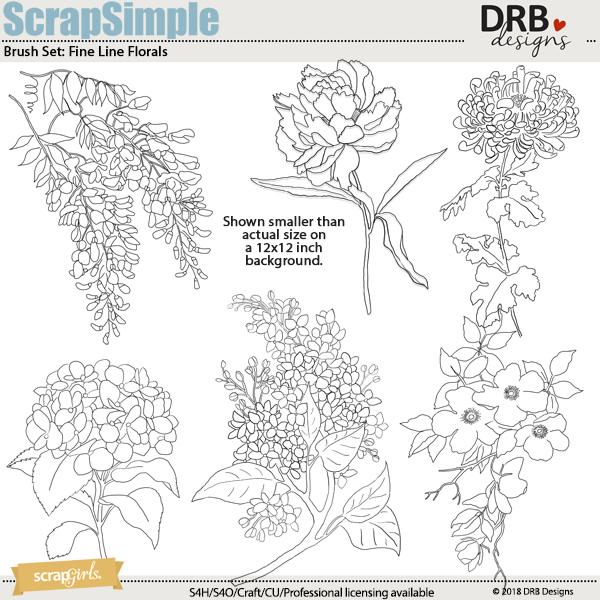
Here is the brush set I used, but make sure to check out our Brush category for other fabulous brushes to use with this technique!
![]()
Tutorial written by Angie Briggs


I love this tutorial. Any way to use patterned paper really appeals to me. Thanks for sharing!
Awesome sauce! This was exactly what I was looking for!