

Creating a Color Palette from a Photo in Photoshop
Tutorial created on a Mac using Photoshop 2020 with OS Catalina
One of the reasons I love ScrapSimple products is because they are made to be customized. Using the perfect color palette to complement your photo can take your layouts from ho-hum to exceptional! But how can you be sure you’re choosing the perfect colors to work with? I’m going to teach now how to use color tables to create perfect swatches in PhotoShop!
To get started, select your photo, and as a precaution, make a duplicate of it. As you change photo modes, you’ll notice that your photo quality will greatly decrease so an extra copy will ensure that your original shot remains untouched.
With your image open, convert the image to Indexed Color by selecting Image > Mode > Indexed. Note that if your original image is in CMYK mode you will need to convert it to RGB first and then to Indexed Color.

Next, a dialog box will pop up with options for converting your image. For Palette, choose Local (Perceptual). (I didn’t want too many colors to work with so I limited myself to 10 colors, but you can choose up to 256 if you’d like!) Finally, set Forced to None and Dither to None. Then click OK.
Now, you can load the Color Table that has been created from your image! Choose Image > Mode > Color Table to view it and see the colors selected from your image.
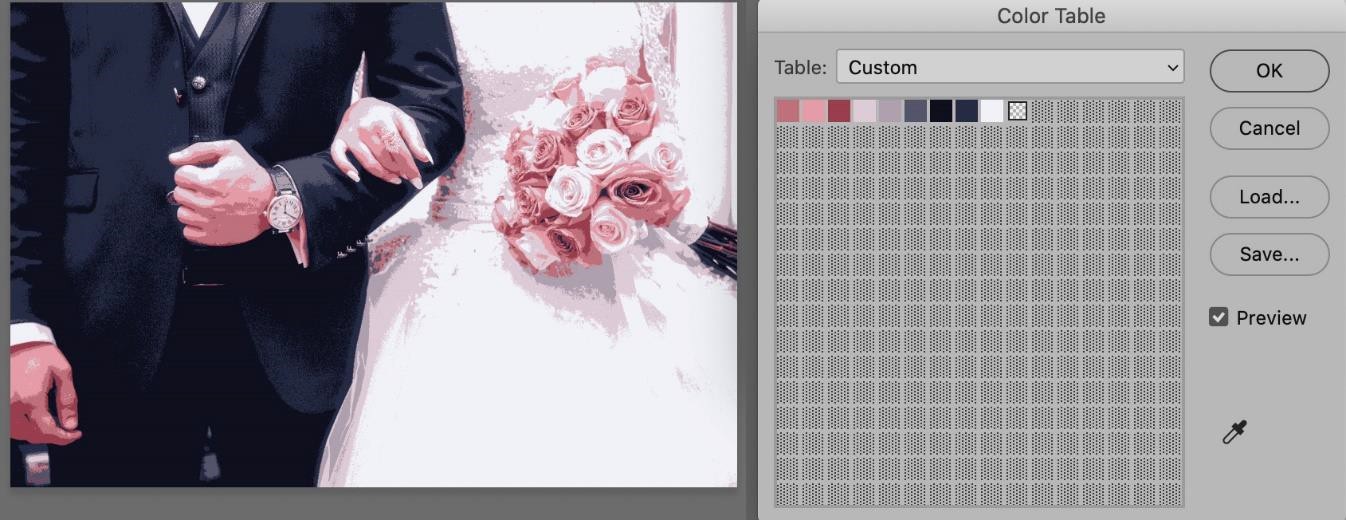
Now, we need to save the table so you don’t lose your new perfectly-coordinated swatches! On the dialog box, click Save, give your swatches a name, and choose the directory of your choice. You’re almost done!
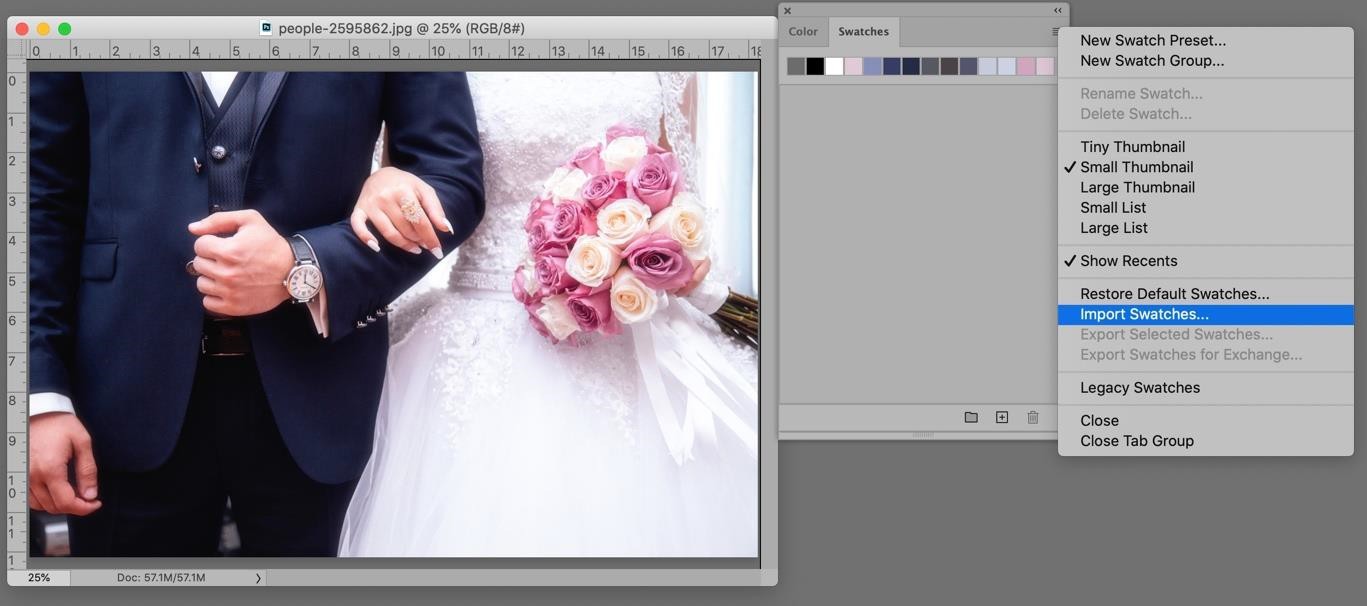
Let’s load your palette with your new swatches! From the Swatches palette, click on the four small black lines in the upper right-hand corner. From the pull-down menu, choose Import Swatches. Navigate to the directory where you saved the swatch file, select your file and click Open.
Now the fun begins! Using your new color palette, you will be able to quickly customize your ScrapSimple papers and elements to perfectly coordinate with your photo!

I hope this tutorial has helped you learn a new skill that will allow you to create perfectly-colored papers and elements quickly and easily! Don’t forget to share your beautiful creations in the Scrap Girls Gallery!
![]()
Tutorial written by Laura Louie
Products used:


Thank you so much for all the tips and techniques.