

Playing with Grunge
Note: Tutorial created using Adobe PhotoshopCC
I love grunge and the versatility of it! Simply by changing a Blending mode, you change a paper from very dirty and dark to barely having a slightly worn effect.
In this tutorial, I’ll be using the ScrapSimple Paper Template: Grunge Overlay, along with some of the papers that are included in your June 2019 Members Only portion of the ScrapSimple Club, to show you how to create your own unique papers.
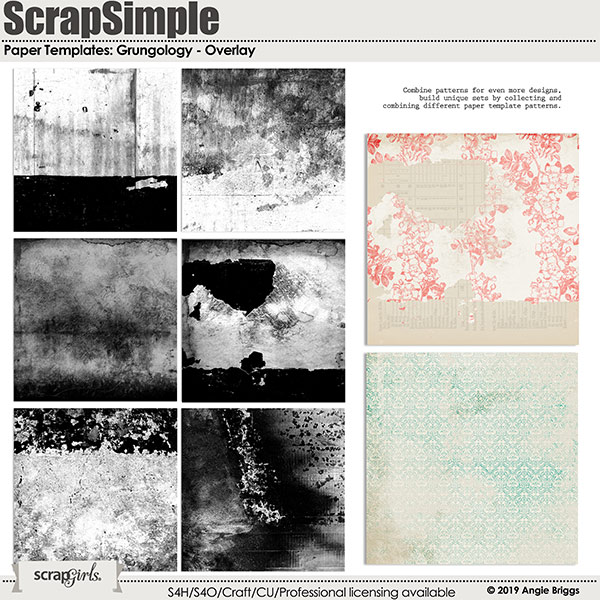
The great thing about this set of overlays is they are provided in PSD and PNG form. This will allow you to control smaller portions of the grunge effect.
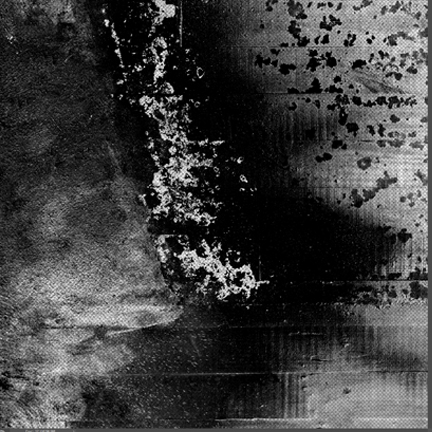
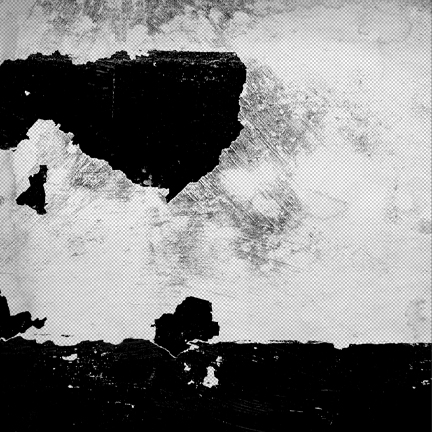
The first template we are going to use is Overlay 6.
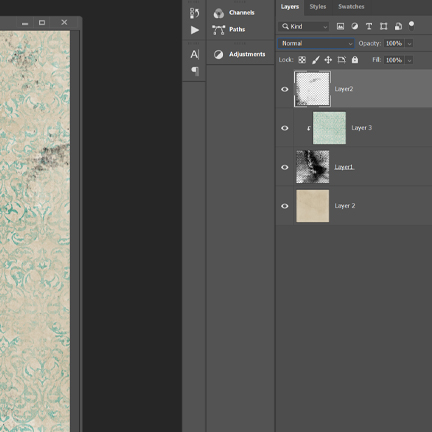
Next, you will bring in your brown paper and add it to the bottom layer. Add the blue damask paper above Layer 1; use a clipping mask to attach it to that layer. Your Layers palette will look similar to the one below:
And here is the finished template after adding the papers:

Now the fun starts! You can begin playing with the Blending modes of each layer.
What I do is turn off layer 2; this will be the layer that adds the finishing touches to your paper. Then play around with the different looks you get when changing the Blending mode (found in the Layers palette to the left of Opacity).
Note that when you change the Blending modes from things such as Overlay, Color Burn, etc., each one will give you a different look and even change the color of the blue damask paper.
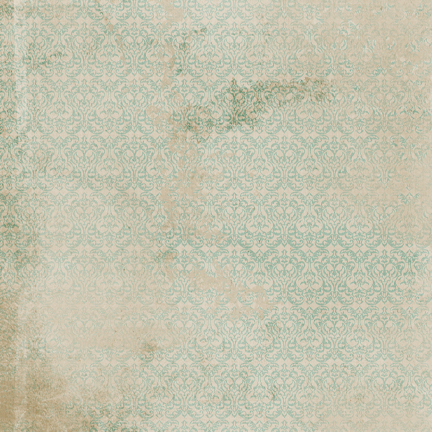
For my example, I left the Blending mode at normal because that gave me my favorite shade of blue. But I went in and changed the Opacity and Fill of layer 1. For this example, I used Opacity 90% and Fill 62%.
Next, I turned back on layer 2. Again, I used this layer just to add a little highlight to the paper. After playing around with the Blending mode and Opacity, I settled for the Overlay mode and Opacity 74%. This was the finished look:
The next template I worked with was Overlay 2.
First, I added the peach floral paper to the bottom layer.
Next, using a clipping mask, I added a brown paper to layer 2. Now for this example, I did not use the layers in the order they are placed. Instead, I moved layer 1 to the top of the Layers palette. To do this, click on the name next to the image in the Layers palette. Hold down the mouse key and drag the layer to the very top.
Once I had all my papers clipped and layers moved, it looked like this:

Again, for this one, I liked the look that I got when I left layer 2 “as is.” All I did was to adjust layer 1 to help give some highlight to the paper. I changed the Blending mode to Overlay, Opacity to 89%, and Fill to 62%.
Here’s my finished paper:

I hope this gives you some ideas when working with the Grungology – Overlays. And remember, there’s just no right or wrong way to use these overlays. It’s all about experimenting and find what works best for your papers and layout!
![]()
Tutorial written by Angie Briggs


Nice tutorial! Thank you.
So inspiring! Nice work, Angie!