
 Tutorial Written using PSE 2019 (Painterly Edit showed up in PSE15)
I am loving all the fun guided edits in Photoshop Elements! With the newest version there are several brand new ones but the one I am going to demonstrate has been around for a few versions. If you are like me – I spend the majority of my time when in PSE in the Expert Mode, so I tend to miss out on playing with the fun guided edits!
I think we all LOVE photo masks and how they really lend an artistic flair to our layouts and projects. So the Painterly Guided Edit is perfect for quick photo masking. There are limitations of course, such as it only having 5 brushes – but it’s fun, fast, and easy – which is a recipe for success!
Let me show you how easy it is!
Step One – Open PSE and choose Guided.
Step Two – Open a photo. (Make sure you are using a copy of your original photo.)
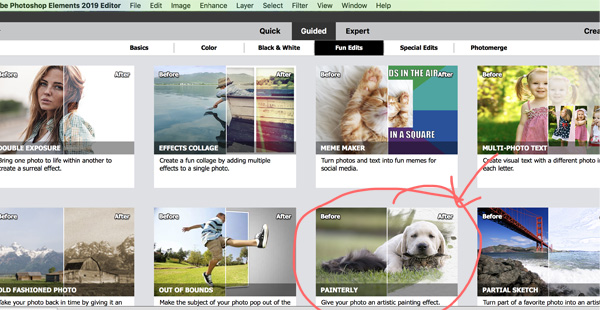
Step Three – Choose Fun Edits and then Painterly.
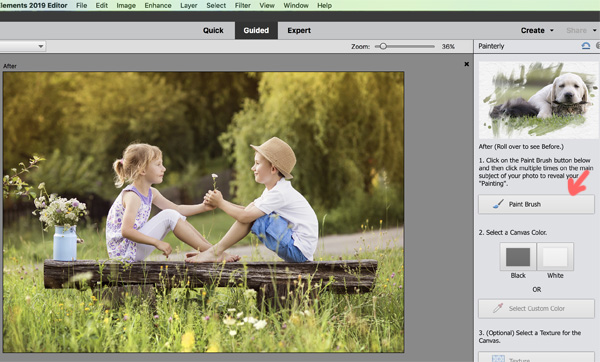
Step Four – Your photo will open up in the Painterly Guided Edit – click on Paint Brush and choose a brush. I used Bold Strokes.
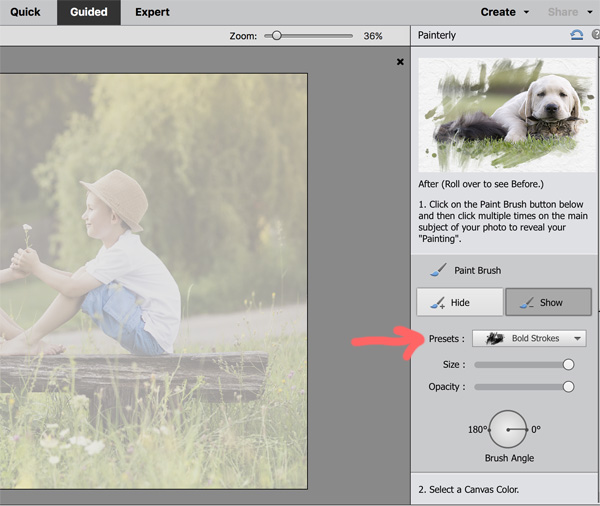
Step Five – Your photo will now appear at a lower opacity. Start brushing directly on your photo – brush in areas you want to keep. You will see that the areas you brush over will regain full Opacity.

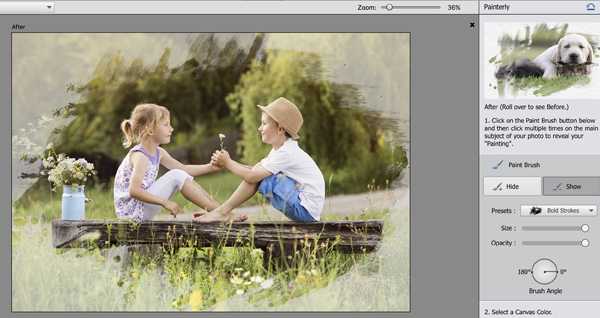
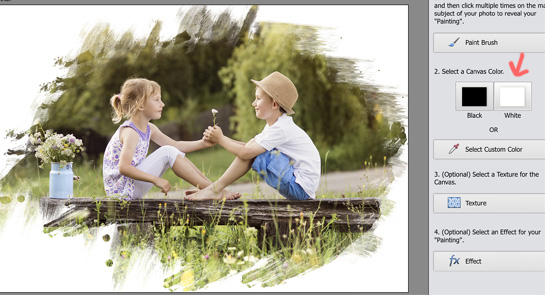
Step Six – Select a Canvas Color. I chose white just so I could see it clearly. And Viola! Your photo is masked to your brush strokes.
Step Seven – Now, just click on Next at the bottom right of your workspace window. Choose Continue Editing in Expert. 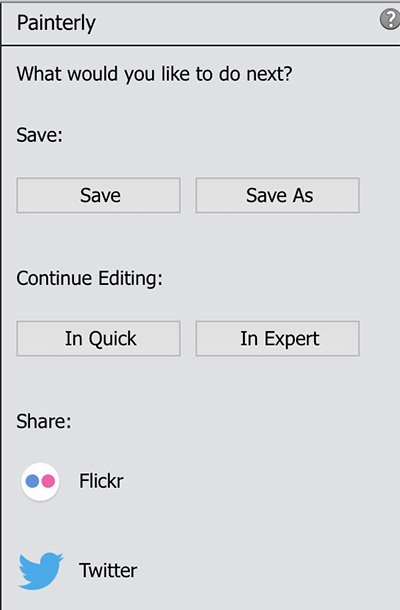
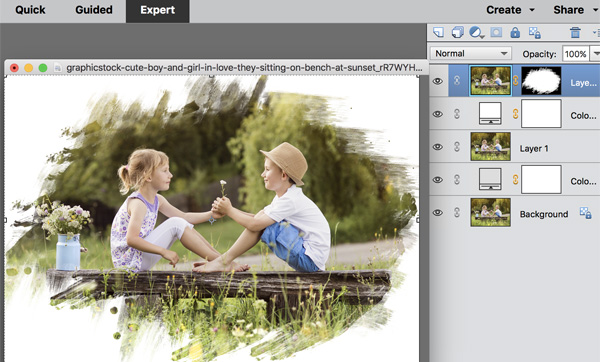
That will open up our masked photo in Expert Mode. You can see we have several layers. We really only need the photo with mask layer.
Step Eight – Now we’re ready to add our masked photo to a layout. Just open up a paper (I used a watercolor background from my Artists Papers.) and drag your photo and mask layer over to your paper. Once I had my masked photo in position and resized, I changed the blend mode to Multiply and lowered the Opacity to 88% so that the paper texture would show through. I also added a soft blue paint mask under the photo layer.
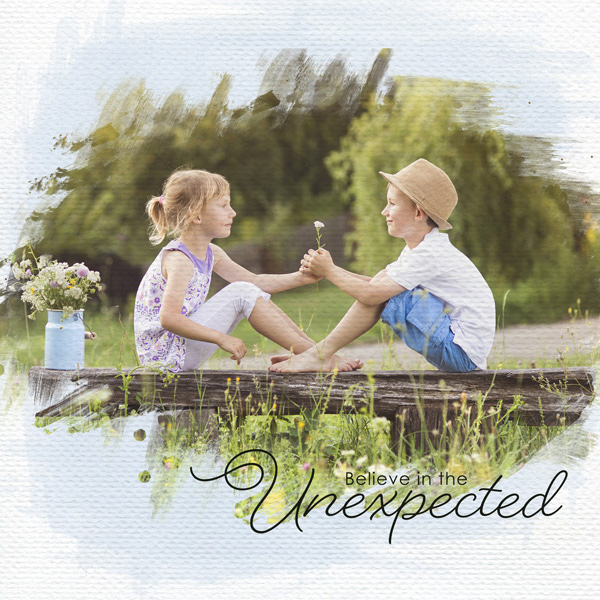
That’s all there was to it! A super simple layout made so much quicker using the Painterly Guided Edit! I hope you will jump in and play with the Guided Edits – they’re a lot of fun!
For more detailed mask products make sure to check out all our great mask goodies in the Scrap Girls Shop!


Looks like a great tutorial. I wanted to try it out, but it’s not available in PSE 13. Do you know if there’s another choice to do a painted mask similar to this in PSE 13?
Hi Christine,
Unfortunately, no. This is only an option for versions newer than PSE13. I am not 100% sure what version it showed up in. You can always use some of the fabulous photo masks available at Scrap Girls 🙂
thank you so much I have PSE15 and have so much to learn so I can get the most out of it..
You are welcome Colleen!