

In the latest version of Photoshop Elements (2020), there’s a new feature that I think you’re going to LOVE! A feature that was previously only available in Photoshop. You can now make selections with the click of a button. It does a pretty amazing job of focusing in on a subject and even if a few spots are missed, it’s an easy fix.
TIPS for using this feature:
-
- Use a photo that has a good contrast between the subject you want to make a selection of, and the background. It will still work on photos that don’t have a strong contrast but you will end up having to clean it up quite a bit.
- Work on a copy of the original photo.
- Clean up the edges using the selection tool that works best for you.
- Experiment and have fun!
Step 1: Open a photo (File > Open). Make a duplicate copy (File > Duplicate) and close the original photo.
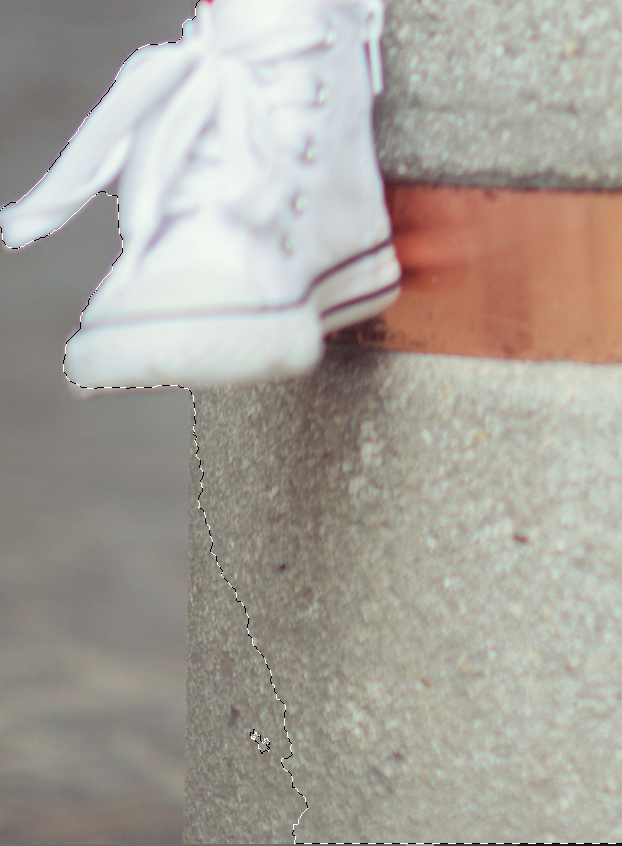
Step 2: In the Menu Bar, choose Select > Subject. Wait a minute to allow it to work it’s magic. As you can see below, it did a pretty good job of selecting the subject. It will really depend on your photo. The more contrast between the subject and the background the better your result will be.

Step 3: It missed an area as shown below, so we’ll need to clean that up. Get the Lasso Tool, and in the Tool Options, click on the Add to Selection icon, check Anti-aliasing, and make sure Feather is set to 0%. I like using the Lasso tool to add and subtract (or clean up) my selections because it gives me more precise control.
Then click and draw with the Lasso around the areas you want to include in the selection. If there are unwanted areas selected, click on the Subtract icon in the Tool Options.
Once you are happy with the selection you have a couple options:
Option 1: Add a Digital Paper or Solid Color to the Background.
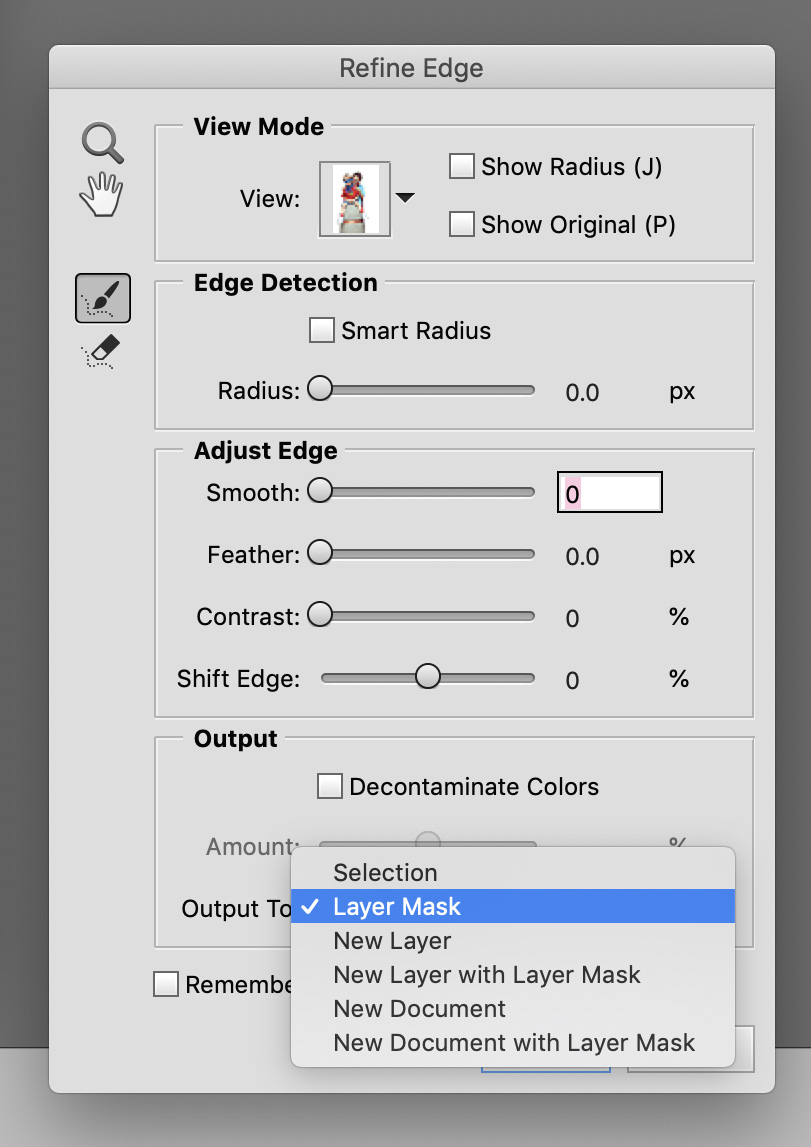
Step 1: In the Tool Options, click on the Refine Edge button. In the dialog box, open the Output menu and choose Layer Mask. This will allow us to add a digital paper or solid color background on a layer below our selection.
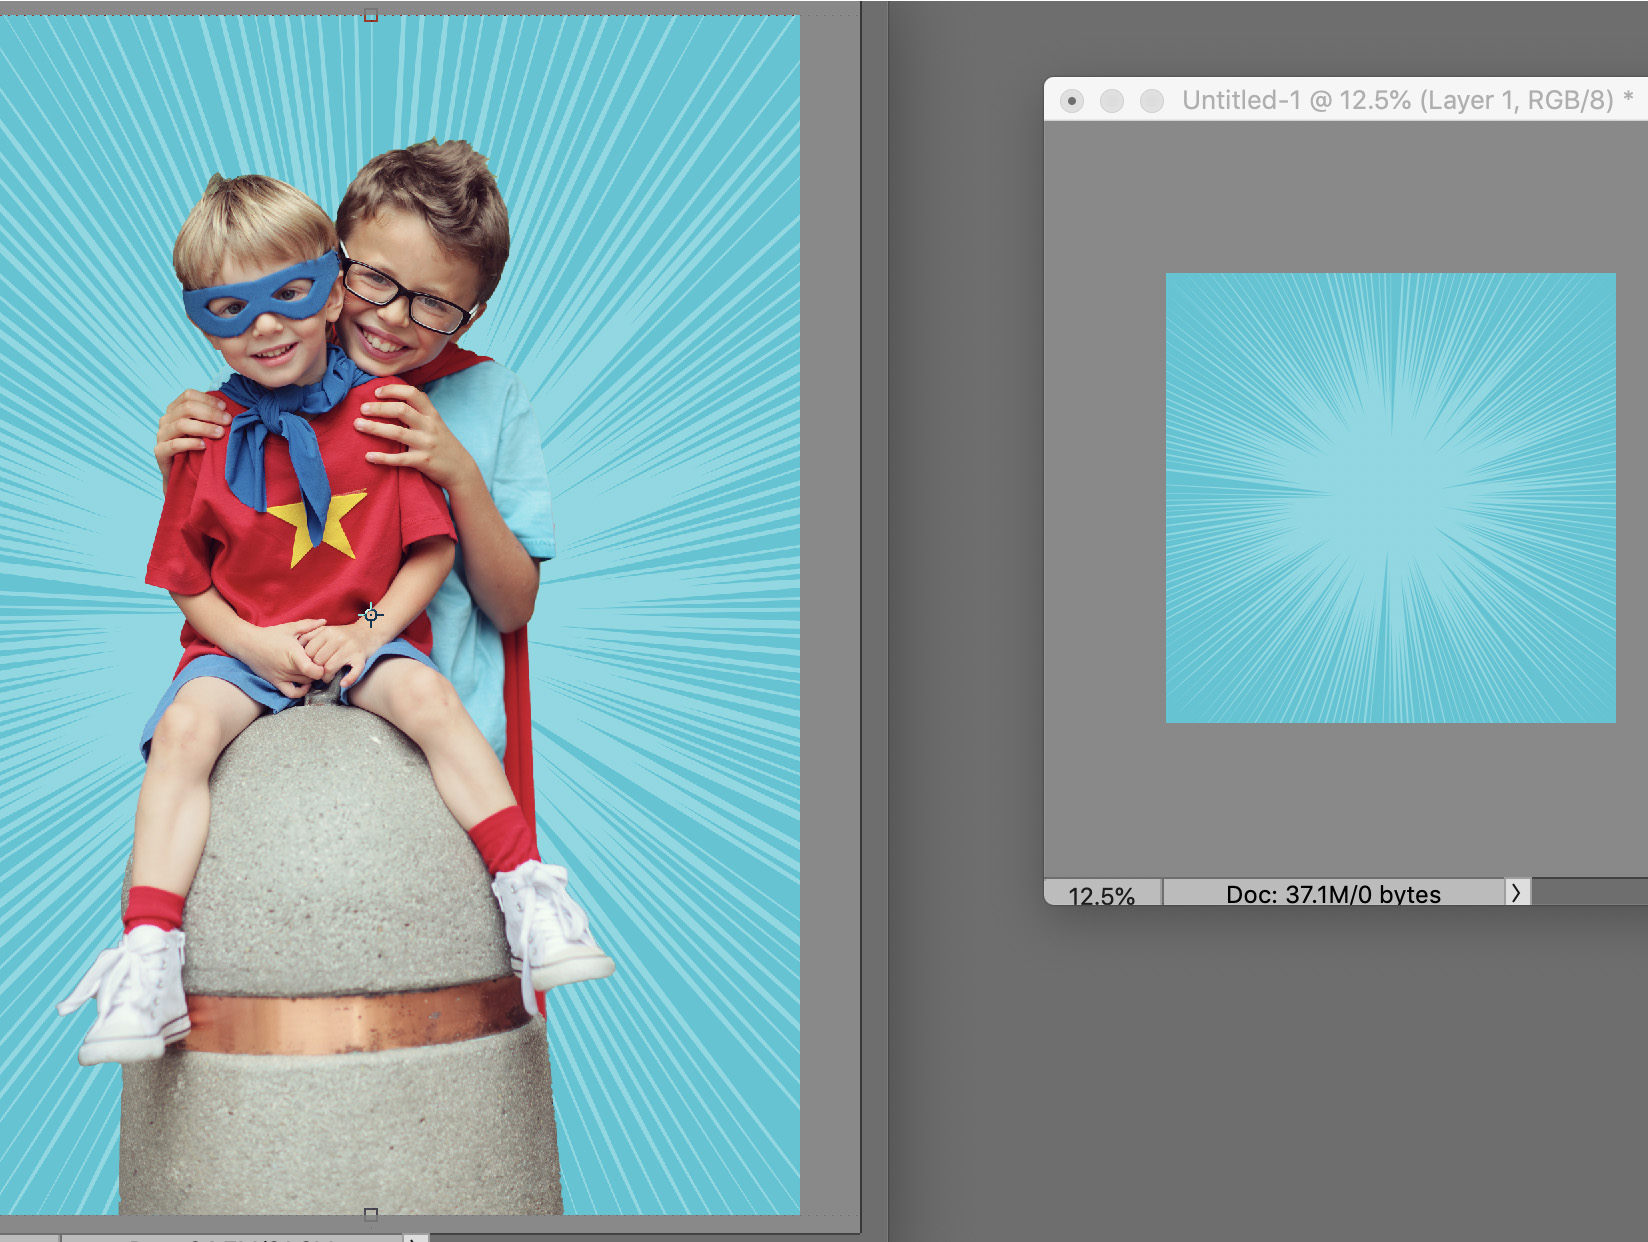
Step 2: Open a background paper (File > Open) and click and drag it over to your photo on the layer below.
Or you can add a solid color by clicking on the Create a New Layer icon in the Layers panel and then using the Paint Bucket tool to drop in a color.
Option 2: Change the Background of the Photo
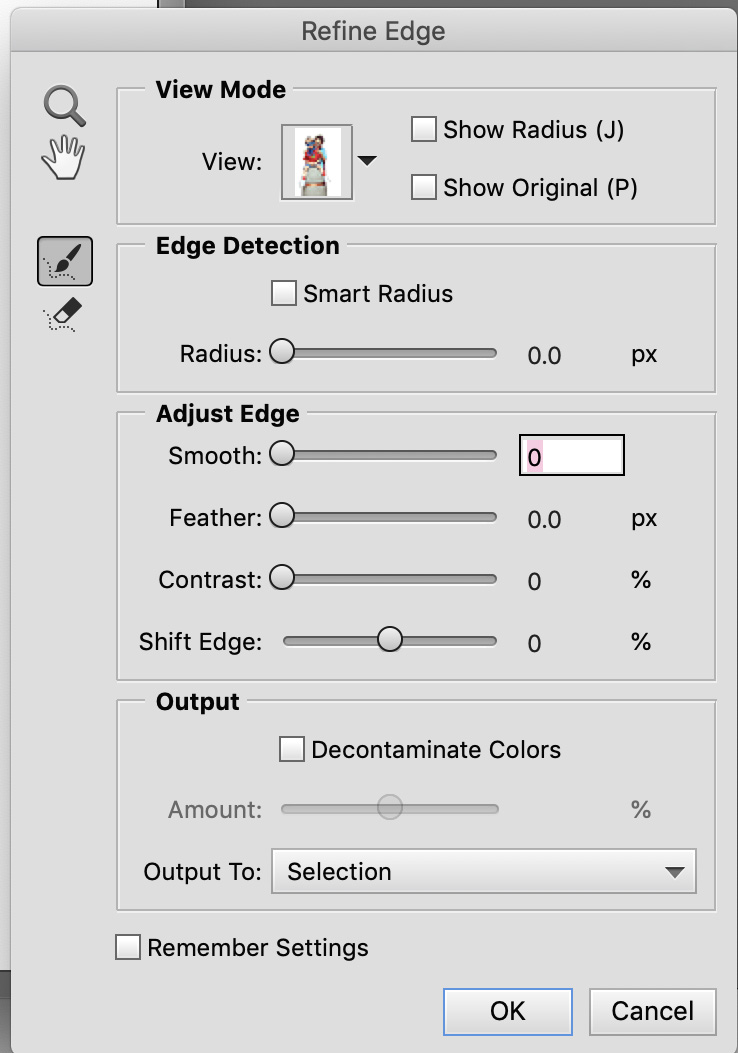
Step 1: In the Tool Options, click on the Refine Edge button. In the dialog box, open the Output menu and choose Selection. This will allow us to change the background of the photo to a different color or use a Filter or effect while leaving the selection (subject) as is.
Step 2: In the Menu bar choose Select > Inverse.
Step 3: In the Menu Bar choose Layer > New Adjustment Layer > Hue/Saturation. Click OK.
In the dialog box move the Saturation slider to the left to soften the colors in the background and make the selected area of the photo stand out.
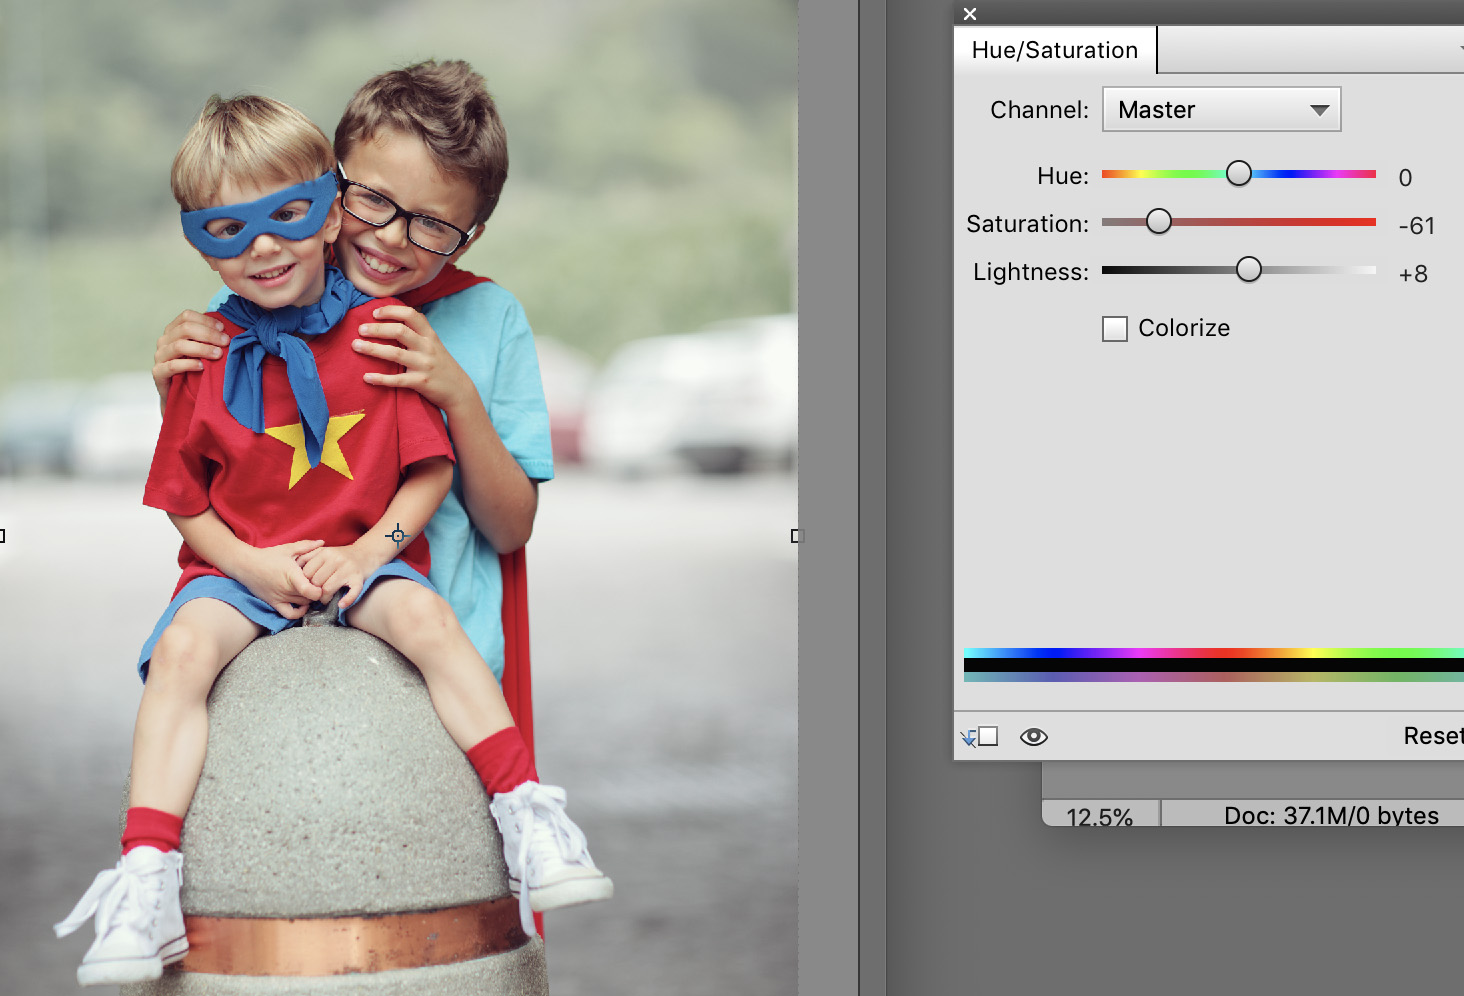
Move the Saturation slider all the way to the left to change the background to black and white.

And if you move the Lightness slider all the way to the left the background will change to solid black.
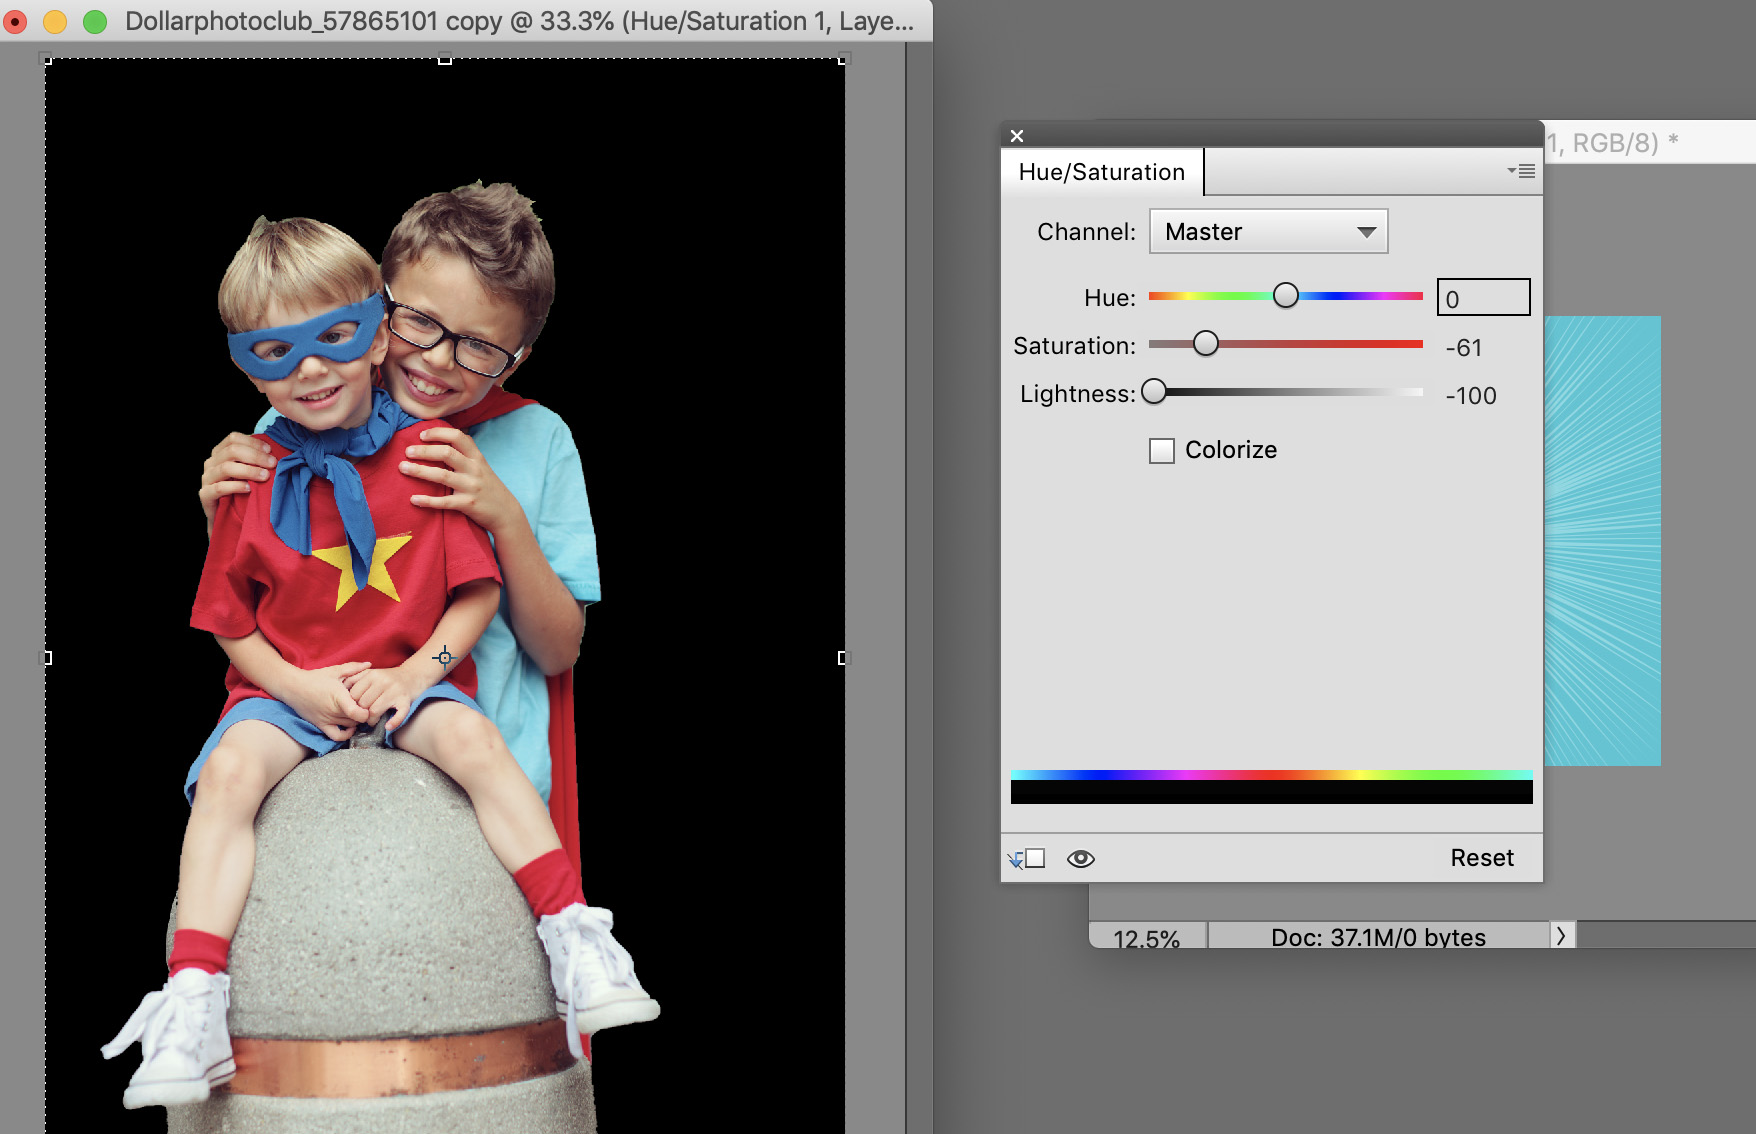
Alternatively, move the Lightness slider all the way to the right to change the background to solid white.

There’s so many fun things you can do with this new feature, I can’t wait to see what you come up with!
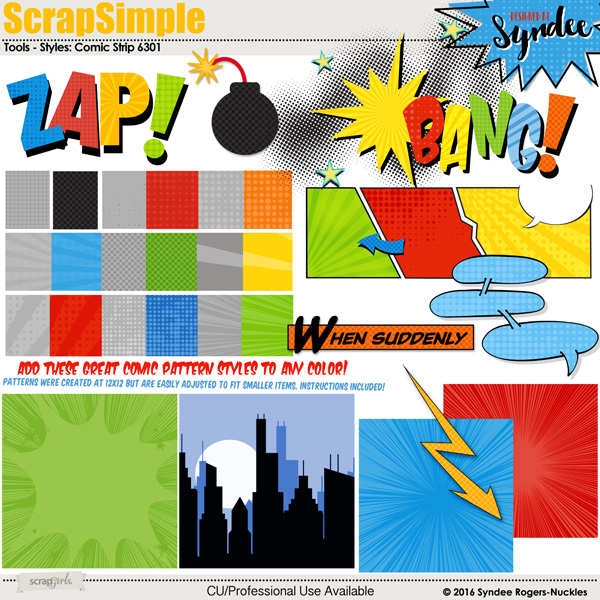
PRODUCTS USED
(Click on the images below to be taken to their product pages)
Happy selections!


Thanks for the new technique! I just bought the 2020 PSE, but didn’t know how to use this new feature. 🙂
It’s a great time saver!
Thank you so much. I learned so much from this Tuesday Technique.