
Tutorial by Karen Webb
This year has been a busy and eventful time for me! Although I have been absent from Scrap Girls, I haven’t stopped making art. My creative muse has taken me in different directions and blessed me with new paths. I have, however, missed the Scrap Girls community of supportive women and talented digital artists who have inspired me for many years.
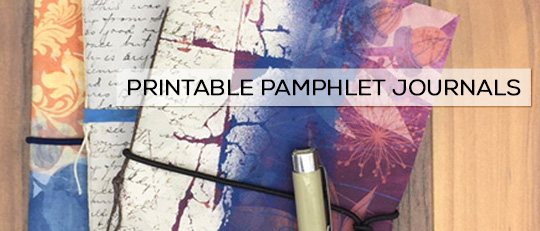
So as this year comes to a close, I’m excited to be “back” to show you how to create some fun and quick pamphlet journals for the gifting season. The finished journal size is 4.25” x 7”. I kept most of my designs super simple by limiting my supplies to beautiful digital papers and word art. I chose to print my covers on ink jet printable canvas (available online). I’m not including instructions on how to stitch the covers as many tutorials are available. Search online for how to assemble four hole pamphlet journals.
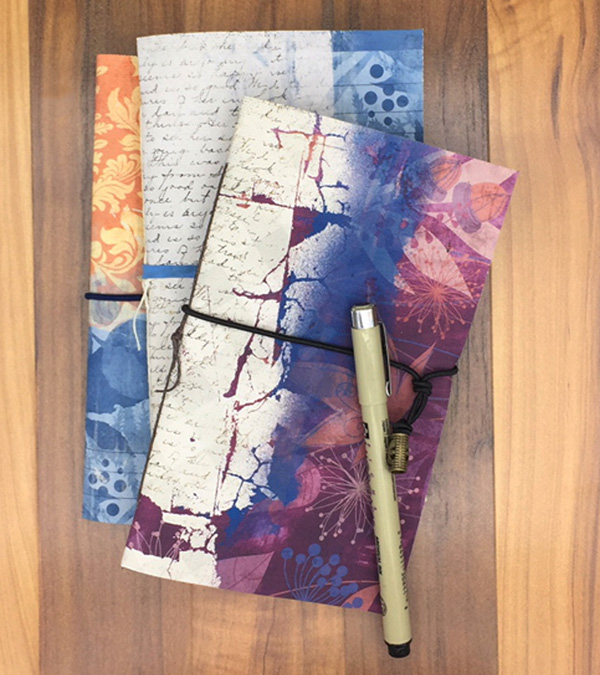
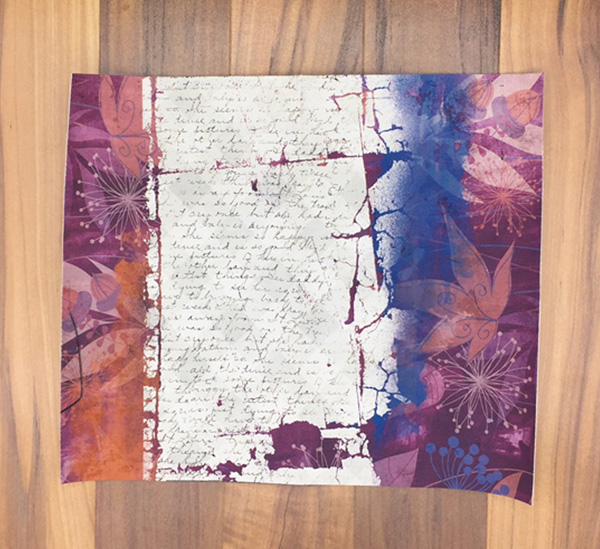
Step 1 – Open your photo editing software. Create templates – one for the cover (8.5” x 7”) and two (4” x 6.75”) for inside of the covers. Select digital papers. Drag and drop digital paper onto cover and inside panel templates. Resize and clip digital paper to templates. Print completed layouts on printable canvas.
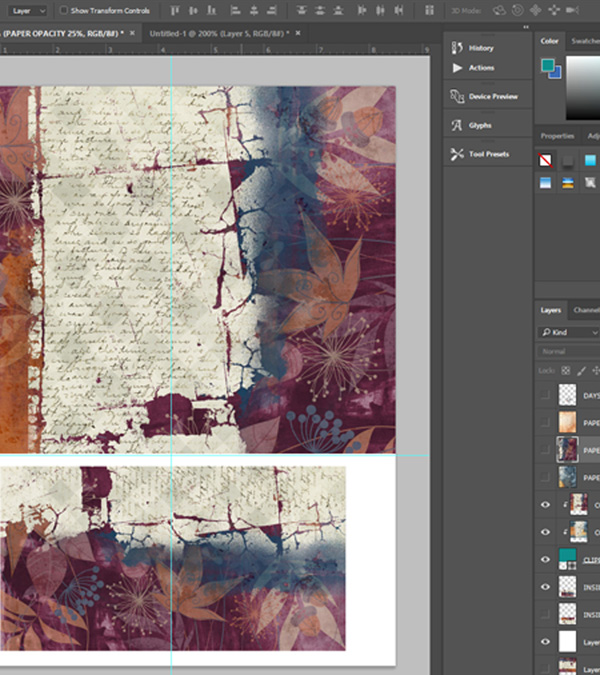
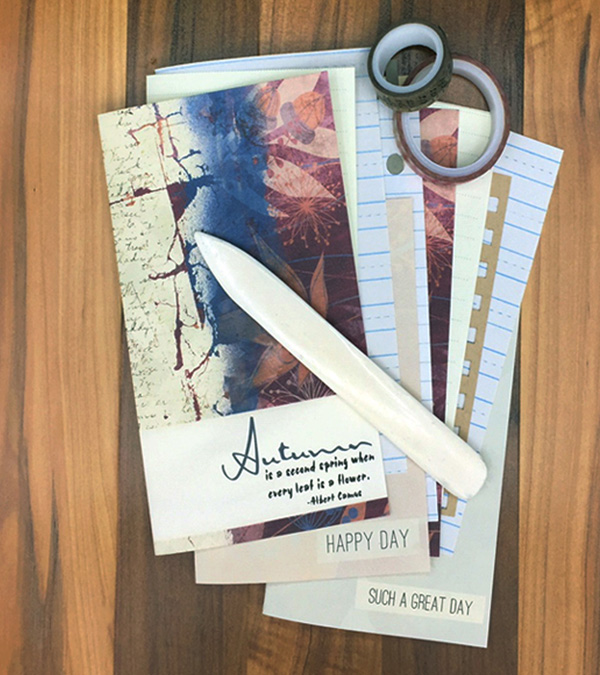
Step 2 – Create a template (8” x 6.5”) for the first page in your pamphlet journal. Drag and drop digital paper onto template. Add word art if desired. Resize and clip to template. Print completed layouts on good quality text weight paper.

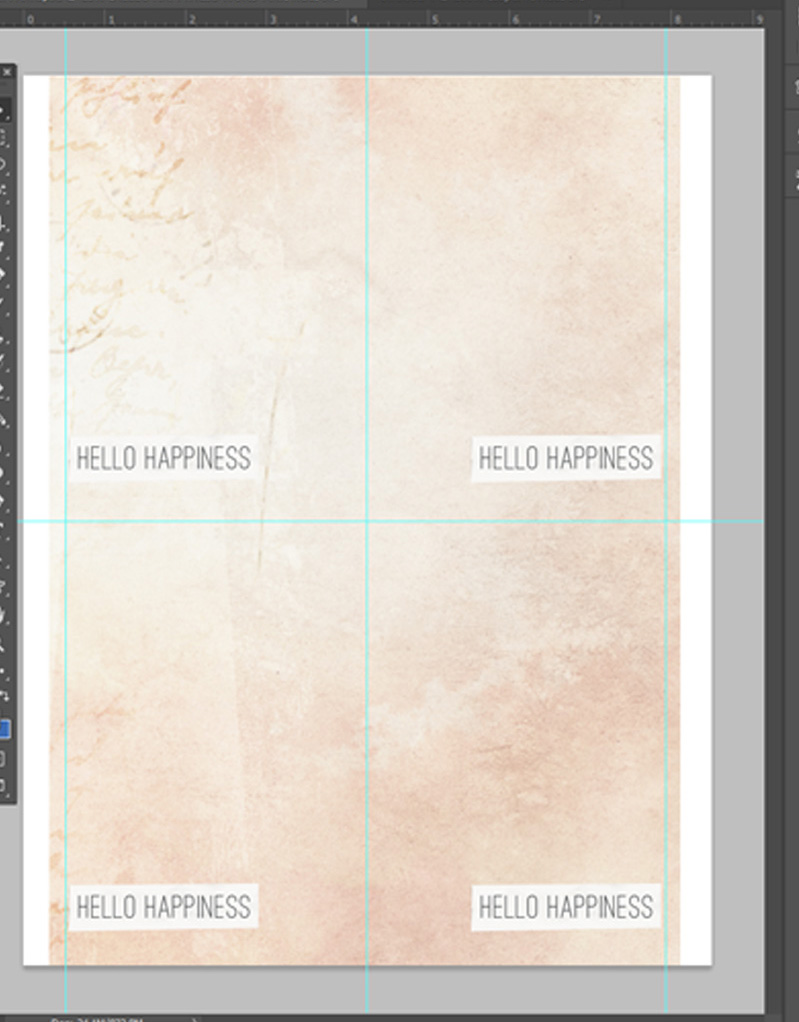
Step 3 – Create a few sheets of coordinating paper for your journal register. Reduce the size of your paper template slightly to insure pages on the inside of your register will not be wider than the width of your register cover page. Reduce the opacity on this paper to 25-30% so it can be written on with a pen or pencil.
Step 4 – Cut out all of your layouts.
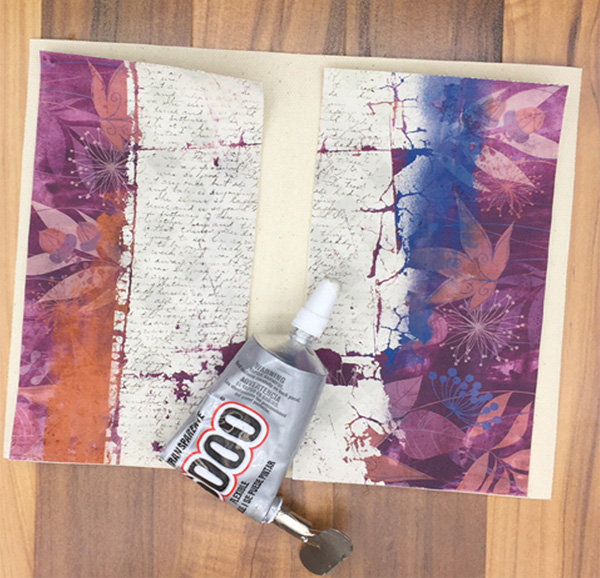
Step 5 – Glue your inside cover panels to the inside of your cover with E6000. This will improve the stability of your covers.
Step 6 – Select various papers for your register. Depending on the paper weight 10-12 pieces (including the layouts you printed) will work. Cut the paper into various sizes. (Keep in mind when selecting paper width that you are folding the paper in half to create your registers.) Fold the cover and paper in half. Score each sheet with a bone folder. Create a little booklet. Cut the width of the interior pieces as needed.
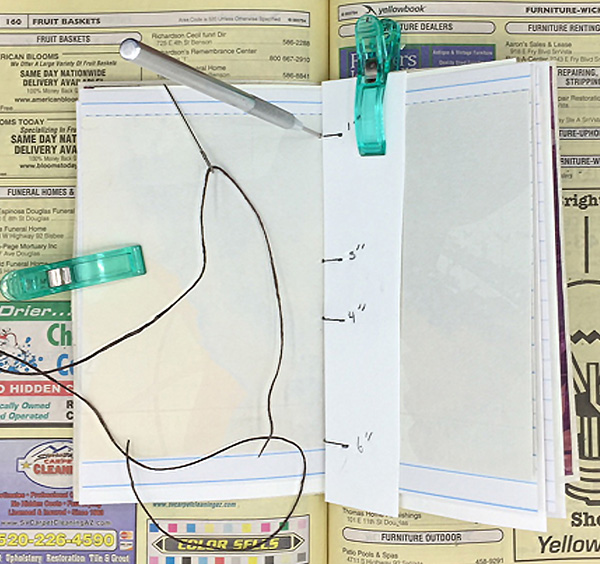
Step 7 – Clip the cover and inside pages together with quilting clips. Insert the journal into the fold of a phone book. Using a guide, punch holes and sew with wax coated book thread and a tapestry needle. (Create a simple punch guide with a piece of paper and a ruler.) Find stitching options by searching online for 4 hole pamphlet stitch.
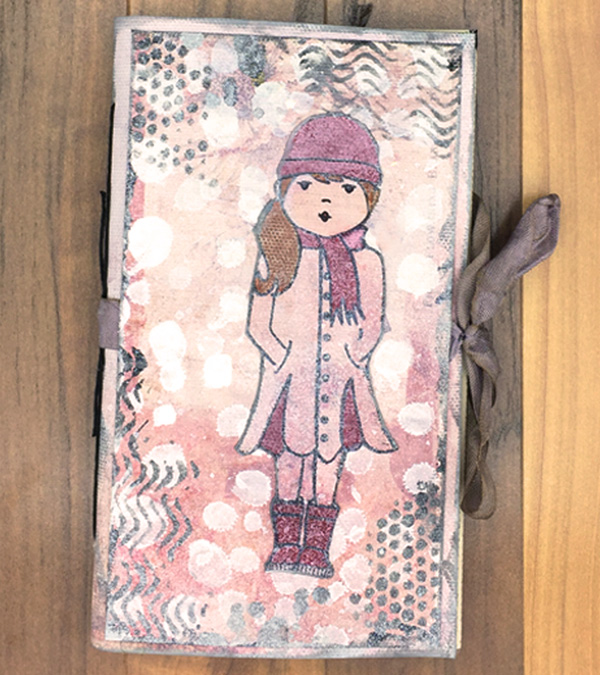
And of course you can create more elaborate layouts, add traditional art supplies, or resize the pamphlet journals as desired. This mixed media artist couldn’t help herself so I had a little messy fun and created “Felicity Has a Snow Day”.
Now that I have my pamphlet journals designed I plan to print and assemble a few more for my gift stash. Perhaps they will brighten someones day during this busy holiday season. And as always, live each day creatively.
PRODUCTS USED
(Click on the images below to be taken to their product pages)


gorgeous!! xo