Audience: Beginners
Category: Photoshop Elements Tips
Operating System: Windows 7
Software: Photoshop Elements 9
First, you want to be sure PSE is closed before you start to install your actions.
Some actions include several files for various versions of PSE. Also, some actions may include pattern (PAT) or brush (ABR) files which must also be installed in order for the action to work properly. Be sure to read any instructions that come with your purchase. For the examples in this tutorial I’ll be using Brandy Murry’s ScrapSimple Tools – Actions: Color Isolation 8501
This tutorial is written for Vista and Windows 7 operating systems. For operating systems other than Vista or Windows 7, see the instructions in the Scrap Girls ScrapSimple Instructions Handbook (Free ScrapSimple basics eBook)
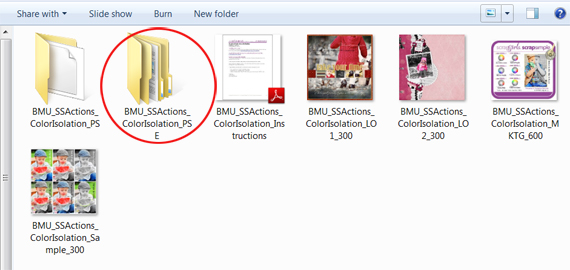
Step 1 – After downloading and unzipping your action files, navigate to the folder where you have stored them on your computer. In my example, you’ll notice that Brandy has included folders for PS and PSE in addition to an instructions sheet, sample layouts and marketing images. I will want to open the PSE folder.
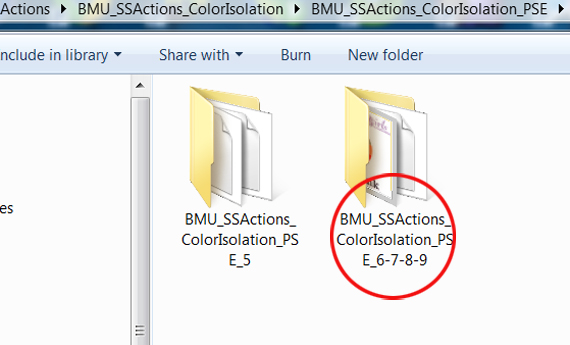
Step 2 – Within the PSE folder, there is one folder for PSE 5 and one folder for PSE 6, 7, 8, and 9. I will want to open the folder for versions 6, 7, 8 and 9.
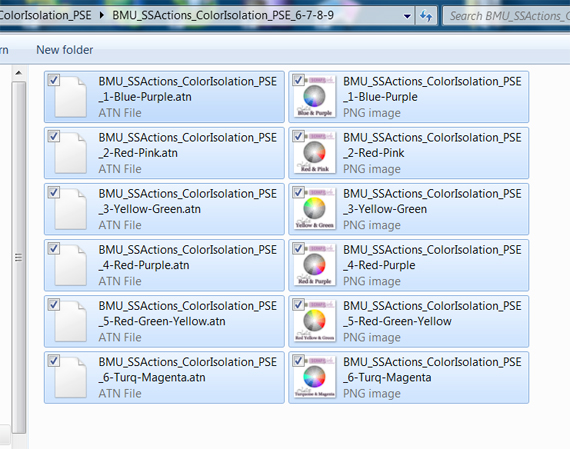
Step 3 –Now I will press Ctrl + A on my keyboard to select all of the action (ATN) and image (PNG) files in the folder.
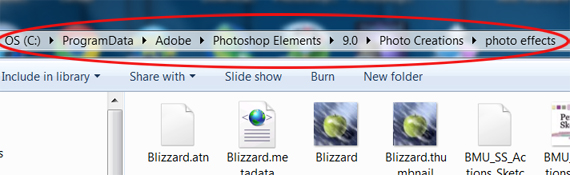
Step 5 – Next, I’ll navigate to the PSE 9 Actions folder. In Vista and Windows 7 the path is:
OS (C:) > ProgramData > Adobe > Photoshop Elements > 9.0 > Photo Creations > Photo Effects
MAC path:
Macintosh HD: Library > Application Support >Adobe > Photoshop Elements > 9.o > Photo Creations > Photo Effects
Step 7 – Now I need to navigate to the MediaDatabase.db3 file to delete it. The path is:
OS (C:) > ProgramData > Adobe > Photoshop Elements > 9.0 > Locale > en us
MAC: Macintosh HD: Library > Application Support > Adobe > Photoshop Elements > 9.0 > Locale > en_US
Now I’ll select the MediaDatabase.db3 file, right click on it and select delete from the menu that opens.