
When I first heard about Silhouette’s Sketch Pens I didn’t quite know what to make of them; but after playing with them I am hooked! It’s pretty amazing to see the Silhouette in action when using these pens. Now you can draw any image and then cut it out – all using the same machine! Inside the Silhouette Designer Edition Software you can customize the sketch settings to your liking, whether you want a real ‘sketchy’ look or more refined hand-drawn look.
Today we are going to create a journal card using PS/PSE Custom Shapes and sketch pens! You can use any shapes or images you want – I will be showing you how to Trace a PNG file in the Silhouette Software first.
Digital scrapbooking supplies used:
ScrapSimple Tools – Shapes: School 6301
Supplies used:
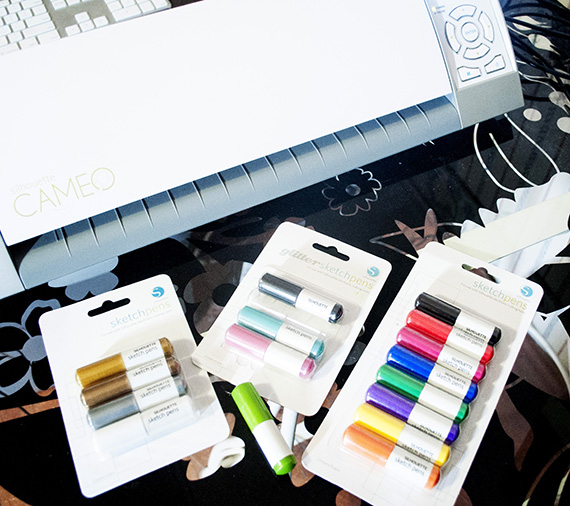
Silhouette Cameo with Silhouette Designer Edition Software
Sketch Pen Starter Pack and Metallic Pack
Instructions:
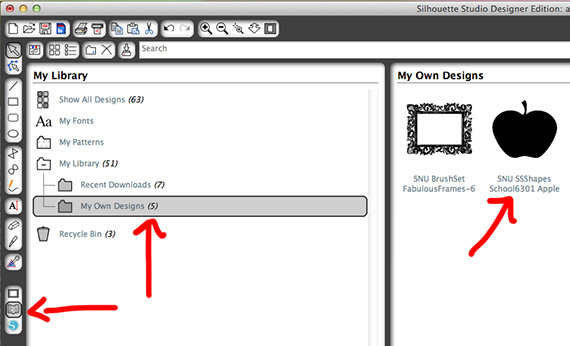
Open up your Silhouette Software. Then go to File>Import To My Library and choose a custom shape or other image. Now click on the Library icon on the right side in the tool menu. Then click on the folder ‘My Own Designs‘ and you should see your shape. Double click on the shape and it will bring it into the Software.
Now, select the shape and click on the Trace icon in the top left menu.
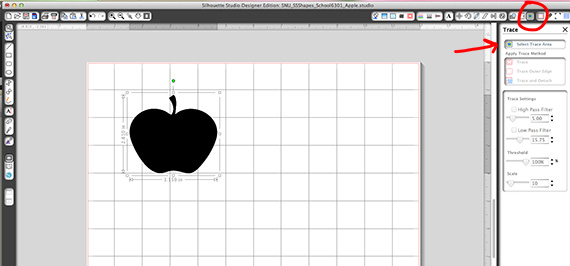
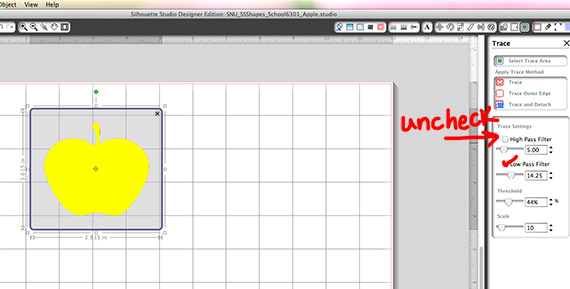
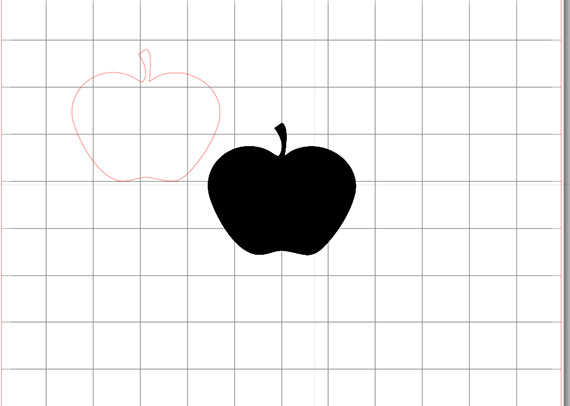
Click on the Select Trace Area and drag a box around the entire image. Then, uncheck the High Pass Filter and play with the Low Pass Filter, Threshold and Scale sliders until the shape is filled with yellow. Now hit Trace.
Next, click and drag the solid shape to the side. You will now see that you also have an ‘outline’ shape. This is now a ‘cut file’. You could go ahead and cut this out of cardstock, fabric. vinyl etc… But we want to ‘Sketch’ the shape! I went ahead and deleted the solid shape since we wont be needing it.
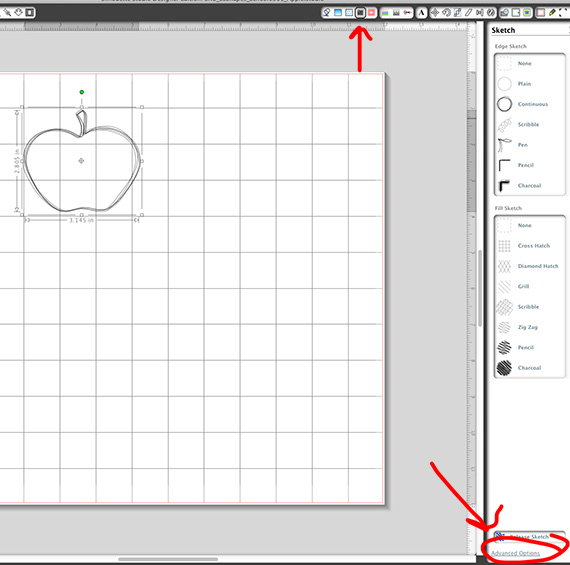
Click on the ‘Sketch‘ icon in your menu bar at the top. This will open up your Sketch window. Click on Advanced Options at the bottom right. This is where the fun begins! You can adjust the look of the sketch by playing with the sliders. You can just sketch the outline of the shape or you can fill it in!
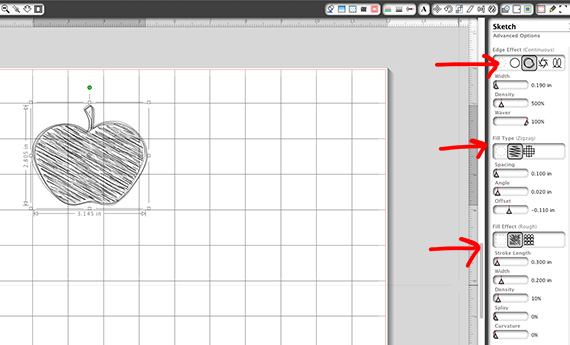
Below you can see that I sketched the outline as well as added a sketched fill. Play with the sliders until you are satisfied with the results.
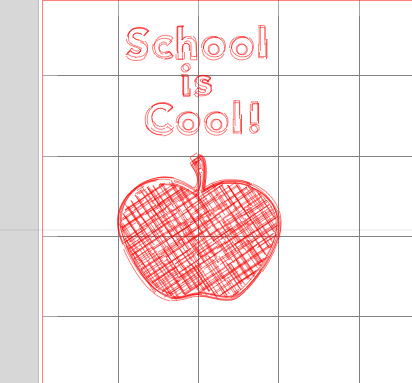
Next, we add some text using the Text Tool which works a lot like Photoshop or PSE. To create a sketched look on your text follow the same method we used on the apple.
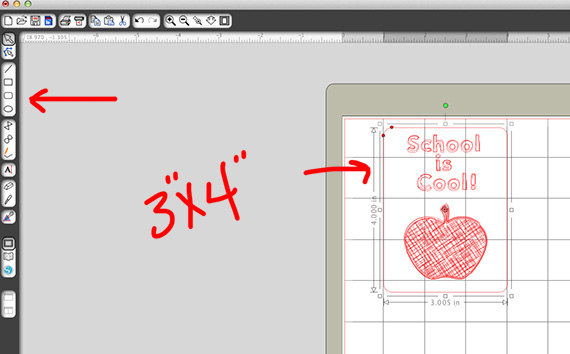
Now, we want to create the actual journal card base. Click on the Rounded Rectangle Shape tool in the menu bar on the left side and drag out a 3×4″ inch shape. Move the journal card base over and center your design inside of it.
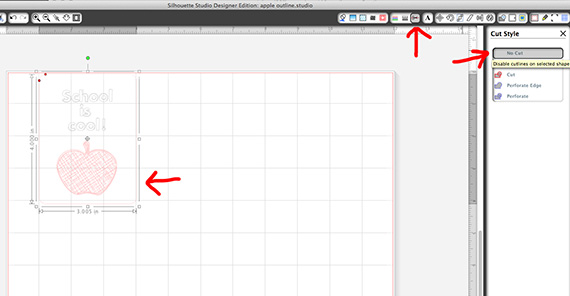
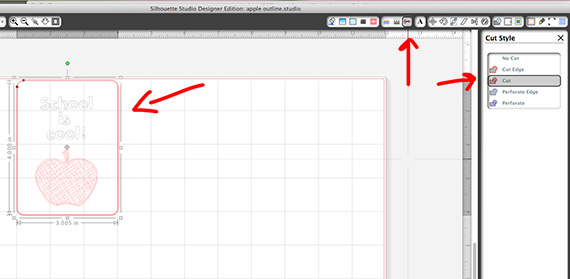
It’s time to Sketch! We need to make sure that the journal card shape does not get sketched. Click on the Cut Style Window, then make sure to only select the journal card shape and hit No Cut in the Cut Style window.
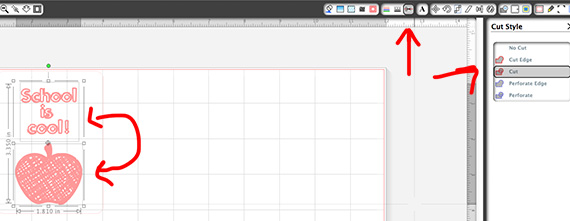
Now we want to make sure that Silhouette knows to sketch our apple and text. So select the apple and the text and click on ‘Cut‘ in the Cut Style window.
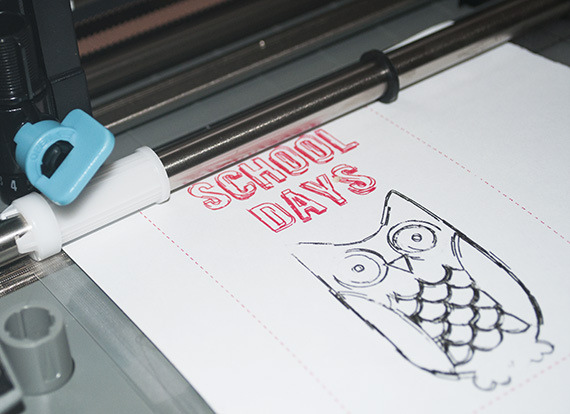
***If you want to sketch the text and apple in different colors only select one at a time and remember that only the one you want to sketch should have ‘Cut‘ selected. Sketch the text first by setting it to ‘Cut‘ and the text and journal card to ‘No Cut‘. Then after the text is done sketching, repeat for the previous steps for the apple making sure to swap out the sketch pen for another color.
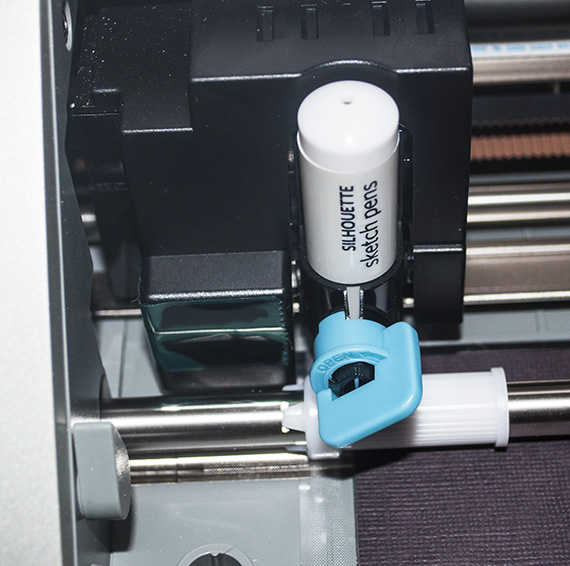
Now place your cardstock on your cutting mat and take out your blade and replace with your desired sketch pen color.
Just turn the blue knob to the left and remove the cutting blade. Slip in the sketch pen and turn the blue knob to the right until it clicks.
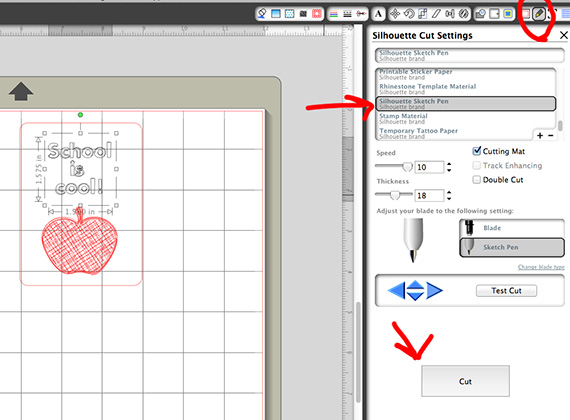
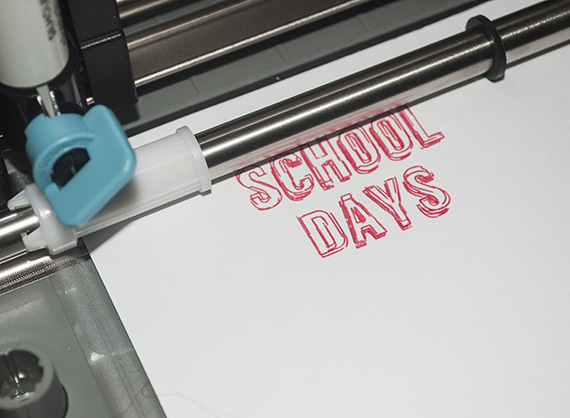
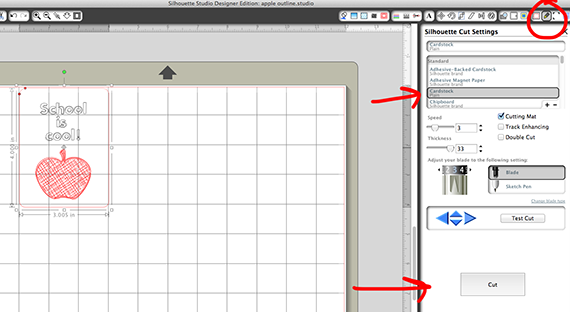
Time to sketch! Click on the Silhouette Cut Settings icon on the top right of your window. Scroll down and select Silhouette Sketch Pen. You might want to do a ‘Test Cut’. This should draw a little something in the top left corner of your cardstock. I found it helpful to scribble with the sketch pen on a piece of scratch paper before placing into the holder. Now hit Cut! Depending on how detailed your image is it could take a few minutes.
Once it’s done sketching leave it in the machine. We now want to cut out the journal card.
Next, you want to click on the Cut Style icon and select the apple and text. Click on No Cut so that only the card shape will be actually cut out. Now, select the card shape and click on Cut.
Go ahead and swap out the sketch pen for the blade, making sure your blade is set at the cardstock setting.
Click on the Silhouette Cut Settings icon on the top right of your window. Scroll down and select Cardstock. Then hit Cut!
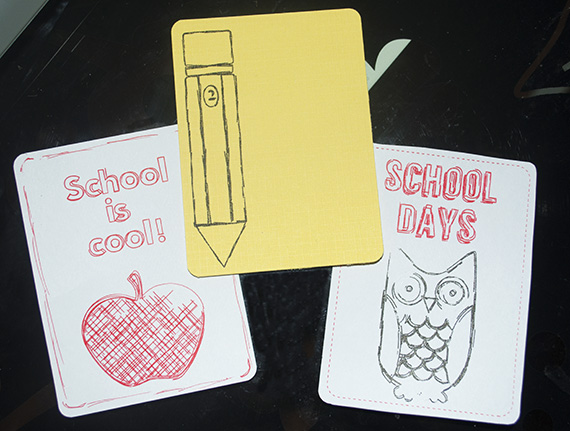
How cool is that??!! Just think of all the journal cards you can create, not to mention cards, stationery and so much more using your digital scrapbooking supplies!


Silhouette is having a Sketch Pen Promotion right now! Check out the Sketch pen deal, PLUS you also get a penholder which will hold a regular ball point pen!
To take advantage of these great deals visit Silhouette HERE and use the CODE: SCRAPGIRLS at checkout to receive your discount!
AUGUST PROMOTIONAL DEALS:
(1) CAMEO plus sketch pen starter pack, metallic and glitter collection packs, plus a $25 gift card and a penholder for $269.99 ($88.96 off the retail price)
(2) Portrait plus sketch pen starter pack, metallic and glitter collection packs, plus a $25 gift card and a penholder for $129.99 ($108.96 off the retail price)
(3) Sketch pen starter pack, metallic and glitter collection packs, plus a penholder for $19.99 ($13.97 off the retail price)

Tutorial written by Syndee Rogers-Nuckles


