
Stitching brushes are one of my all time favorite type of brushes! Particularly, dynamic stitching brushes, because they are super quick and easy to use and mimic realistic stitching. Just click on your document and paint (draw) on the stitching! It’s like magic as it reacts like a real paintbrush would in a continuous stroke.
In the examples below I am using these two dynamic brush sets:
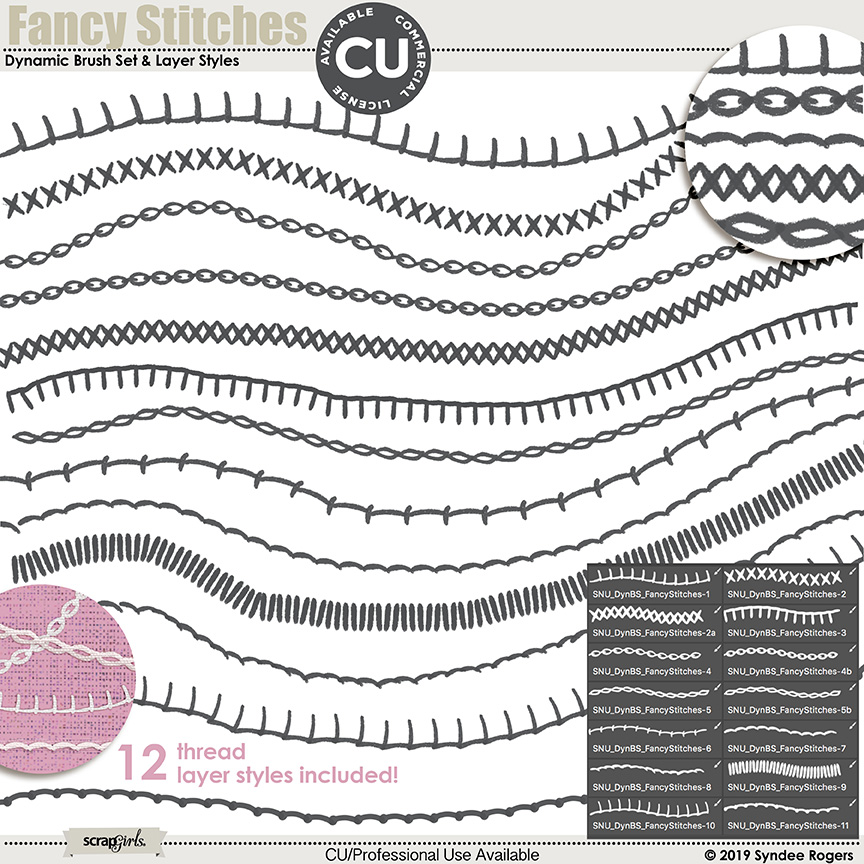
Dynamic Brush Set: Fancy Stitches & Styles (these include free thread layer styles)
Dynamic Brush Set: Stitch Witch
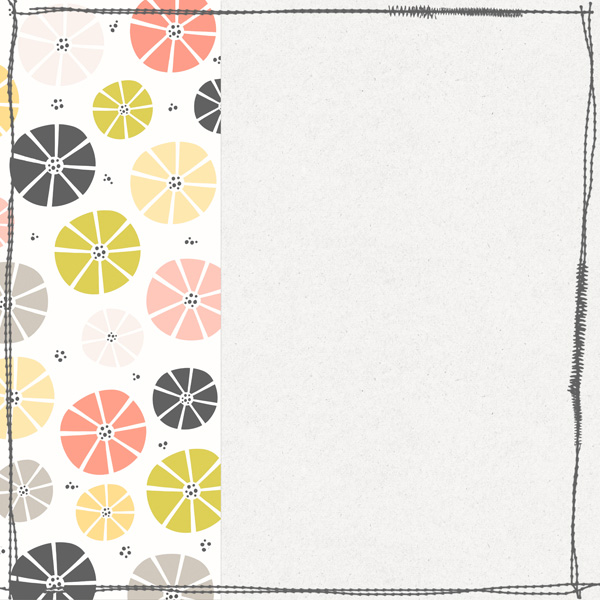
IDEA 1: One of the easiest ways to use these brushes is to ‘Paint or draw’ on a border around a page, card, or project. You can make perfectly straight lines by holding down the Shift key as you draw with your brush, or freehand for a more messy look.
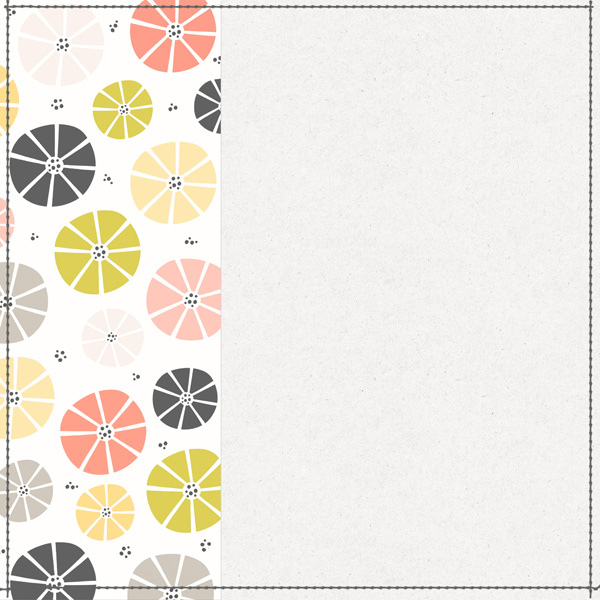
And don’t forget to combined brushes for a fun look as shown below!
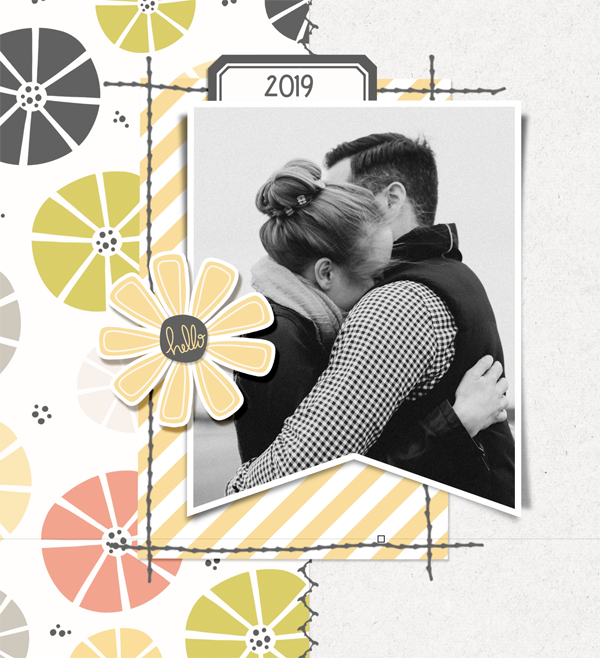
IDEA 2: A great way to showcase your photos is to add a stitched frame. And you don’t have to stick to square or rectangular shapes, why not try drawing a heart or other shape around your photo! You can also just use them by themselves as a decoration!

IDEA 3: Add stitching to paper mattes to make it look like you have stitched it to your page.
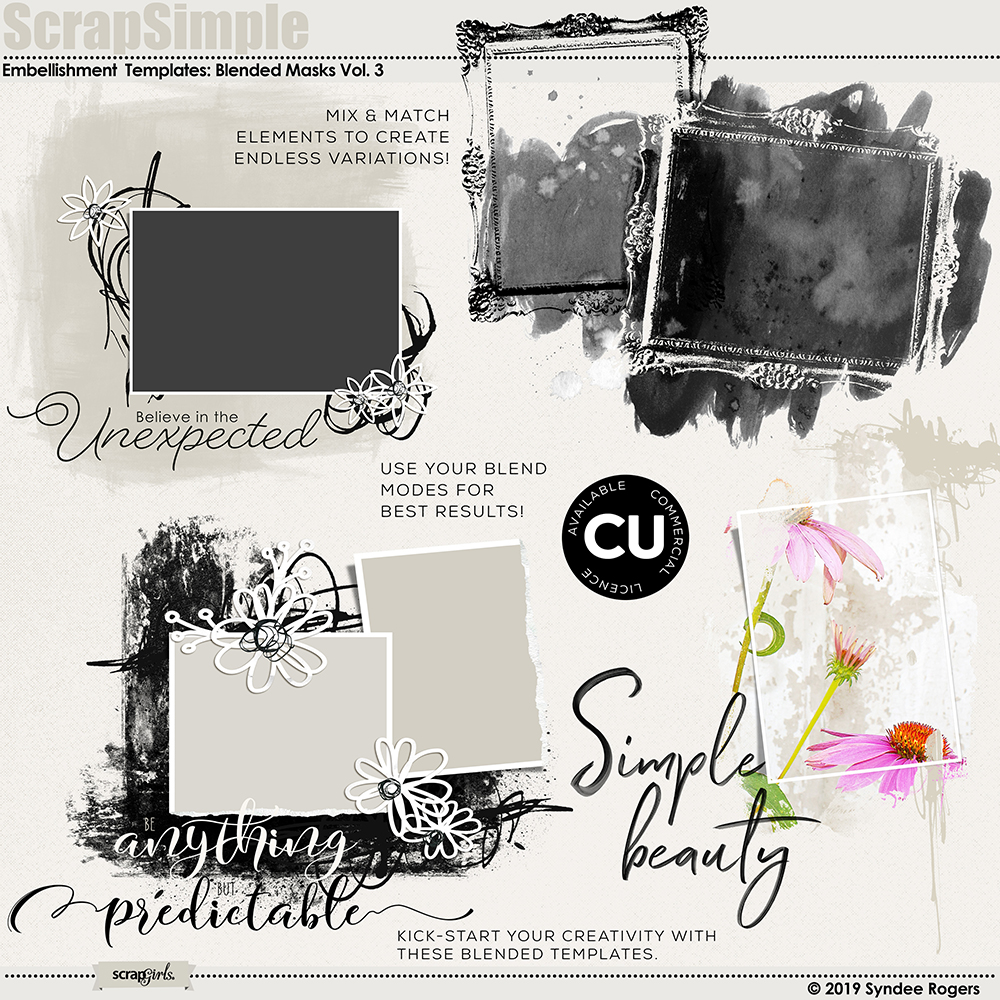
IDEA 4: Add stitching to a template, or photo mask. You can dress up your embellishment and layout templates further by adding bits of stitching here and there.

IDEA 5: Add stitched words to your pages! Freehand a word or use the Text tool to type out a word and trace over it on a new layer. Delete the Text layer when you are done.
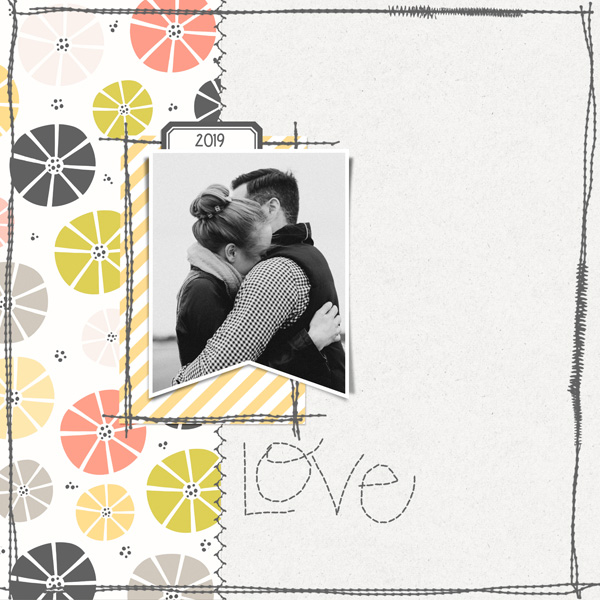
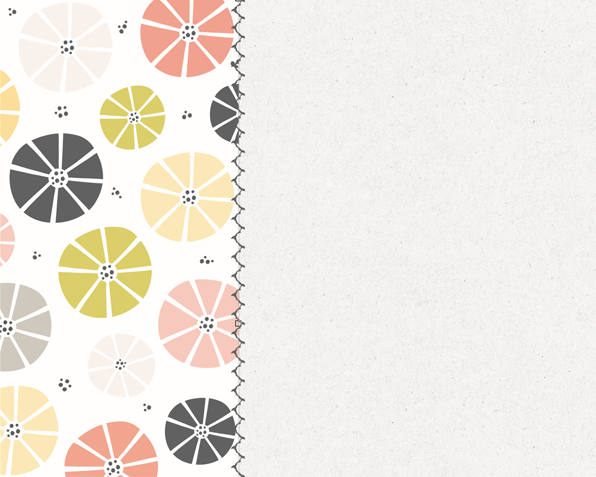
Bonus idea: OK. So it’s too hard to stop at 5 ways to use these brushes! Add a paper strip to one side of your page (or a card) and draw/brush your stitches along the inside edge of the paper, to ‘stitch’ it into place.
Well, as you can imagine there are many other fun ways to use these brushes but that will have to wait for another time!
PRODUCTS USED
(Click on the images below to be taken to their product pages)

Happy stitching!


