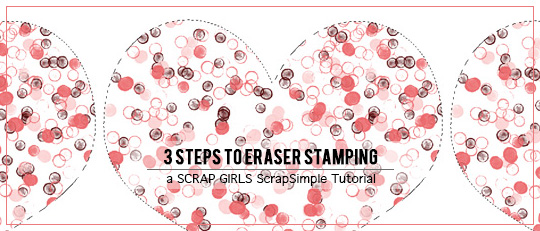
Eraser stamping is a popular technique that is showing up in everything from scrapbooking to clothing to children’s crafts. Basically, you take some paint or ink and use the end of a pencil to stamp it onto paper. Using multiple colors of paint or ink, and several different pencils adds layers of interest. Eraser stamping is usually done using a stencil or a reverse stencil.
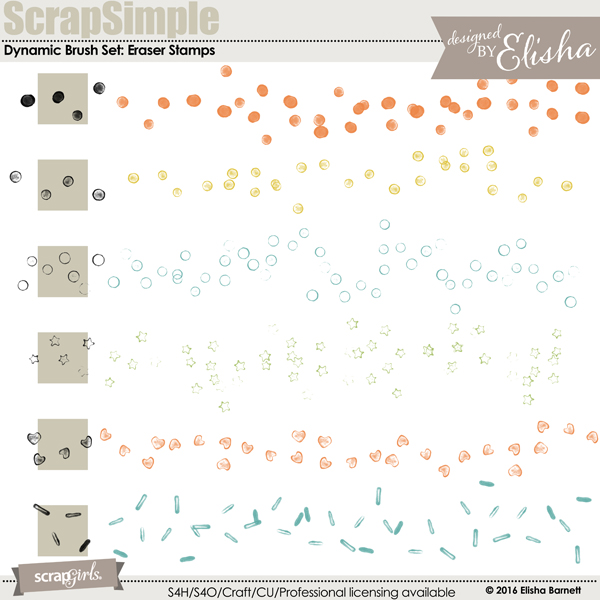
Although these techniques are usually done by hand, they can also be created in Photoshop Elements. Digital stamping is just as much fun and a lot less messy. Elisha Barnett’s Dynamic Brush Set Eraser Stamps is the perfect stamp set to get started! Let’s explore this together!
1. Use the Custom Shape tool.
After you create a new document in Photoshop Elements, draw a shape using the Custom Shape tool to be used as a stencil/mask. (A mask is basically a digital stencil.) Next, make a Direct Selection by holding the CTRL key down while clicking on the thumbnail picture of the shape in the Layers palette. This will put a selection around the shape – it looks like little “marching ants” outlining the shape. A Direct Selection selects all solid pixels in that layer. Make the shape invisible (by clicking on the little eye icon next to that layer in the Layers palette) or delete that layer altogether.
2. Create new layers as you stamp.
A new layer is where you will do your brush work. Load the ScrapSimple Brush Set: Dynamic Brush Eraser Stamps into Photoshop Elements and start stamping. Create new layers as you go along, using a new one for each different stamp and each different color. It takes an extra moment to create a new layer each time, but it will save you time and stress in the long run. You don’t need to be too careful around the edges of the shape because the stamp will only appear inside the selected portion.
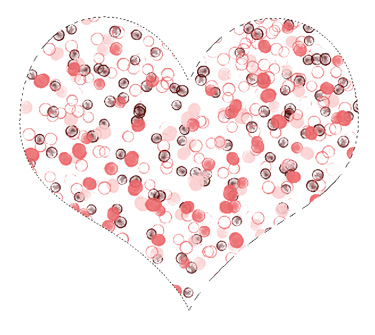
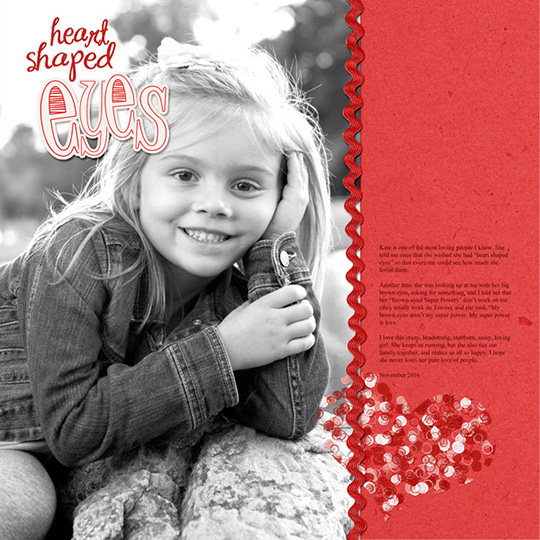
Believe it or not, you’re done! It really is that simple! Your unique art is ready to use it on your layout.
Once you have tried this technique, don’t hesitate to experiment with other items! A brush, stamped onto its own layer, an alpha, thick bold text, or other embelishments can be used instead of a custom shape.
Another variation is to stamp everywhere except inside the shape or mask. To get this look, make the Direct Selection and use the shortcut Shift+CTRL+I (that’s the capital letter I, not L). You’ll see the same “marching ants” outlining the shape, but you will also see them outlining the entire document. Any stamping will appear between the edge of the shape and the edge of the document.


Eraser Stamps, along with 6 other beautiful coordinating products were originally offered as a ScrapScrap Club selection. If you were a club member you would have received all these supplies for just $6.99 a month!
Join the Club today and start saving tons of money on our top designs!
Learn More