
Article written using Photoshop Elements 11 with Windows 8
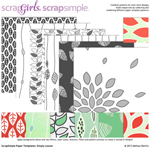
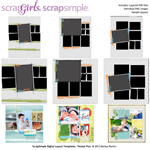
The 15th of every month is my second favorite day of the month, I am always so anxious to see what fantastic digital scrapbooking supplies the designers will include in the monthly ScrapSimple Club. In June I was thrilled to see the ScrapSimple Club contents by Melissa Renfro. I love when the designers include layout templates in the club, and the leaf brushes and Pocket Plus supplies are super versatile!
For me, the hardest part of getting started with my ScrapSimple supplies is choosing the color palette. Therefore, I have started using the color palettes included in many of the digital scrapbooking kits in my collection. This simple step saves me tons of stress and time, and I find myself using my ScrapSimple supplies more frequently.
Some of my older collections don’t include a color palette; in that case, I look for a patterned paper that has all of the colors I want to use. I pull it into my work area in Photoshop Elements and use my color picker to choose the colors. After I choose my palette, I mix and match, color, and add styles until I get the look I like.
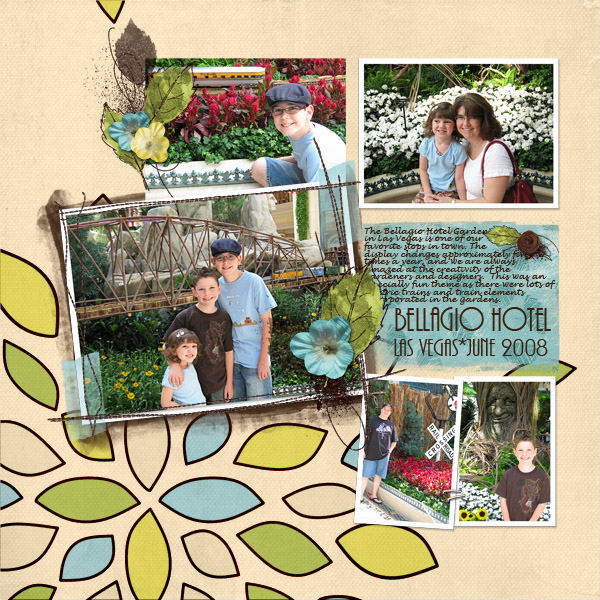
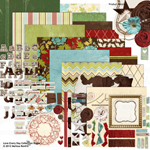
In June’s ScrapSimple Club, I fell in love with Melissa Renfro’s ScrapSimple Paper Templates: Simply Leaves, and I knew as soon as I saw it that I wanted to make the Sunburst paper into a multi-colored flower. I chose to work with some of the colors in Melissa Renfro’s Love Everyday Collection Biggie. I just love the soothing greens and blues in that color palette that she used on her chevron paper.

In order to recolor only certain areas of the sunburst, follow along with me as I show you how I did it.
First, select the Magic Wand Tool from the tool bin on the left side of your screen.
In the tool options bin at the bottom of your screen, check the Add-to selection and Contiguous options.
Use the Magic Wand Tool to randomly select the “petals” you want to recolor the same color on the Insides layer. You should see “marching ants” surrounding each of the petals you want to recolor together. At this point, I like to right-click the mouse and Layer via Copy. This puts the section of the sunburst on which I am working on its own layer, which I find easier to work with later if I want to add styles, use Blending Modes – or change my mind and decide to go an entirely different direction!

Using the Color Picker tool, select the color you want to use from the color palette or patterned paper you have chosen.
Use the Paint Bucket Tool with the Contiguous option unchecked and fill in your selected petals. At this point, you could also use one of the ready-made papers in your supplies and clip them to your petals using Ctrl+G.
Continue selecting, copying, and re-coloring your petals until they are all filled with color.
Fill in the Base layer with your color choice using either the Paint Bucket or a ready-made paper.
Drag a paper under the base to act as the background layer, and you are done!

Now that you have your background paper, you can add it to a layout template from Melissa’s great ScrapSimple Digital Layout Templates: Pocket Plus and add your photos, embellishments, and journaling to finish your layout. Using a few simple shortcuts, like utilizing the color palettes or colors in the patterned papers in your collections, you can save lots of time when making layouts with your ScrapSimple supplies.
Give it a try, then come and share your favorite shortcuts and layouts using your ScrapSimple Club in the Scrap Girls Gallery.
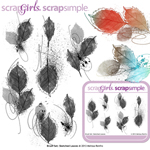
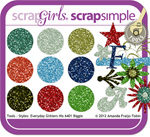
Commercial license versions of ScrapSimple Paper Templates: Simply Leaves,ScrapSimple Digital Layout Templates: Pocket Plus, ScrapSimple Embellishment Templates: Pocket Plus Photomasks, Brush Set: Sketched Leaves andScrapSimple Tools – Styles: Everyday Glitters His 6401 Biggie are also available.

Tutorial written by Melanie Cockshott


