
Article written using PSE 11 and Windows 7
From time to time, my mind wanders, and my thoughts flit like butterflies from thing to thing. I don’t know if it’s because of my age, my hormones, or maybe just my desire to leave the structure of my day-to-day life behind. Whatever the cause, whenever I let my mind have a mind of its own, it can surprise me with all kinds of new ideas and understandings. Sometimes I lose the ideas before I can commit them to paper or to memory. But recently, one understanding came and stuck with me: When I am creating a digital scrapbook page, I begin with my eyes.
I know that some people have a plan, a theme, or a photo that they start with and then create their layouts around it. But I respond to colors, patterns, and embellishments on a visceral level that I cannot fully explain. For me, the creative process happens like this: I see colors or shapes, then I get a feeling. The feeling brings some memories to the surface, then I decide to make a scrapbook page to capture the feeling and the memory.
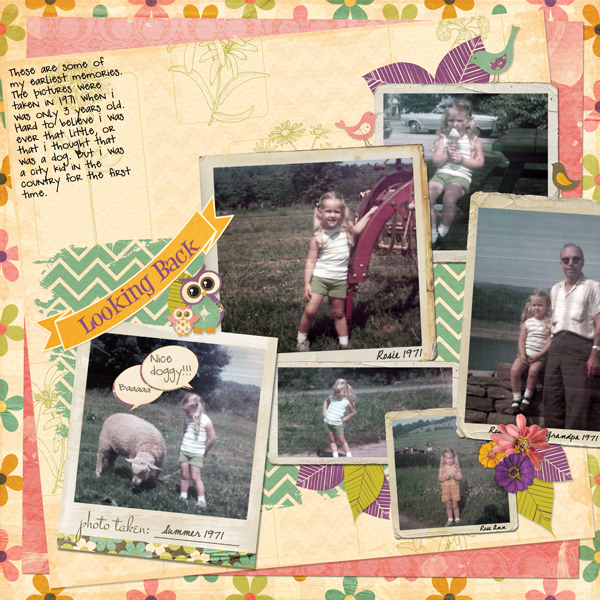
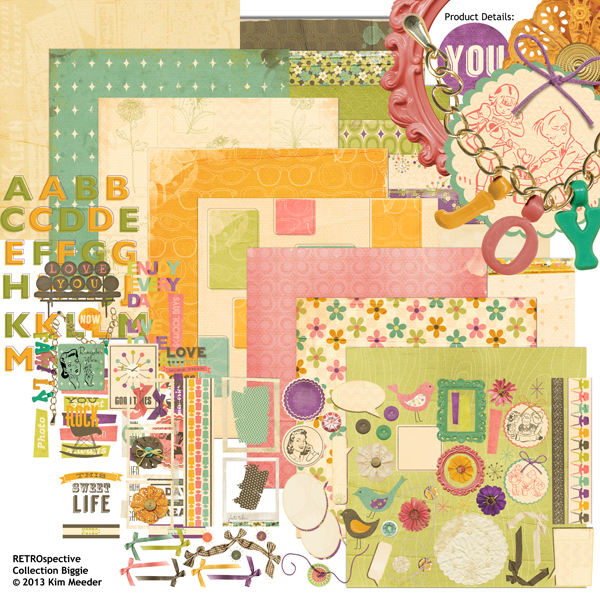
Let me give you an example. When I saw RETROspective Collection Biggie by Kim Meeder, it immediately brought to mind memories of when I was a very little girl. The sherbet orange and soft pinks, purples, and greens are the same colors I remember from my childhood, like a faded film in my mind. It wasn’t until I saw RETROspective that I even considered making a digital scrapbook page using some of my own childhood photos.
I started by looking through a box of old pictures to find the ones whose memories were inspired by this lovely collection. I scanned them at 300 DPI (dots per inch) and used the Guided Edit workspace in Photoshop 11 to perk up the colors a little bit. I created a new 12×12-inch document, then I opened some of the collection’s papers, dragged them from the photo bin onto my layout, and stacked them one on top of the other, as if they were on my table.
I wanted the pictures to have borders the way old-fashioned photos do, but when I had scanned mine, the borders had curves and shadows that I didn’t find appealing. Photoshop Elements 11 has many useful “smart” features (that I hardly ever remember to take advantage of!). Some of my favorite smart objects are photo borders that allow you to drag and drop your picture into them.
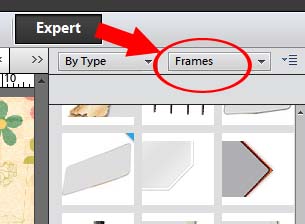
In the PSE 11 workspace, look at the bottom of the Layers Palette. There is a row of buttons down there that takes you to the Styles, Layers, or Graphics Palettes. Click the Graphics button (it looks like an addition symbol) and then choose frames from the drop-down menu at the top of the Graphics palette.
Click on the one you’d like to use for your photo, and it will be placed in your layout. Drag a picture from your photo bin into the frame, and it will automatically be inserted into the frame. You can resize the picture while it is still framed. If your pictures are not in the photo bin already, you can double-click on the gray area inside the smart frame and it will allow you to choose pictures from your files.
First:

Then:
Photoshop Elements 9 has similar objects for you to use, but you choose the Content tab at the top of the Layers Palette and then Frame Decoration from the drop-down menu.
After I framed my pictures, I added some of the charming embellishments and word art from the RETROspective digital kit, and I finished my layout with some journaling.
I can’t wait to see the layouts you create using this beautiful and versatile kit! Post them in the Scrap Girls Gallery so that we can share your joy and “leave you some love.”
Digital scrapbooking products used:


Tutorial written by Rose Ann Bright


