

Article written using Adobe Photoshop Elements 9 with Windows 7
School is starting, and my daughter is so excited! She’s been begging me to make something special to give to her new teacher. Since I don’t have a lot of time or energy, I knew I needed something simple and inexpensive. School supply vases to the rescue! What teacher wouldn’t appreciate receiving supplies and flowers, all rolled into one?
There are lots of variations, but I put my own twist on things by wrapping crayons around a vase using masking tape to hold them in place, then covering the tape with ribbon. Easy-peasy.
To really make it extra special, I used digital scrapbooking supplies and Photoshop Elements to make a custom tag to go with it. Here’s how you can make your own: First, create a new document in Photoshop Elements. I found that 3×2-inch was about the right size for my vase.
Next, draw your label. I used ScrapSimple Tools – Shapes: Labels 5201 by Keri Schueller. I love how these labels are just a little fancy. It really dresses up the look of the vase.
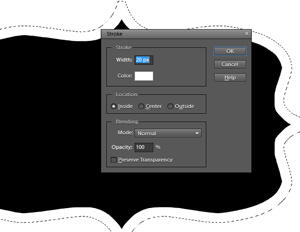
Next, apply a stroke (outline) to the label by first Ctrl+Clicking on the thumbnail of the label layer in the Layers Palette. (This is called making a Direct Selection, and it selects all of the filled pixels in that layer.) Then I created a new layer and clicked Edit> Stroke (Outline) Selection. When the Stroke menu window opens, choose your settings. I chose white, 20 pixels wide, inside location. I also added a second stroke that was black, 1 pixel wide, just to make cutting out the label easier.
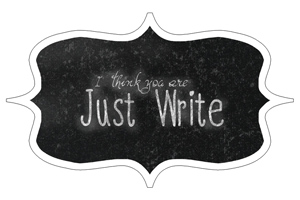
Finally, add some text, embellishments, and/or styles. I used Lettering Delights Warm Heart Font and Font: Handy. I also used ScrapSimple Tools – Styles: Chalkboard 6301 by Syndee Nuckles to give the text and background a school-time feeling. The style was so easy to use and even includes a video showing how to make the chalked effect look more realistic. When using Photoshop Elements, remember to Simplify (in Photoshop, it’s called Rasterize) any custom shape or font layers before applying styles.
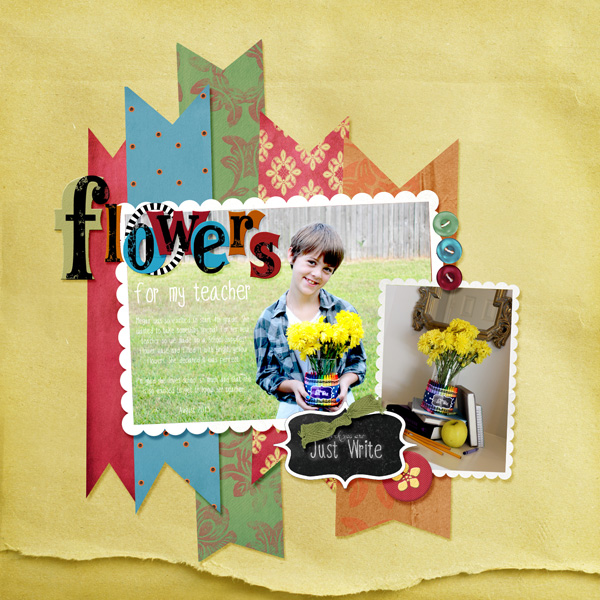
Once your label is finished, print (two 3×2 labels will fit on a 4×6 photo, making printing easy), and cut it out. Use some craft glue to stick the label to the ribbon, add water and fresh flowers, and you are done!
I am so excited to give this vase to my daughter’s new teacher! I hope you’ll try making one of your own! Or, try using colored pencils or markers as a gift to a special artist in your life! I’d love to see what you come up with, so be sure to post your creations in the Scrap Girls Gallery!
Digital scrapbooking supplies used:


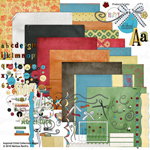
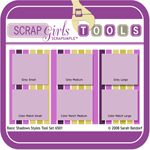
Commercial license versions of ScrapSimple Tools – Styles: Chalkboard 6301 andScrapSimple Tools – Styles: Basic Shadows 6501 are also available.

Tutorial written by Anna Mansfield


