
 Follow along as Sue shows you how tweaking colors can change the way you scrapbook!
Article written using Photoshop Elements 6
You’ve heard it said here before: Digital scrapbooking gives you maximum flexibility with everything you use. Colors can be changed, sizes can be reduced or enlarged at will, and you can use your digital goodies forever and never run out!
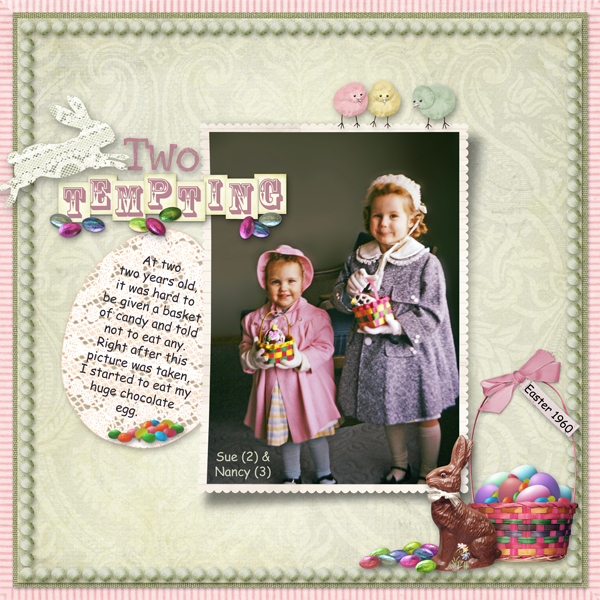
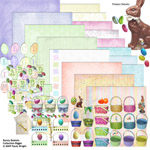
Today, I want to prove just how easy it is to tweak colors. I wanted to use an Easter basket from Paula Wright’s Bunny Baskets Collection Biggie for my heritage Easter layout, but the colors were too bright for my pastel page. Here’s the way I tweaked the brightness and lightness of the basket while keeping the fun colors and good contrast.
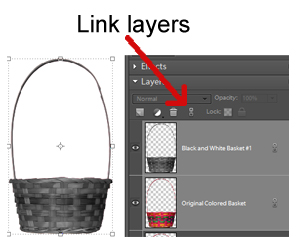
First, I created a black-and-white copy of the basket on top of the original. With the original basket selected on the Layers Palette, I hit Ctrl+J to make a copy. To change the copy to black and white, I clicked Ctrl+Alt+B, then Enter for the default black-and-white setting. My layers were now black-and-white basket and original basket.
Next, I selected both layers by clicking on first one layer on the Layers Palette, holding down Ctrl, and then clicking on the other. With both layers lit up, I clicked on the chain to link the two layers. Now if I moved or resized one layer, the other would be altered in the same way.
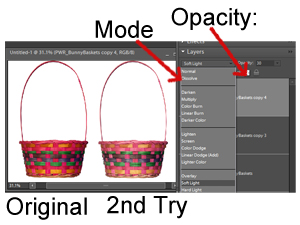
Next, I wanted to make the basket lighter and less bright by changing the Blending Mode and Opacity on the black-and-white layer. With the black-and-white layer selected, I changed the Blending Mode to “Screen” and the Opacity to 40%. You can see the difference below:

This first try made the basket color much lighter, but I wanted greater contrast so the weave of the basket would show up better. With the black-and-white layer highlighted, I clicked Ctrl+J to make a second black-and-white layer. I changed this second black-and-white layer’s Blending Mode to “Soft Light” with Opacity at 30%. You can see this second try below:
I was happy with this version, so I decided to merge the layers. I selected the top layer, held down Shift, and clicked on the bottom layer. This highlighted all three layers. I right-clicked on one of the layers in the Layers Palette, then selected “Merge Layers” from the pop-up window to condense the three layers into one layer.

Why not try this color adjustment the next time you want to tweak a digital scrapbooking element? When you do, be sure to post your layouts in the Scrap Girls Gallery so we can all enjoy them!
Happy Scrapping!
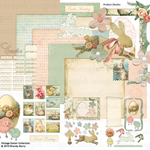
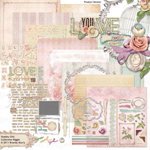
Digital scrapbooking products used:
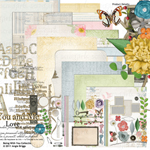
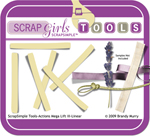
Commercial license versions of ScrapSimple Tools – Actions: Mega Lift III Linear PSE Biggie are also available.
 Tutorial written by Sue Maravelas


