
Tutorial created Adobe Photoshop CS4 and Windows Vista
The ScrapSimple line of Digital Layout Templates are an essential component of my digital scrapbooking stash. I love that the designers have given us some insight into their own layouts through their templates. Think of them as a sneak peek into the creative process of the designers!
As wonderful as the templates are, though, sometimes you may want to make adjustments to the templates. You might like to add or subtract photos from the templates to fit your theme or your large collection of photos. Often, there is a template which I love, but the orientation of the photo spot doesn’t match the photo that I want to use.
Has that happened to you? Don’t let that discourage you from using one of the many ScrapSimple Digital Layout Templates! Our wonderful designers have thought ahead on this and have provided the layers in the templates. These layers allow us to alter the templates in any way we wish. As with many things in digital scrapbooking, there are often many ways to accomplish one task. I am going to show you one way to rotate your digital layout template so you can double or triple your mileage with your theme!
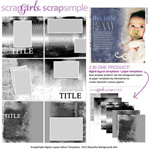
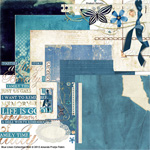
For starters, select your desired digital layout template. Here, I chose a template from ScrapSimple Digital Layout Album Templates: 12×12 Beautiful Backgrounds Mini. I really liked the layered templates for the background paper and the long horizontal photo at the top. But my vision for my layout included using the large horizontal rectangle in a vertical setting along the right-hand side of my layout. To achieve that, I wanted to rotate my entire layout 90 degrees to the right.
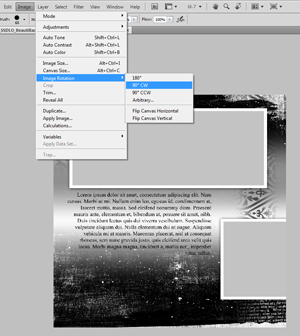
Before you do anything else, be sure to “Save as” the original file with a different file name, or open a copy, so that you don’t make changes in the original. You will want to use it again and again! Then, simply go to File> Image Rotation. Once there, you can choose how to rotate your layout. This method rotates your entire layout at once and includes all the layers. For my layout, “Rotate 90 CW” was selected. CW means “clockwise.” This step rotates the entire document, whether you are using the layered PSD file or a flattened JPG file. Layers do not need to be locked together.
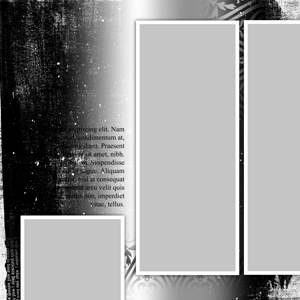
After I completed this step, I liked almost everything about the way it looked except for the journaling block. The journaling block after rotation is in a vertical column but reads sideways. That could be okay, but rotating the journaling to a horizontal format was a better fit for my vision of the layout. Rotating this one layer is done differently than the step above which rotates all of the layers in the layout. Here, just the single layer needs to be rotated, not everything.
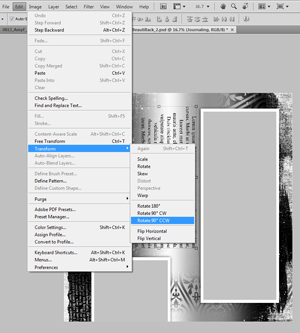
First, I highlighted the layer to rotate. Then I selected Edit > Transform. From there, I selected which direction to rotate the layer. In my layout, “Rotate 90 CCW” was selected. CCW means “counterclockwise.”
Now that the journaling layer was rotated, it needed to be moved into the proper position. I highlighted the journaling layer, selected the Move Tool, and dragged it into the position desired.
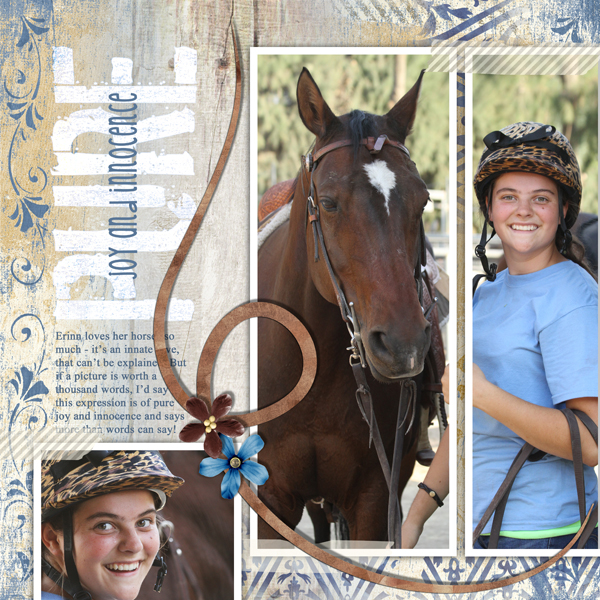
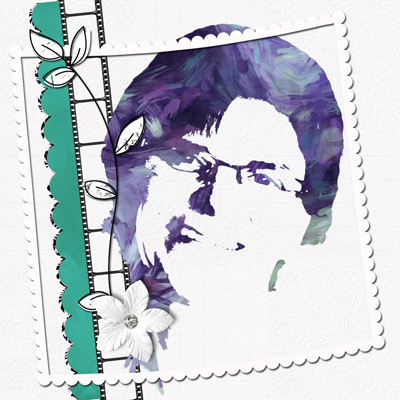
My last step adjusted the photo spots. First, the small frame and mask on the lower left were locked together and slightly moved over to the left using the Move Tool. Then, the tall mask and frame were locked together and also moved to the left. Lastly, the tall mask and frame were duplicated and moved to the right so that one edge of frame was off the edge of the layout, which replicated the frame on the lower left. My final template looked like this:
One of the most wonderful aspects about Digital Layout Templates from Scrap Girls is that they can be totally customized when you are working with the PSD or the PNG format. They offer a great way to launch your layout from a designer’s perspective, yet wind up with something that is totally yours. You can also use them over and over, and with minor changes, each time they are used, they can be totally unique.
I hope that you are inspired to try a template and alter it to take advantage of all they have to offer!
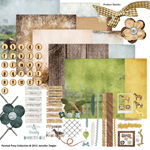
Digital scrapbooking products used:


Tutorial written by Amy Flanagan


