Article written using Adobe Photoshop Elements 7 with Windows 7
There are many different ways to recolor digital elements, and most scrappers have a preferred technique. Often, the item to be recolored will dictate the technique used.
Today, I want to focus on changing just one color on a multicolored item. We will be recoloring using a Hue/Saturation adjustment layer.
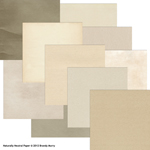
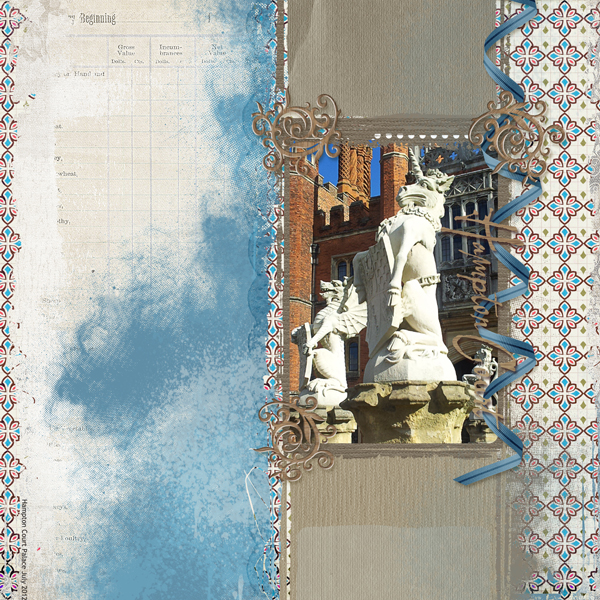
I am going to use a paper from Count the Ways Collection Biggie by Angie Briggs. I want to change the red in it to blue (and in turn, the yellow will turn red). I want to keep the other colors as they are. This technique will affect similarly hued colors in some ways and does work best when there is contrast between the colors.
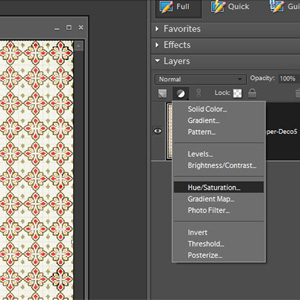
First, with the paper layer active, go to the Layers Palette and select Create Adjustment layer (the small half-white/half-black circle icon). Select Hue/Saturation.
This will open a dialogue box; click OK. Clip this Hue/Saturation layer to the item layer you are adjusting (with the Hue/Saturation layer selected, click Ctrl+G on a PC or Cmd+G on a Mac). Of course, if you wish to color multiple items at once (for example, a non-merged alpha), you can skip this step.
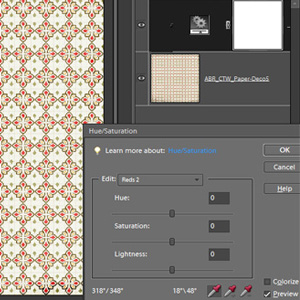
Double-click the small grey thumbnail on the left of the Hue/Saturation layer, the same dialogue box as before will come up.
Under Edit, click the arrow to see the drop-down menu. You want to select a color that is as far away on the color spectrum as possible from your item to be recolored. I want to change red, so I chose cyan to be farthest away.
Next, click on the color in your image (using the Eyedropper Tool) that you wish to change (in my case, red). You can see the choice where it said “Master” now says Reds2.
Using the slider, adjust the Hue until you reach a color you like. You can adjust Saturation here if you wish. Click OK.

If you need to change multiple colors in the one image, you can merge after each color has been changed and add a new Hue/Saturation layer. Repeat the process until you are finished.
This is a refresher of my steps:
- Create adjustment layer > Hue/Saturation layer.
- Clip to the layer beneath that you wish to recolor.
- Under “Edit” select a color that is as far as possible from the color you are changing.
- On your item, select the color you wish to change.
- Use the Hue slider to select a new color.
- Copy the name of the item, merge layers, and rename the merged layer.
I hope you enjoy personalizing and extending your digital scrapbooking stash using this technique. Post your changes for us to all see in the Scrap Girls Gallery, and mention your original colors so we can all marvel at your work!
Digital scrapbooking products used: