
Article written using Adobe Photoshop CS5 with Windows 7
I love fall. As a photographer, there’s no more beautiful light than the warm glow of an autumn afternoon. It sets the brightly colored leaves ablaze and lends a soft, golden touch to my photos.
As a digital scrapbooker, creating fall-themed pages can sometimes be a challenge, especially if you live in a place where the leaves don’t change color or the photos you want to use on your digital layout were shot on an overcast day. How do you reconcile the warm, rustic color palette of a digital kit or collection with the tone of your photos?
Just add a little autumn glow. It’s super easy, and it will really enhance the look of your layouts.
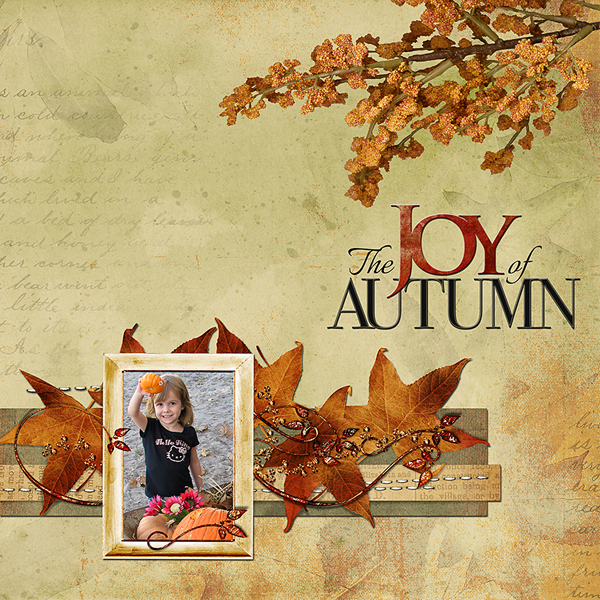
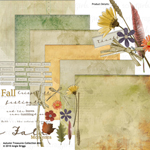
Take a look at this digital layout. The warm-toned paper and embellishments are perfect for fall. But the photo lacks the same tones. In fact, it’s more of a cool-toned image, and that makes it stick out on the page like the proverbial sore thumb.

To make it more compatible with the rest of the page, I’ll need to warm it up some. Sure, you can use one of the Warming Filters in Photoshop or Photoshop Elements, but I much prefer using an adjustment layer, or maybe two, for a custom look.
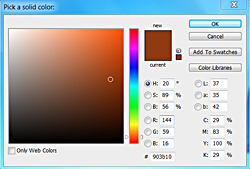
Take a look at your layout, then get the Eyedropper Tool and click on a nice warm tone from your background paper or an element that will help add that autumn glow to your image. I chose a rust color from one of the leaves.
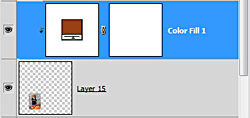
In the Layers Panel, click on the photo layer. Then click on the Adjustment Layer icon (the little circle that’s half black and half white), and then click on Solid Color. That will open a Color Picker Tool box, and you’ll see that the color you just chose is highlighted. Click OK.
To apply the solid color only to the photo, and not all the other layers underneath, simply hold down the Alt key (Mac: Opt key), and in the Layers Panel, click on the line between the adjustment layer and the photo layer.
Then, set the Blending Mode to “Soft Light” and lower the Opacity until the warm tone looks natural on your image. For my photo, I set the Opacity to 44%. Your setting will vary according to your photo.
If you like what you see, great! You can move on with your page. Or you might choose to add another solid color adjustment layer to bring in a bit more warmth and light. For my second layer, I chose a golden yellow from one of the elements on the page, and once again opened an adjustment layer and clicked on Solid Color, and then OK in the dialog box.
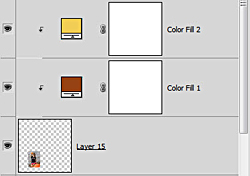
For my gold layer, I set the Blending Mode to “Soft Light” and reduced the Opacity to 30%. Again, your settings will vary.
Once you’ve added your autumn glow to your image, you can select the color fill layers and your photo layer, and press Ctrl+E (Mac: Cmd+E) to merge them (or you can leave them separate, if you prefer).
See how much better the page looks when the tone of the photo matches the warmer tone of the surrounding paper and elements?
It’s a subtle adjustment, but it makes a big impact, and it gives your digital scrapbook page a more polished and cohesive look.
BEFORE AFTER

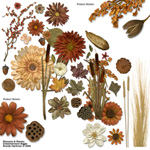
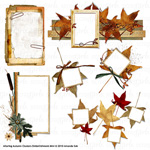
Digital scrapbooking products used:


Tutorial written by Jan Walker


