• Facebook
  • Twitter
  • Google
ScrapGirls
  • SHOP
  • LEARN HOW
  • BLOG
  • FORUM
  • CHAT
  • CONTACT US
Select Page
Home / All Posts / Using One Photo with Multiple Frames

Using One Photo with Multiple Frames

Frames are a great way to highlight photos on a layout and help them to stand out from the background and embellishments. After all, the photos are the reason most of us are scrapbooking, so we really want them to be the star of our pages. Placing a photo inside a frame is a fairly straightforward process of layering the frame on top of the photo and resizing or cropping the photo to fit.

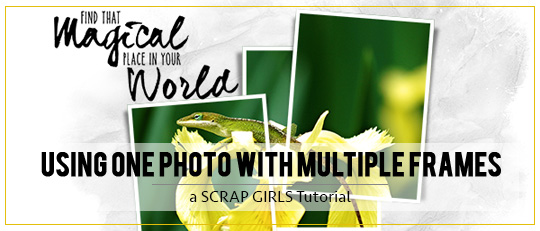
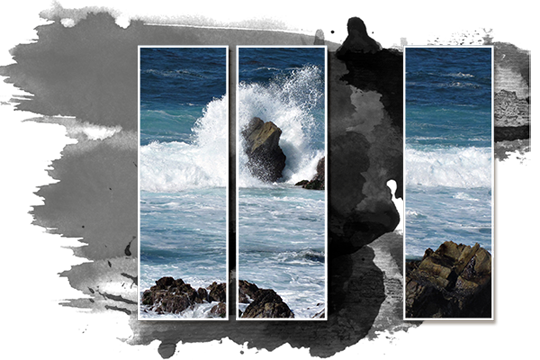
Another great option, however, is to use multiple frames with one photo. Using multiple frames with one photo on a layout can have several benefits:

  • It allows you to highlight certain parts of your photo.
  • It adds a wonderfully modern and artistic look to your layout.
  • It can add lots of wow! to an otherwise ho-hum picture.

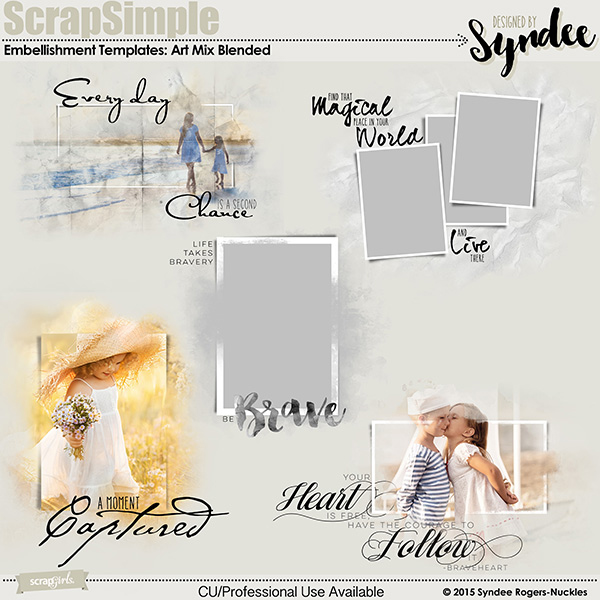
There are many templates in the Scrap Girls Boutique to help you quickly and easily achieve the multi-frame look on your layout. You will notice that most of these templates have several layers. Find the first layer labeled “photo” or “photo mask” and clip your photo to that layer. Then it is simply a matter of copying your photo and clipping it to the remaining photo layers.

Tip: I’ve found it to be a time saver to make all of my photo layers and link them together before clipping them to the photo mask. This allows me to resize and adjust my photos as one, without having to try and adjust each photograph separately. 

As a finishing touch, don’t forget to add shadows to each of your photo layers, if they aren’t included in your templates. This will enhance the look of the multiple frames and give your layout a more realistic appearance.

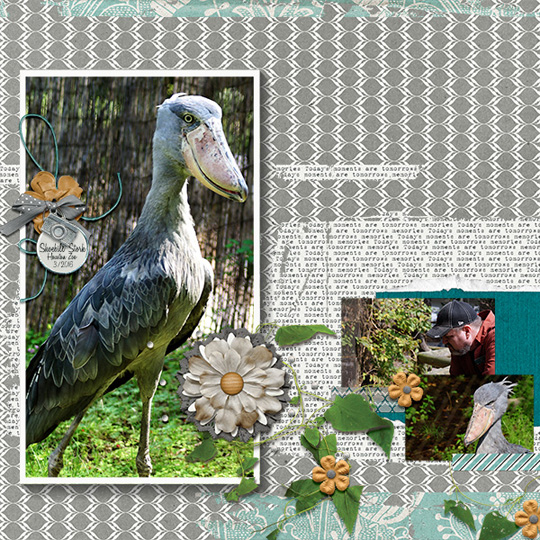
Let’s look at some examples of this fun technique:

As you can see, this technique can be used in a variety of ways. Using multiple frames with one photo is a fun and easy way to change up the look of your layout. Finally, let’s look at two layouts:
The First one uses a single frame with the photo.

The second one uses multiple frames with the same photo.

Notice how the layout with multiple frames has much more visual interest than the single frame layout. And it only took a few more steps to add the template, duplicate the photo, and clip it to the photo layers.
I hope this tutorial has given you some ideas to jumpstart your creativity! Come share your multi-frame layouts with us in the Scrap Girls Gallery today!

Digital Scrapbooking Products Used:
Article by Melanie Cockshott

Welcome to the SG Design Shop Blog - where modern memory keeping meets heritage scrapbooking! Here you'll find digital products and all the inspiration you need to complete your projects.

subscribe-imgTo our Free Newsletter

Search the blog

Favorite Categories


Learn How Sidebar Badge
Tutorials Sidebar Badge
hybrid projects sidebar button
art journaling sidebar button
mobile scrapping sidebar button
planners sidebar button

Connect with us

SG Facebook Image

Partners

Qwiklearn -The easiest way to learn digital scrapbooking!

Adobe Photoshop Affiliate Badge

Links

  • About Us
  • Storefront
  • Terms of Use
  • FAQs

HELP

  • Contact Us
  • Email

FOLLOW US


© 2023 Scrap Girls - All Rights Reserved.Privacy PolicySite Map