

With a new school year starting and fall sports schedules taking up my remaining “free” time, my sit-down-and-scrap opportunities are limited. I am constantly looking for ways to streamline my scrapbooking process. Lately, my favorite way to do this is by scrapping on my iPad. While a number of apps support layering, by far the most user-friendly is Keynote. Keynote is traditionally a presentation program, but it can easily be used to create beautiful scrapbook pages.
Keynote supports layers in a variety of ways, but this tutorial will focus on four: layer masks, locking layers, adjusting the order of layers, and changing a layer’s opacity and rotation.
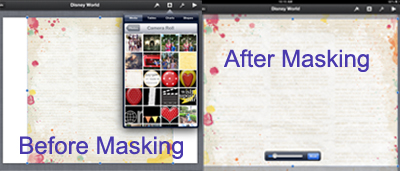
1. Using masks to crop and replace layers: To begin scrapbooking with Keynote, add the background paper using the plus in the upper right corner; select Media and Camera Roll. I keep a variety of Scrap Girls supplies in my Camera Roll for future use. The 12×12-inch papers need to be cropped to fit the rectangular page properly. To do this, simply double-tap the paper layer with your finger and a Mask slider will appear on the bottom. The blue dots around the paper can be slid with your finger to the size and shape needed to fill the page. The blue slider next to “Mask” adjusts the size of the layer within the mask.
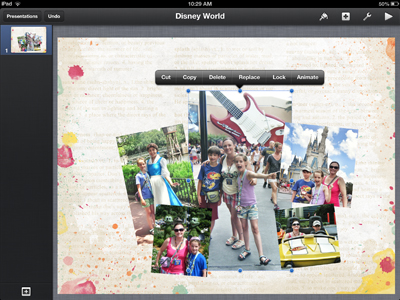
2. Locking layers: As more papers, pictures, and embellishments are added to the layout, sometimes it’s hard for the iPad to know what you want to move or adjust. This is when locking layers comes in handy. Locking a layer means that it cannot be accidently moved, rotated, or changed. To lock a layer, tap once on the layer with your finger. A black bar of options appears above the layer that includes cutting, copying, replacing, or deleting the layer in addition to locking it. Just tap lock, and the layer will stay as is unless it needs readjusting later. Once locked, the blue dots turn grey. Use this same process to unlock a layer as well, and the dots will return to blue. Blue dots mean the layer is now active again.
3. Adjusting the order of the layers: As various Scrap Girls products are added, layers may need to be moved from behind or in front of other layers. To do this in Keynote, tap on the layer and then click on the paint brush in the top right corner. Select the Arrange option and use the move to Back/Front slider to move a layer behind or in front of another layer.
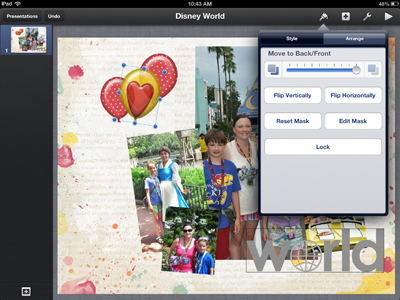
4. Adjusting a layer’s rotation or opacity: To adjust a layer’s rotation, simply tap it until the blue dots appear. Then place two fingers within the blue dots. Use your two fingers on the screen to turn the layer.
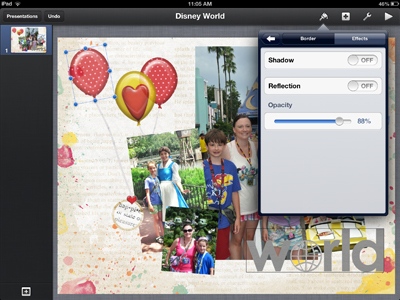
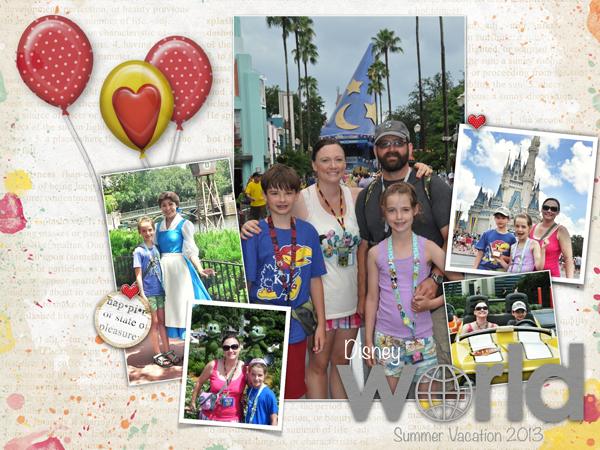
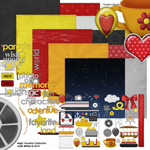
To adjust a layer’s opacity, tap on it, and then tap the paint brush in the upper right corner. Select Style Options on the bottom and the Effects tab. Then slide the opacity bar to the shade you want as I did with the balloons from Julie White’s Magic Vacation Collection.
Once a layout is complete, push the play arrow at the top right. Then take a screen shot of your beautiful work. This saves the layout back to the camera roll where it can be emailed or uploaded later. A Keynote layout can easily be used or printed as an 11×8.5-inch scrapbook page or as a 6×4-inch page.
 As you can see, there are many things you can do with layers in Keynote! If you’re an iPad owner, take a minute or two to “play around” in Keynote with some of your fantastic Scrap Girls supplies. After spending just a few minutes exploring and creating, I often learn something new that Keynote and/or my iPad can do with my Scrap Girls stash. When you’re done, upload your creations to the Scrap Girls Gallery. We’d love to see what you create!
Digital scrapbooking products used:
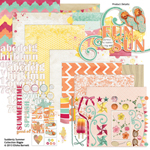
Commercial license versions of Suddenly Summer Collection Biggie are also available.

Tutorial written by Angie Durr


