
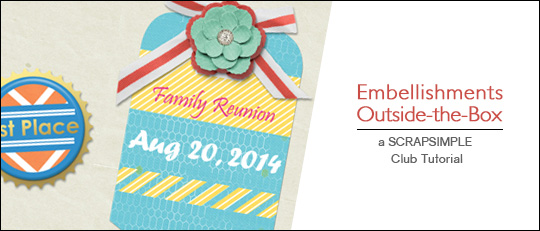
The luggage tag templates come in layers with text that can be edited. Since we can edit the text, we can journal names, dates, descriptions – anything we like! We can also choose our own fonts! By coloring the different layers, adding effects or clipping non-travel-themed papers, we’ll see how different they can become. Here are just a few ideas to get your creative thinking to venture outside the box!
This is a luggage tag as a badge and again as part of a cluster.
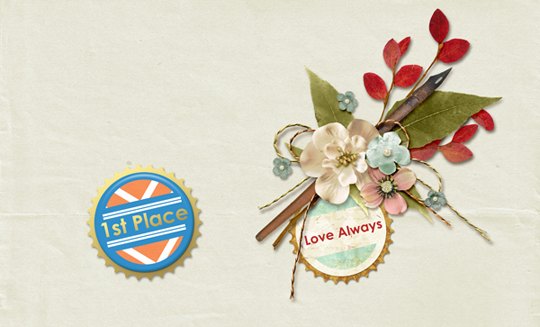
For the badge, I added a Gold style ScrapSimple Tools-Styles: Gold 8501 to both the edge and to the text layers. Then I merged all the layers except the edge and added both a small drop shadow and a Flair style ScrapSimple Tools-Styles: Flair 6301 to give the tag a shiny look.
To make the luggage tag coordinate with the floral cluster, I clipped papers to it from the same collection as the floral cluster. In this case, I used papers and a floral cluster from the Memorabilia Collection Biggie. To “clip” papers to the embellishment, place the paper above the layer you want to clip it to. Then go to Layer > Create Clipping Mask; or use the keyboard shortcut Ctrl+G (PC) or Cmd+G (Mac).
Here is a luggage tag used as a journal mat. By clipping different-themed papers to the tag, the tag can be used for totally unique layouts.

To fill a layer with color, choose a color, click on the layer you want to fill, then use the keyboard shortcut Alt+Shift+Backspace (PC) or Opt+Shift+Delete (Mac). You can also fill the layer by using the Paint Bucket tool (keyboard shortcut K).
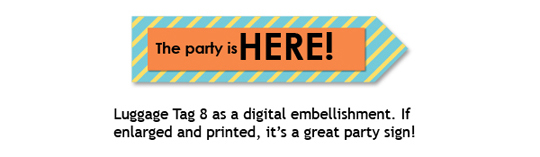
This sign will liven up a digital layout! If it was enlarged, printed out, and mounted on cardboard or poster board, it would be a great party decoration!
I hope I’ve inspired you to use these wonderfully versatile embellishments in your own unique way. When you do, upload your layouts to the Scrap Girls Gallery and let us admire your creations!


