
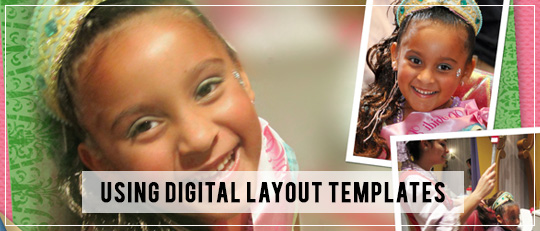
There comes a time in each digital scrapbooker’s life when they need a little inspiration, a little jumpstart to get their creative juices flowing, or just a little help to speed up the process. Using Digital Layout Templates is the answer! These marvels of versatility are beautifully designed with our convenience in mind.
ScrapSimple Digital Layout Templates are professionally designed, digital scrapbook layouts that give you the basic layout and position of objects on your page and allow you to add color, papers, embellishments, and text. Each piece of the page is grayscale so that you can either color it to your liking or use it as a clipping mask so you can add your own digital papers or layer styles to it. You can add, move, or change anything that you like so that it suits your needs and preferences.
Recently, my daughter and I were designing a page about our trip to Disney World. We started by opening the layered PSD of our template. Before we began to make our page, I immediately saved my working template by another name so that I didn’t accidentally overwrite the original template (been there, done that).
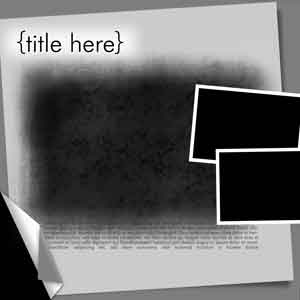
When you open your layered PSD, each layer is generic and gray, like this:
it’s up to you to decide which colors, papers, and embellishments you’d like to include. Since our layout was using photos of Disney, we chose classic Princess colors: Cinderella blue, Sleeping Beauty pink, Snow White yellow, and Jasmine green. I used the Color Picker Tool to choose the colors from pictures of my daughter with the princesses.
I began by clicking on each layer to activate it, and then I filled it with our chosen colors using the keyboard shortcut Alt+Backspace. As we worked, I locked the transparent pixels of each layer by clicking on the tiny lock with a blue-and-white square at the top of the Layers Panel. That ensured that the folded piece of each layer was not changed inadvertently.
I used clipping masks to add pictures to the layout. When I opened a photo that I wanted to use in PSE, I moved it so that it was above the mask layer, and with the photo layer active, I used the shortcut Ctrl+G to clip it to the shape on the layer below it in the Layers Panel.
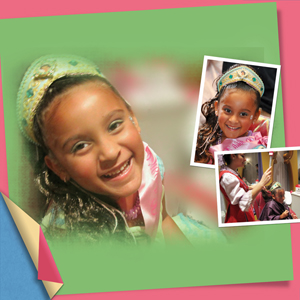
Once the basics were completed, we decided the page needed a little more pizzazz. I chose to use some ScrapSimple Paper Templates to make our papers more realistically textured and to include an interesting pattern to complement the pictures. I put the paper templates above the layer where I wanted them to be and changed the Blending Mode to “Overlay.” I changed the font and its color and then typed our story using the journaling space designated in the template.
My daughter enjoyed her part as “creative director” as we worked on the project together. Using Digital Layout Templates as a starting point really streamlined the process so that we quickly moved through the steps without spending so much time that my daughter got bored or tired. We had a really fun time reminiscing about our trip and creating a scrapbook page to commemorate it.

The next time you start a digital scrapbook page, why not try using Digital Layout Templates? Don’t forget to post your creation in the Scrap Girls Gallery, so we can share the joy and admire what you’ve done!
![]()
Digital scrapbooking supplies used:
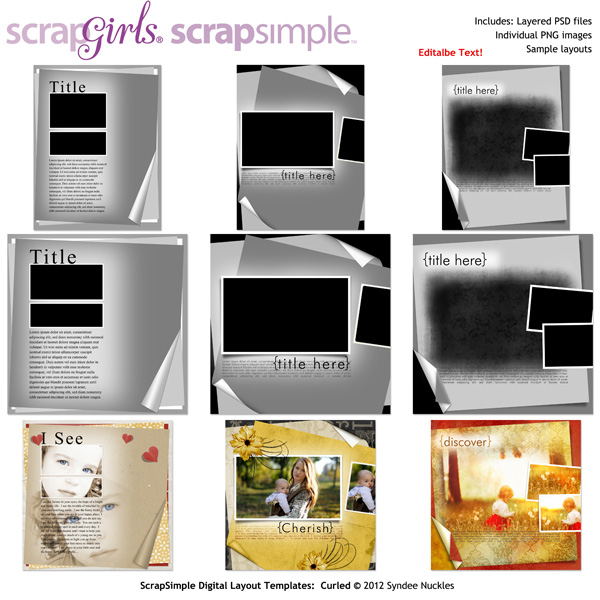
ScrapSimple Digital Layout Templates: Curled Paper
![]()

Article written by Rose Ann Bright


