

Summer is a pretty busy time of year at our house. When the weather warms, we hit the road, and often I take my iPad with me. I started exploring ways to scrapbook on my iPad by using the Keynote app. Today, I am going to show you how to get Scrap Girls supplies which are stored in the Dropbox app into the Keynote app for scrapbooking.
The Keynote app is purchased at the Apple App Store through iTunes. It is traditionally used to create presentations like PowerPoint. When first opened, Keynote has a “Getting Started” presentation to help users learn its features.
To create a new presentation, click the plus (+) sign in the upper left of the screen. I chose a white presentation to layer Scrap Girls products on. Once opened, a page with a picture and some options for text appears.
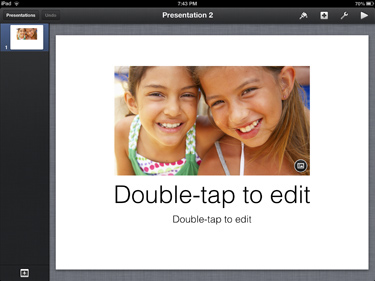
Delete the text and picture to start with a clean page or keep them if you like those options. To delete or change the pictures/text, just tap the picture/text with your finger and choose Replace or Delete.
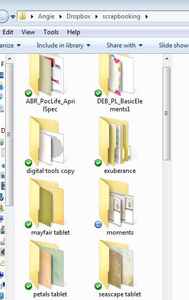
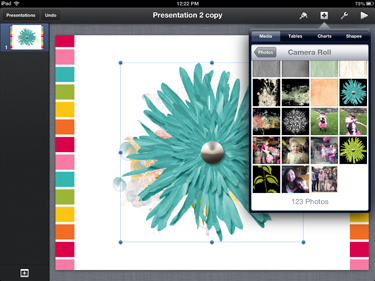
Keynote allows users to upload pictures and media using the plus (+) symbol in the upper right. To add products to the Camera Roll, go to the Dropbox app. Dropbox is an app that allows file-sharing across devices. On my laptop, I created folders of Scrap Girls products in my Dropbox (pictured below is what the files look like on a computer). Dropbox then shares these files to my iPad so I can create layouts.
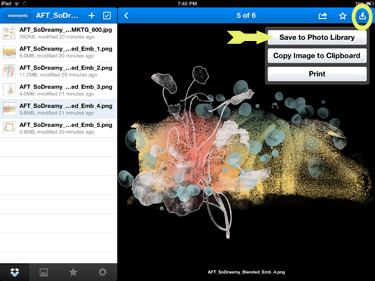
Once the Dropbox app is open on the iPad, all saved files show up on the left. First, I tapped on the scrapbooking file where I saved my supplies. Once I found the supplies I wanted to use, I tapped on the arrow down in the upper right and selected “Save to Photo Library.”
After all the necessary Scrap Girls supplies were saved to the Camera Roll, I was ready to begin. In Keynote, use the plus (+) in the upper right to add the products from the Camera Roll. Then I just used my fingers to drag photos and embellishments into the locations and position desired.
When the layout was complete, I used the wrench tool in the upper right and tapped “Share and Print.” This saved the presentation as a PDF and allowed it to be sent through email. Or you could take a screenshot.
To take a screenshot, tap the Play option in the upper right. When the presentation/layout “plays” and takes up the whole screen, click the Sleep/Wake button and the square Home button simultaneously for one second until the screen does a little flash. This will save the layout to your Camera Roll. Then upload it from there as you would any other picture you take with your phone or iPad.
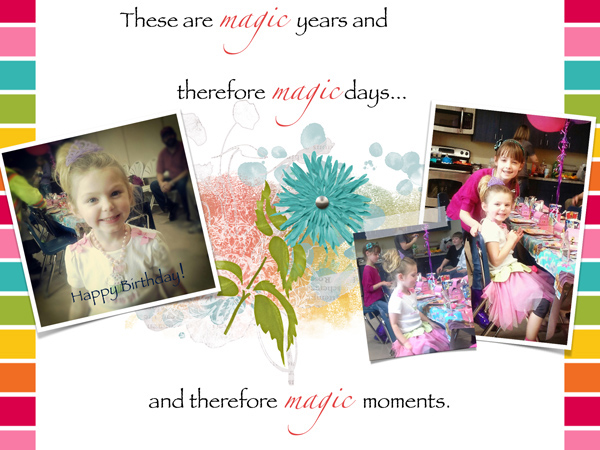
Using this process, I created a layout in Keynote on the way home from my niece’s birthday party, and it was done before the 45-minute drive was even finished! It was fast, easy, and a fun way to pass the time during the car ride home. So if you thought your iPad was just for playing games or surfing the Internet, try making a layout using Keynote. We’d love to see what your resultr, so upload to the Scrap Girls Gallery and let us take a peek at your creation!
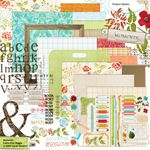
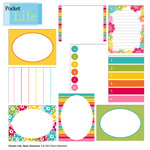
Digital scrapbooking products used:


Tutorial written by Angie Durr


