
This is a very exciting tutorial from Lori Aragon! She is going to show you how fun coloring your digital brushes with Copic Markers can be – and opens up a whole new world of possibilities! Take it away Lori:
Copics and I are good friends… really good friends. They’ve been my media of choice for a few years now. Whether I use a rubber stamp or digital image, I love the look that Copic markers provide! Today I am going to teach you how to use
I am over the top excited to share with you my very first project with Scrap Girls! I’ve chosen to use the Pixie Mischief Brush Set to illustrate how to color with depth and dimension.
Supplies used:
Digital Scrabooking Brush Set and supplies
Epson Matte Premium Presentation Paper
Express It Blending Card
Papertrey Stamper’s Select White
Copic Markers
White Gelly Roll Pen
Stardust Stickles
Stampendous Embossing Enamel – Shabby Blue/Pink
Pigment Ink – White
Epiphany Crafts Shape Studio – Heart Button
Epiphany Crafts Heart Bubble Caps
Baker’s Twine
ScraPerfect Best Glue Ever
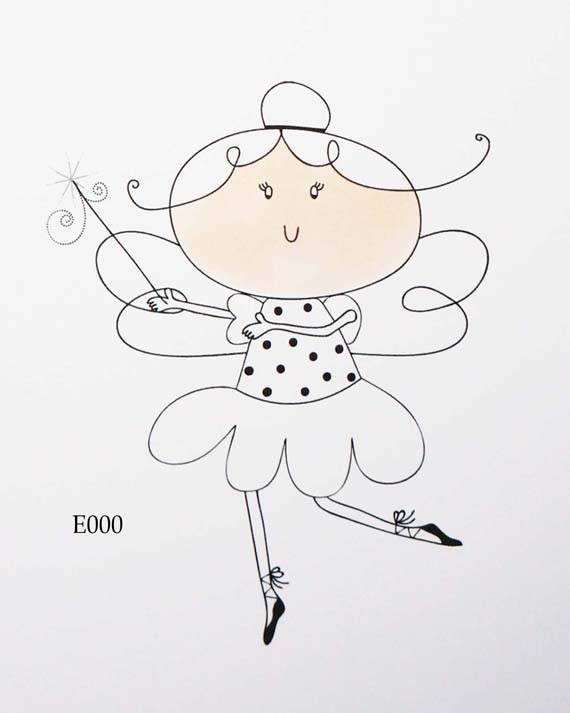
When I color in larger areas, I begin with the lightest color as a base coat. Here I’ve used E000 to color in her face:
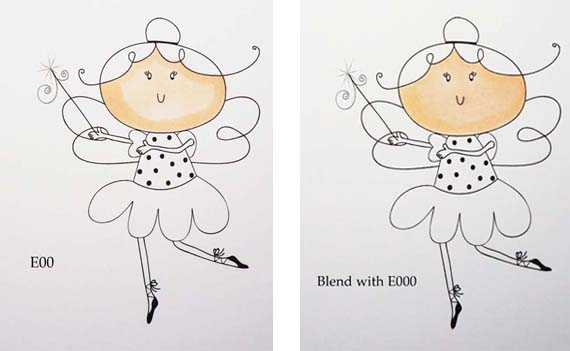
Next, I add shadows and blend using the lightest color – here I’ve used E00, blending with E000:
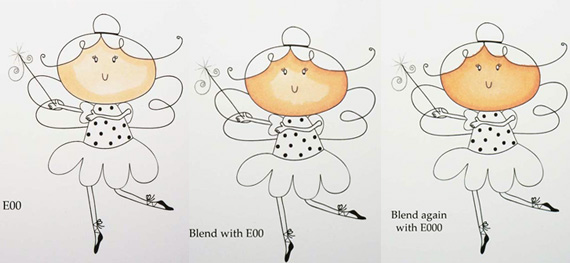
For even deeper shadows, I layer on a darker shade which is E11, blending inward with E00 and then the center with E000:
Sometimes the color may ‘bleed’ into other areas. In this case, I’m not concerned because I know that her hair color will cover it up. One way to correct a ‘boo boo’ is to push the color back into the correct area using a colorless blender. Be careful not to over-saturate since this is why I ran into this problem in the first place!
For small areas, lightly touch the tip of the marker using one or two colors. Here I’ve used E11 and E00:

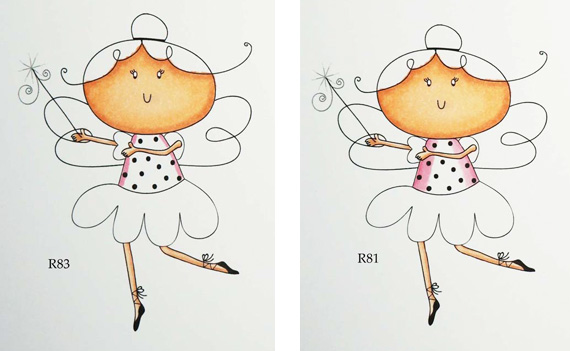
Because her clothing is a smaller space, I begin with the darkest color, R83. Using a feather type motion with R81 (will show later for her wings) color over just the edge of R83, bringing the color towards the center of her top as shown:
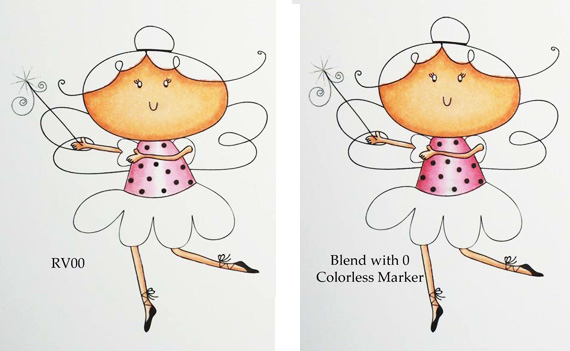
Continue with RV00 covering just the edge of R81, working again towards the middle. If desired, blend the ‘hard edge’ left with 0 Colorless Blender:
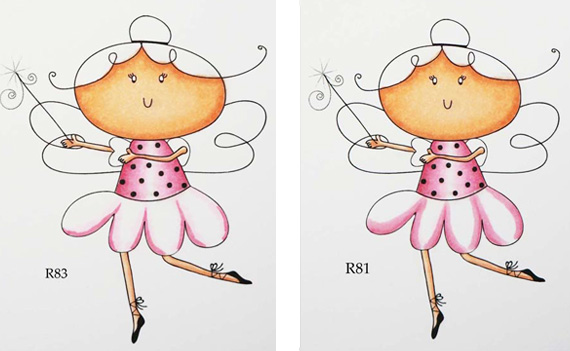
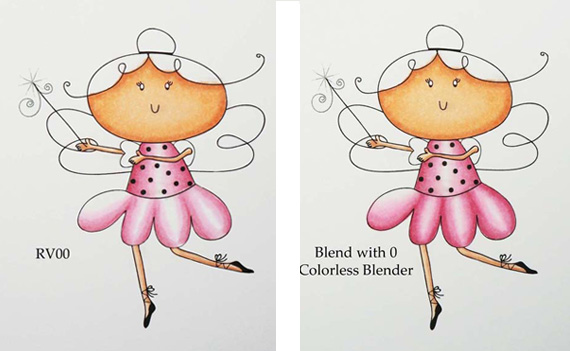
We’ll work in the same way for her skirt, beginning with R83 and ending with the Colorless Blender: (Note: Frequently, I’ll use the lightest color to ‘map out’ where I think the shading should go before I commit using a dark color!)
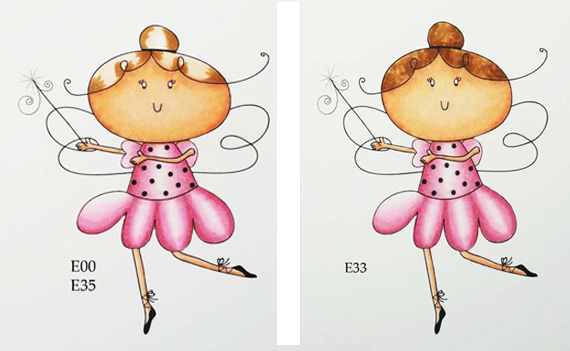
This time, because the hair is wavy, I started with a base coat using E00 and adding a little shading with E35. Next I filled in the curls with E33, deepening again with E35:
The corner squiggles show how I filled in the hair and the feather strokes are how I colored the rest, especially her wings. With a light touch, place the tip of your marker on the paper, drawing the marker down (or up… I turn my images so that I can work ‘down’). I’ve used the following colors for her wings – BG10 BG11 BG13 BG15 (later added BG18):
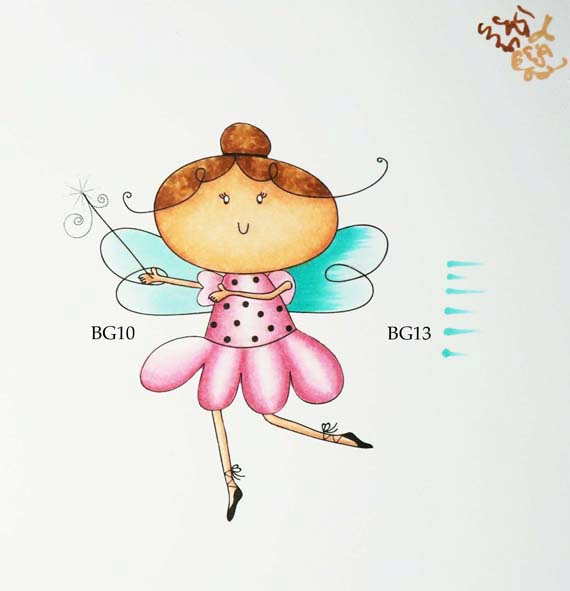
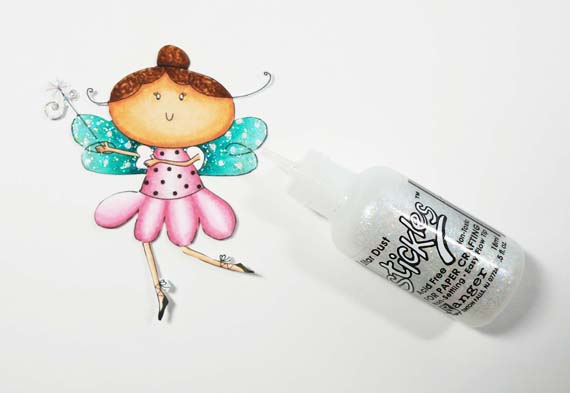
After adding BG18 in the areas closest to Pixie, I blended once again with BG15 BG13 BG11 and BG10. I decided that she needed more polka dots, so out came my handy Gelly Roll Pen. This gives good opaque coverage! When that was dry, my fave Stickles were added to give her a nice sparkly set of wings : )

These wonderful teacups come in the Pixie Mischief Brush Set. I printed out two of each, hand cut, and swapped the scallops. To give a little more dimension, I used C00 (light gray) under the scallops.
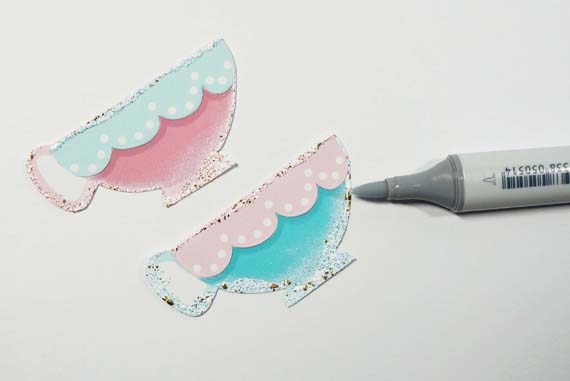
To get the shabby look, I edged the pieces with white pigment ink and covered with Shabby Blue/Pink Embossing Powder. Here’s an example:

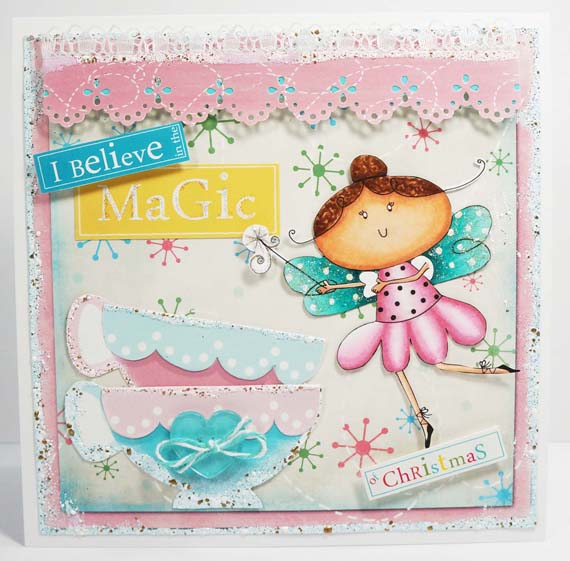
And now the completed card!

But that’s not all! I thought I’d whip up a couple of ‘just in case’ enclosure cards or tags. These cute little 3×3’s were super simple and quick to make!

Happy hybrid card making!
Digital Scrapbooking supplies used:


Tutorial written by Lori Aragon


