

Adding Texture to a Photo
Note: Tutorial created using Adobe Photoshop CS5
One of the easiest ways to add some dramatic flair to your photo is by adding a texture overlay to it. By doing this, you can turn your everyday photo into a work of art, or add some grunge to an already masculine one.
The process is very simple and will have you searching all over for unique textures you can use on your photo!
To show you the basic steps of this, I’m going to be using the ScrapSimple Paper Template: Capturing Moments Textures. This product comes with six 12×12-inch textures in both a colored version and also a black-and-white version. You can easily size them down to fit your photo, or use them to finish your custom scrapbooking paper.
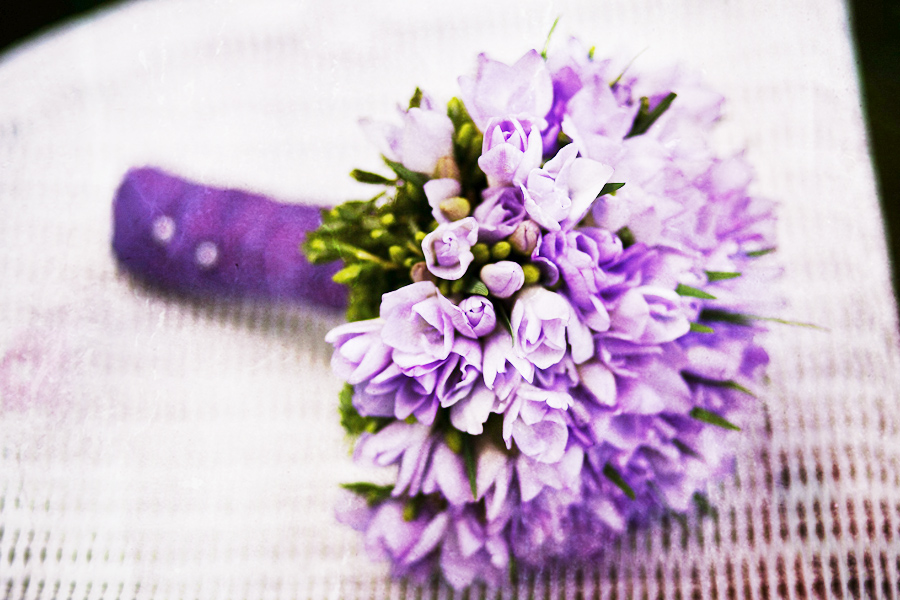
For this tutorial, we’re going to start with this basic photo of a bouquet of flowers.
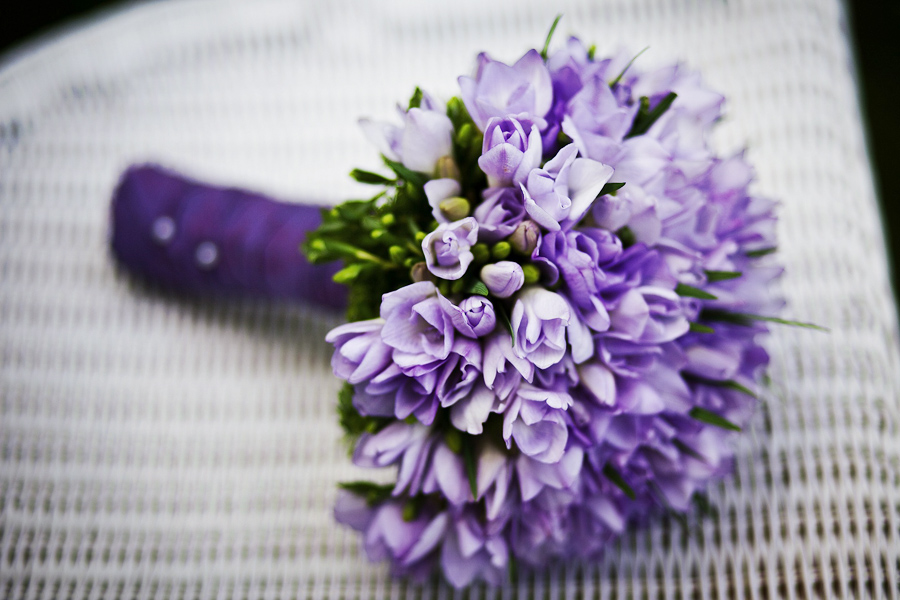
From there comes the fun part! We get to experiment with different textures and the final effect they give the photo.
The first one I wanted to try was texture #4. I chose that since the coloring of the texture was not the same as the flowers. I wanted to see the look it would achieve.

Once I laid the texture on the photo, I played with the different modes of the texture layer:
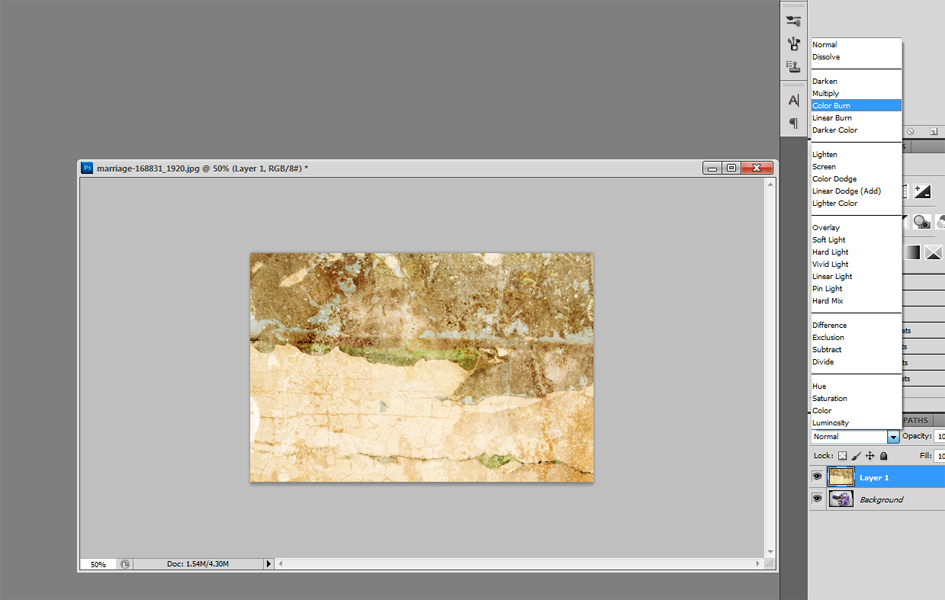
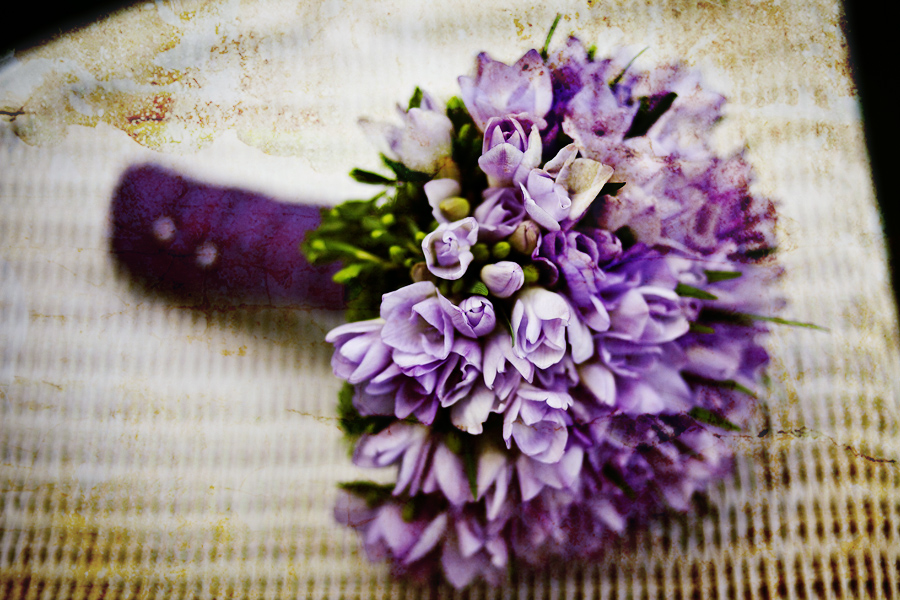
By doing this, you can get everything from a dark grungy look, using the “Color Burn” Blending mode:
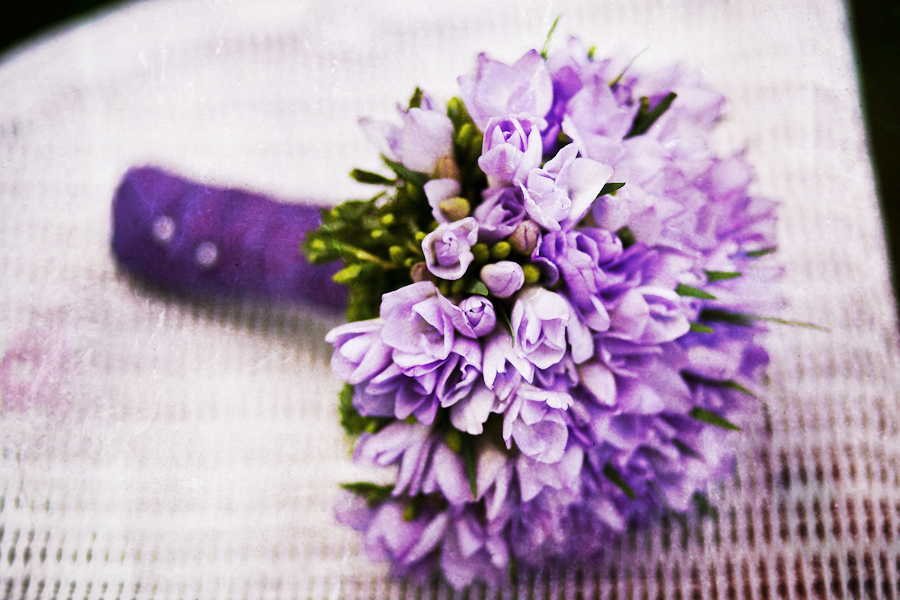
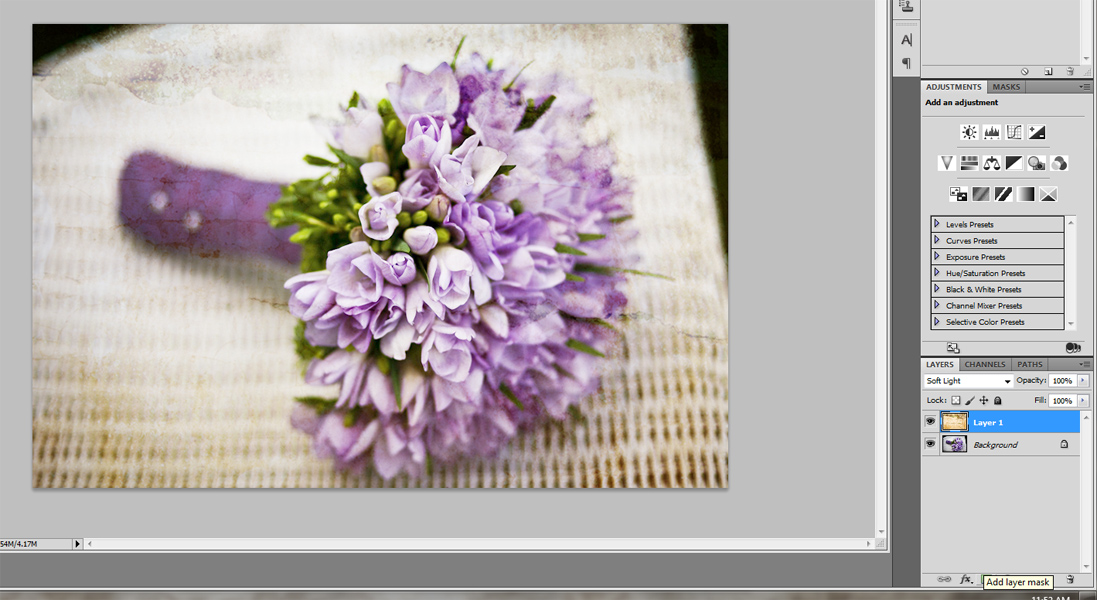
To get a softer, blurry image, try using “Soft Light” Blending mode:

Each texture also gives different looks. This is with texture #6 using the “Overlay” Blending mode:
If you are using Photoshop, you can take this to the next level by adding an adjustment layer. In the bottom of your Layers palette, choose the adjustment layer icon (the half black/white circle). Then choose what type of layer you want to add. For this example, I added a curves layer above the texture:
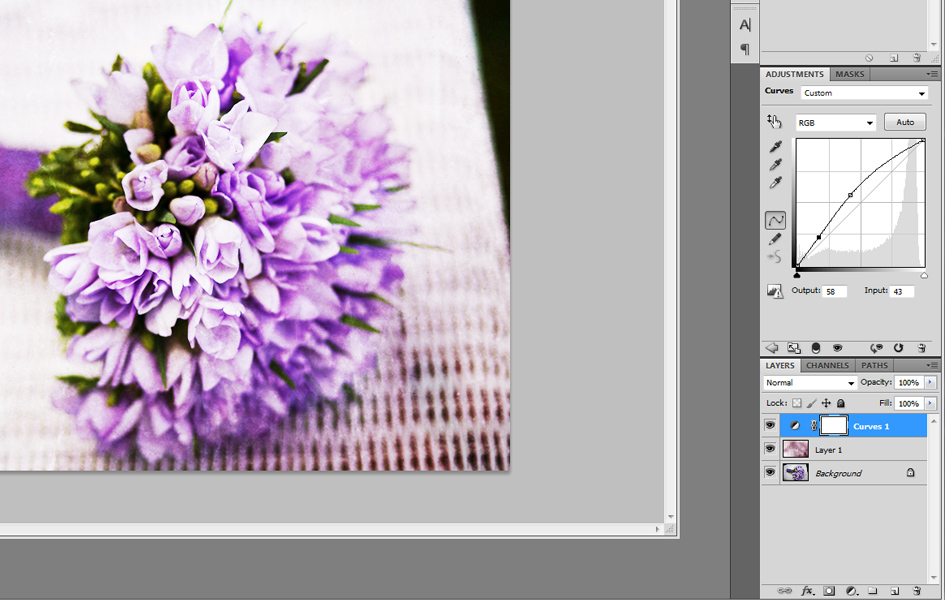
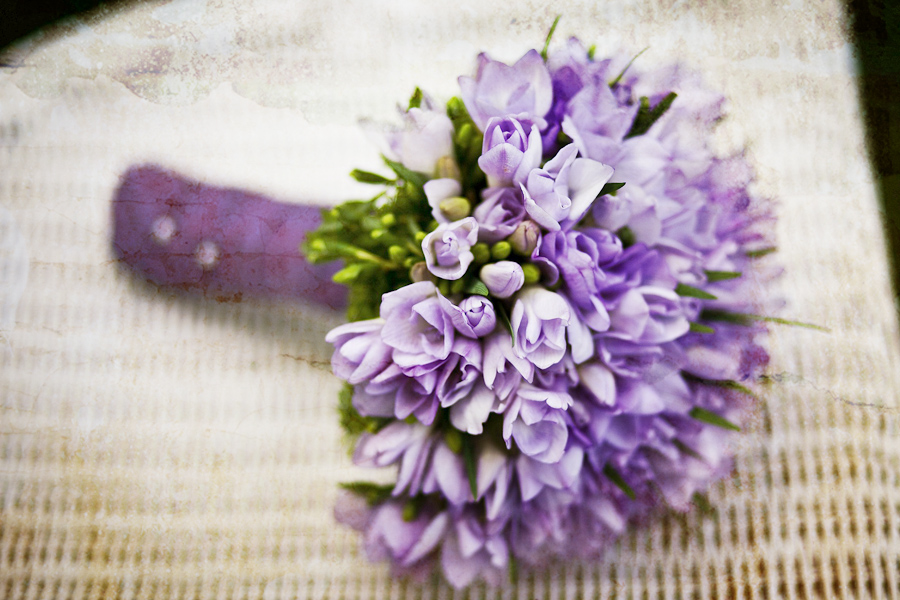
And by adjusting that only, I took that same photo with the texture #6 on it and turned it into this one:
When adding your texture, there are many different options you can use. No two photos and textures will create the same final outcome.
The final tip I’d like to share with you regarding textures is this: When you add the textures to the photo, sometimes the texture will overpower the focus of the photo. You don’t want to lower the opacity/fill of the texture too much because then you’ll start losing it. What you can do is add a layer mask to the texture layer. This can be chosen down in your Layers palette next to the adjustment layer option:
I would then suggest you choose a grunge brush set at a low opacity and start using your mask to erase the texture from the focus of your photo. You want to do this slowly and a little bit at a time, as you still want the texture to be there, but you want the photo to pop.
I hope this tutorial gave you some fun new tips on how to use the textures along with your photos to create a piece of art that you will enjoy displaying or sharing with others.
 Tutorial written by


