
If you are like many of us you have quite a few blurry photos ranging from a little to a lot blurry. Using filters is one of my favorite ways to not only lighten photos but sharpen them. Sometimes just a little sharpening can make a world of difference to your photo. You are not going to believe how easy this technique is, and best of all it can be achieved in both PS and PSE!
Step 1 – Open your blurry photo and make a duplicate copy. Close the original.
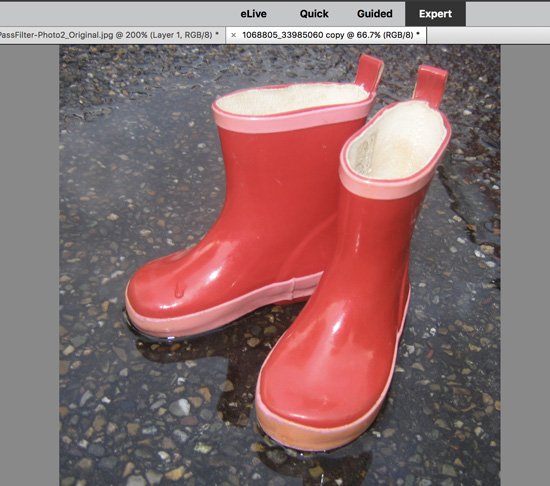
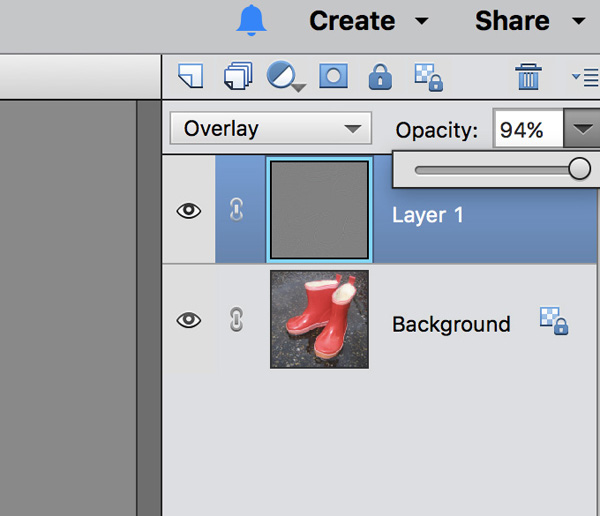
Step 2 – Press Cmd J (PC: Ctrl J) to make a duplicate layer in the layers panel.
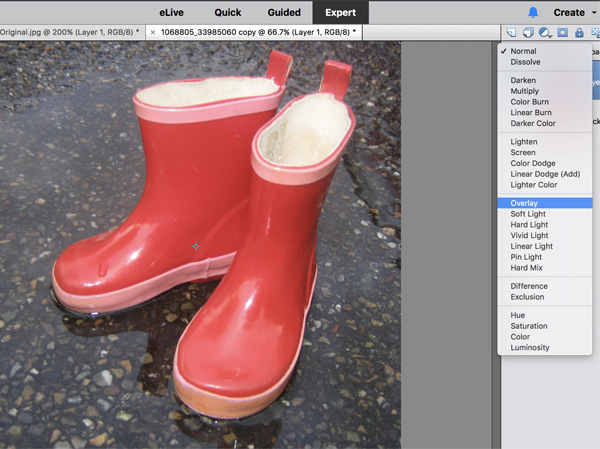
Step 3 – In the Layers panel, on the duplicate photo layer, set the blend mode to Overlay.
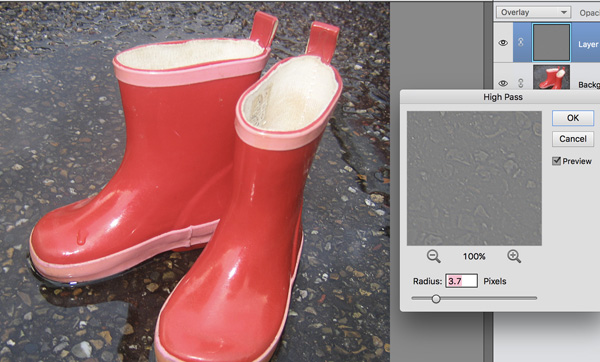
Step 4 – In the Menu Bar, choose Filter > Other > High Pass.
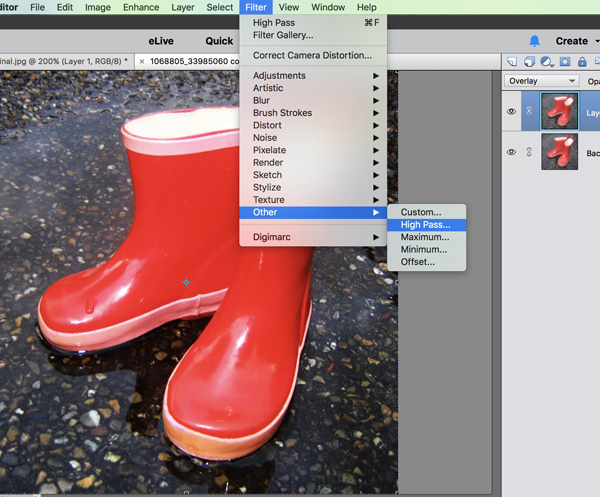
Step 5 – Play with the settings slider until you are happy with the results. Click OK.
Since the High Pass filter is applied to the duplicate photo layer you can adjust the Opacity if you decide that you sharpened it a bit too much.
Step 5 – Merge the layers if desired by pressing Cmd E (PC: Ctrl E). I prefer to keep my layers separate so I can play with them down the line. And that’s all there is to it!
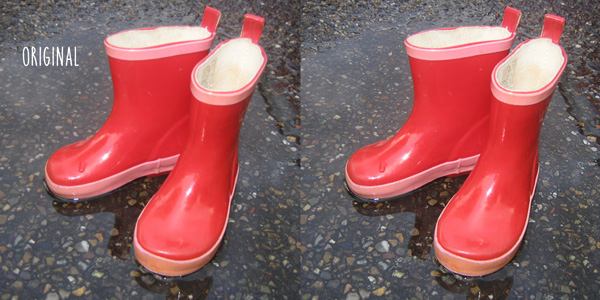
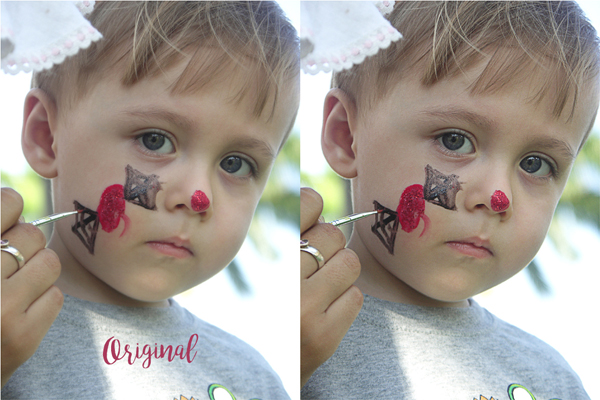
Here are some more samples:
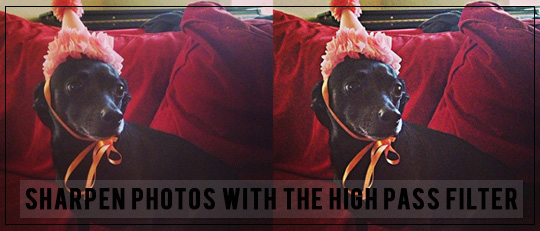
The photo below is a low-quality iPad photo, by using the High Pass filter I was able to make it look a lot better!
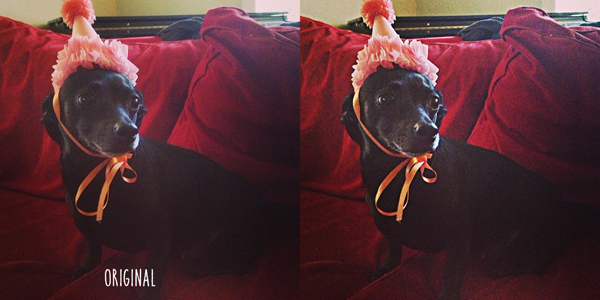
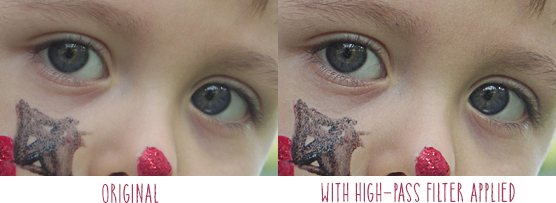
The original photo is pretty good, but if you look closely at the eyes you can see that the details are not sharp.
By using the High Pass filter the eyes are now much clearer.
I hope you have some fun with this technique and would love to see your results or hear your comments!


Thank you. This will bring new life to photos that I thought I could not improve on. Great tutorial.
thanks for this tip. such a subtle change for a large impact
Thanks so much for this tip. It’s going to be very useful! 🙂