
Have you seen the new ScrapSimple Embellishment Templates that are already colored? I think they are so cool! But what do you do if they don’t match the layout you’re working on? What if you really wish a bright blue ribbon was teal? Or pink?
The ability to easily recolor items is one of the best features in Photoshop Elements. There are about a million-and-one ways to do it, but today I’m going to teach you my favorite: the Hue/Saturation window.
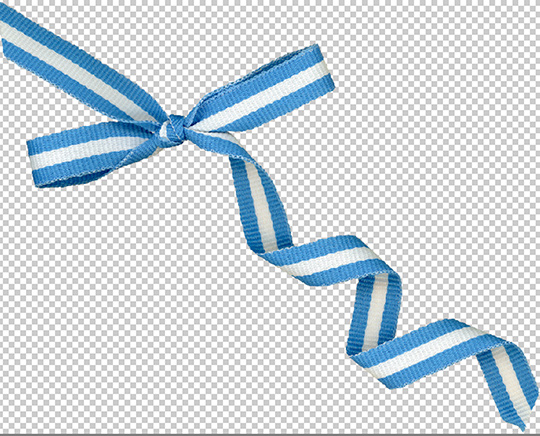
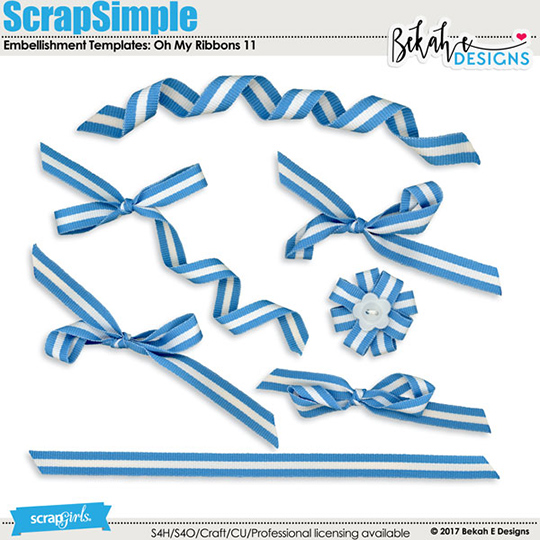
Step 1 – Start by opening a pre-colored ScrapSimple Embellishment Template in Photoshop Elements. I am using a ribbon from the ScrapSimple Embellishment Templates: Oh My Ribbons 11 by Bekah E Designs, but pretty much any ScrapSimple Embellishment Template will work.
Step 2 – Select the color that you want your embellishment to be. You can do this by clicking on the Foreground color palette at the bottom of the Tools palette and manually changing the color. Or you can use the Eyedropper tool (shortcut letter i) to select a color from a picture, paper, or other item. You will see the color appear in the Foreground color palette.
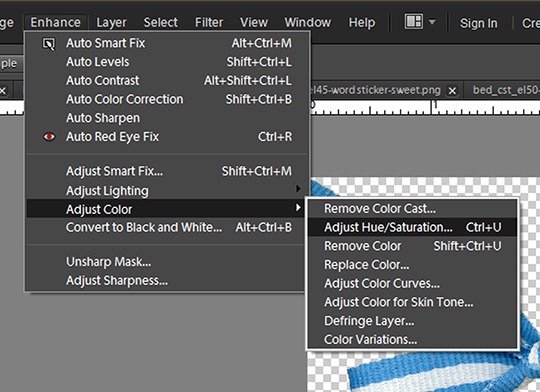
Step 3 – Click Enhance > Adjust Color > Adjust Hue/Saturation (or use the shortcut Ctrl-U).
Step 4 – When the Hue/Saturation window opens, click the Colorize box in the lower right corner. Your embellishment will change color. But it probably won’t be exactly the color you had in mind. Don’t panic! Move the Saturation slider and the Lightness slider until you get the color you want. Don’t move the Hue slider. With a little practice, you will start to recognize what direction to move the Saturation and Lightness sliders to get the right color.

That’s all it takes. This technique will work on papers, embellishments, word art, etc. It is quick and easy and has never let me down! The best thing is that it keeps all the texture and color variations, while some of the other methods tend to lose those aspects.

But wait! There’s more!
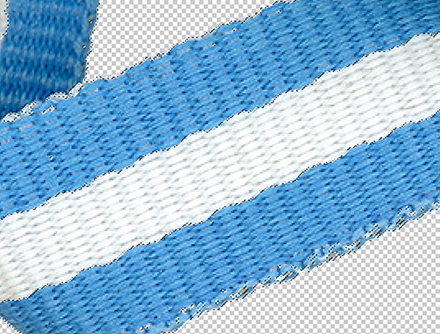
You may have noticed that some of the white parts of the ribbon are looking a little teal. Or maybe the item you are recoloring has multiple colors. Or maybe after you get your embellishment on the layout, you change your mind about the color. By taking this technique one more step, we can solve all of these problems.
Instead of using the Hue/Saturation window, this time we will use a Hue/Saturation Adjustment Layer. Adjustment Layers are exactly what their name implies – a separate layer for your adjustments. If you change your mind later, you can delete individual adjustments, or go back and easily tweak colors or levels. They are seriously the best thing ever.
Let’s get started!
Step 1 – Use the Magic Wand tool to select the parts of your embellishment that you want to change. This tool works by selecting all pixels that are the same color. To get it to select pixels that are similar colors (like shadows and highlights), raise the Tolerance level. A larger number means more variations will be selected. I used a Tolerance of 50 for my selection. If the Contiguous box is checked, only pixels that are touching will be selected.

If not all of your embellishment was selected (or if too much is being selected), even after trying several different Tolerance levels, try using a lower Tolerance level, clicking on something you want selected, press and hold the Shift key, and click on something else. Holding the Shift key allows you to add to your selection. Keep working until you get everything selected. Zoom in and press and hold the spacebar key to help you move around to different sections, remembering to keep pressing down on the Shift key. You can adjust the Tolerance level as you go along, lowering it to make finer selections.
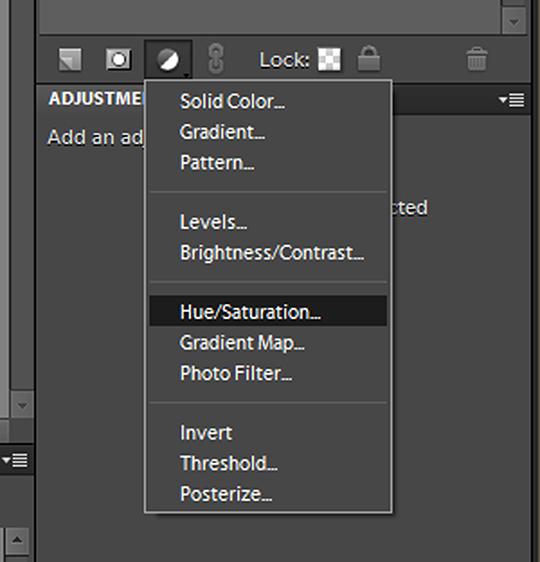
Step 2 – Make a Hue/Saturation Adjustment Layer directly above your embellishment layer. The Adjustment Layer icon is a half-white, half-black circle next to the garbage can and the Link button in the Layers palette. (Some PSE versions have it at the top, some at the bottom.) Click on the icon and select Hue/Saturation from the menu.
Step 3 – You will see a new layer appear above the embellishment layer, with a black-and-white outline of the selection you made. With this new layer active in the Layers palette, you will see the same Hue, Saturation, Lightness sliders, and the Colorize box. Follow the same steps as before, putting a check in the Colorize box, and moving the Saturation and Lightness sliders, while leaving the Hue slider in place.

That’s it! If you change your mind on the colors later, you can always delete the Hue/Saturation layer, or put a new color in the Foreground color palette and uncheck and recheck the colorize box.

Recoloring ScrapSimple Embellishment Templates (and just about anything else) is quick and painless. I can’t wait to see what you come up with, so don’t forget to post your creations in the Scrap Girls Gallery!

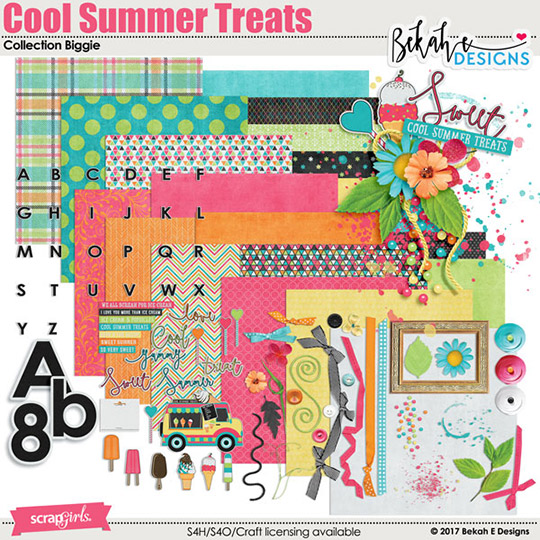
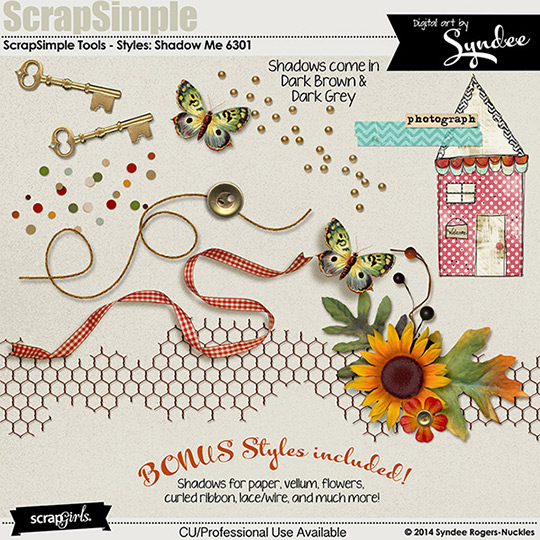
(Click on images below to be taken to their product page)
![]()
![]()
![]()
 Tutorial written by Anna Mansfield


