Audience: Everyone
Category: Templates
Operating System: Windows 8
Software: Adobe Photoshop Elements 9
I think the anticipation of an upcoming event – such as a trip or a holiday – is part of the fun of the event itself. As Andy Warhol said, “The idea of waiting for something makes it more exciting.” I love building up the anticipation for my kids with countdown chains and advent calendars, but sometimes they just aren’t practical. You may not be able to purchase exactly what you want for your event or the thought of storing another bulky decoration just doesn’t sound very appealing.
That’s where a little ingenuity and your digital scrapbooking skills come into play! A quick, custom countdown can be updated to work with any upcoming event.
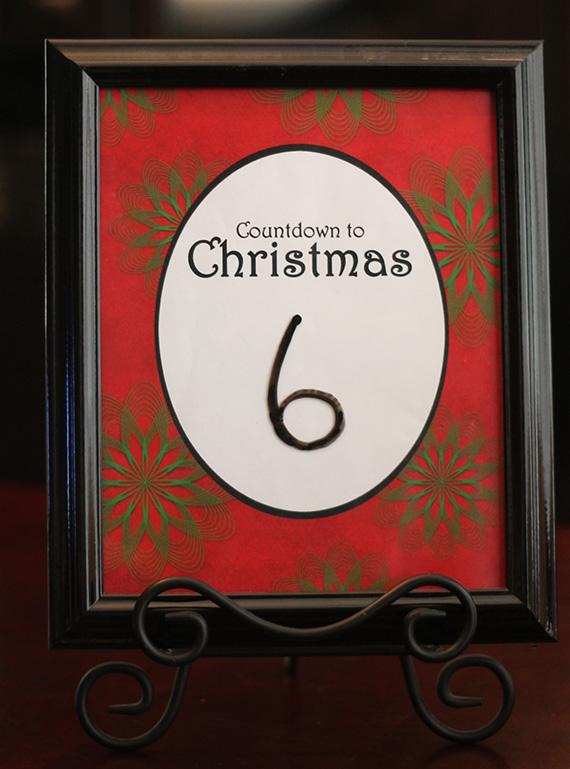
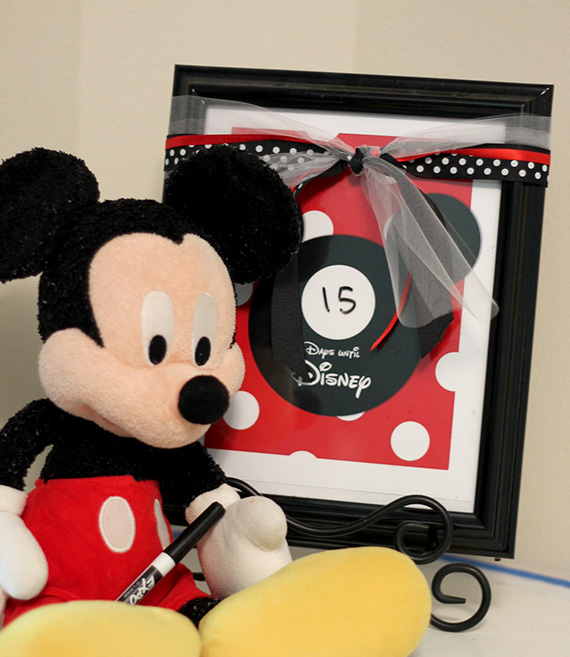
1. Start with an inexpensive picture frame, spray-painted to match your décor. I buy picture frames for projects like this from thrift stores, big box stores, or where ever I can find them for cheap, as long as I like the style and the size. A can of spray paint will work wonders!
2. Next, open Photoshop Elements and create a new document that’s the size of your picture frame.
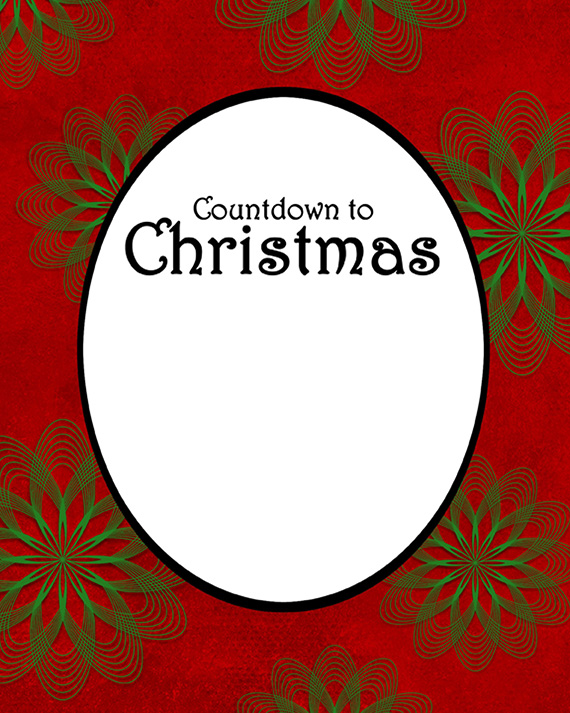
3. Using your digital scrapbooking stash, create your countdown printable, using theme-specific or color-coordinated embellishments, papers, and alphas. Remember to leave a white or light-colored space in the center of your document, so a dry erase marker will show up easily and clearly.
I used elements from the November ScrapSimple Club: Spin Your Wheels by Laura Louie. I love ScrapSimple supplies because their uses are limitless. With a little recoloring, blending, and adding a few styles, you can create something completely new every time.
4. Use your color printer to print out your countdown page and trim it to size. Or save the image as a JPG, send it to your favorite photo printing shop, and print it as a photo. Insert it behind the glass in your frame, then write on the glass with a dry erase marker as you count down the days to your big event!