
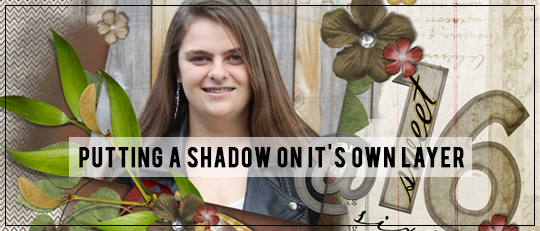
One of the most intriguing aspects of digital scrapbooking is the ability to achieve non-traditional scrapbooking looks. Blending and heavy layering are just two examples of how we can set apart the digital from the traditional. However, what about making a digital layout look realistic like a traditional scrapbooking page? How do we make a two-dimensional layout look touchable and three dimensional? The answer is in the shadows.
A shadow is really nothing more than a style added to your layer. By creating a shadow for your embellishment layers, your embellishments look more three dimensional and add depth and realism to your layout. Shadows can be deep or shallow, wide or narrow, and you can adjust the opacity and color of your shadow.
One trick to mastering your shadows is to place your shadow on its own layer. One easy way to accomplish this is with a shadowing action from the SG Design Shop. These action automate putting your shadow on its own layer and offers several options as to the depth of the shadow as well as the angle of the shadow. In the screenshot below, you can see the embellishment (renamed by the action) on the top layer and the new shadow layer on the bottom layer.

As a result of the shadow being on its own layer, you now have infinite options for how you can place your shadow. You can move the shadow layer any number of ways to make your item look realistic. Simply use your Move Tool to adjust and position the shadow anywhere you like. You can bend or offset your shadow layer under your object to make a corner of it appear lifted. You can pull it out to make your embellishment look higher off the page. You can pull it in closer to make it look closer to your page. The options are endless as you explore with the effects of how the shadow looks depending on where it is placed under your embellishment.
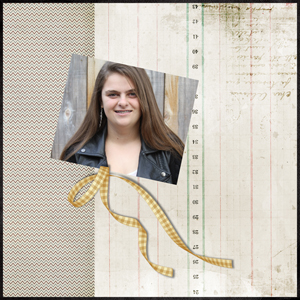
The layout below has a nice ribbon placed on the layout with no shadow at all. See how one dimensional and flat it looks? The ribbon looks incomplete on the layout.

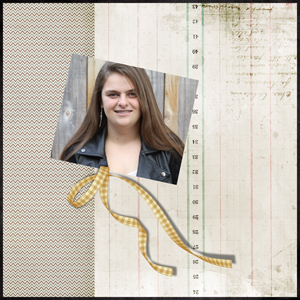
On the next sample, the action has been run and you can see there is more realism to the ribbon now.
On this sample, I rotated the shadow layer from lower right toward the upper right. This gives the effect that the ribbon is closer to the page at the top left of the ribbon and higher off the page toward the bottom right, much like a paper scrapbooking layout where the ribbon is attached to the paper at the point where the ribbon crosses over on itself. This sample looks the most realistic – and touchable. Nothing changed except the position of the shadow.
After I have decided where I wanted my shadow to lay, I locked the shadow layer and the object layer together by highlighting both layers and clicking on the link icon at the bottom of the Layers Palette. While building a layout, I use this process on each embellishment that needs a shadow, locking each shadow to its object.
By adding shadows to their own layers, you can make your layouts look super realistic and emulate a paper scrapbooking page – yet another example of the diversity in creativity that digital scrapbooking affords to the modern memory keeper!

![]()

Article written by Amy Flanagan


