
Hybrid Team member Carla Shute brings us this delightful exploding box tutorial!
I have a confession…I’m a Mini Album Fanatic! Although I haven’t made many, I have been bitten by the bug to create these treasures! Some I have made for the recipient to finish with their photos and thoughts. Others I have included the photos and word art or quotes for them. Today, I thought I’d make a completely finished album and share how I did it! I love exploding boxes and have made several in the past, but this time I’d like to kick it up a notch and add some pockets and more interaction.
Digital scrapbooking supplies used:
Spring is Here Collection Biggie
ScrapSimple Craft Templates: Exploding Box
Craft supplies used:
Cardstock (your choice of color and style)
2 12 x 12 inch pieces of coordinating cardstock
Your favorite digital scrapbooking papers and embellishments
tape or glue
Ink pad (optional)
border punches, corner punches (optional)
Printer
scissors or cutter
scoring board and bone folder
ruler
Instructions:
To start, let’s make the bases for our layers and top. You’ll need a 12 x12 inch piece of cardstock. You can use any colors or patterns you would like. I’ve chosen white for a clean look. Score your paper at 4 inches and 8 inches. Rotate the paper 90 degrees and score at 4 and 8 inches again. You should have a tic-tac-toe board on your cardstock.
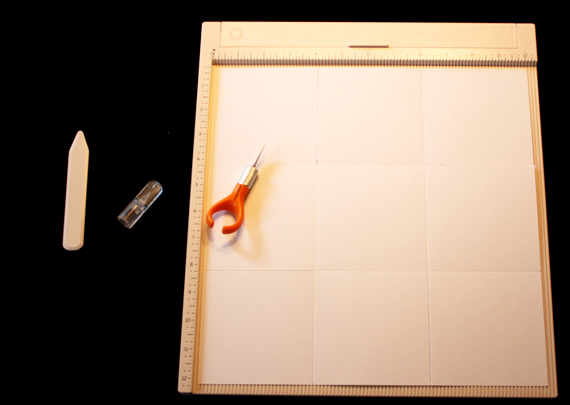
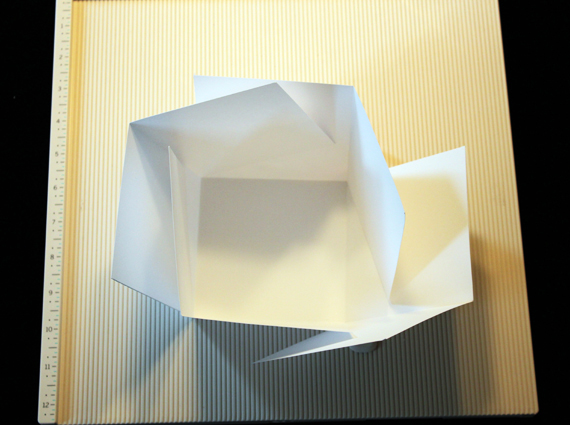
Next, cut along the bottom right-hand side score line up to the first intersecting score lines. Rotate your paper 90 degrees and repeat the cut. Keep rotating your paper until you have made 4 cuts. Next, fold along the score lines, using a bone folder or other utensil, for a clean, crisp fold. Optional: You can round your corners for a clean look if you would like!
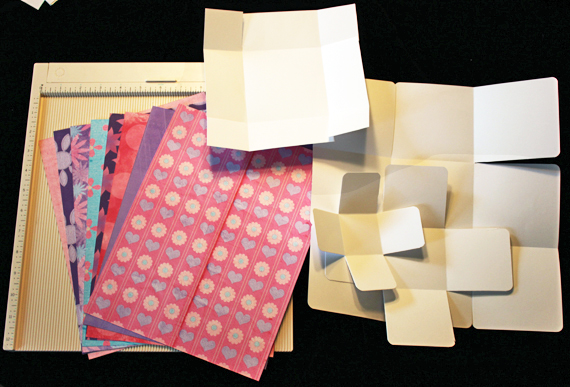
For the next layer, start with a 9 x 9 inch piece of paper. Again, you can choose whatever paper you would like, but I am using white. Score at 3 inches and 6 inches. Rotate your paper 90 degrees and score at 3 and 6 inches again. This time, you are going to cut out the corners of each paper along the score lines so you end up with a “plus” sign shape. Fold along the score lines and round the corners if you would like to.
For the last layer, start with a 6 x6 inch piece of paper and score at 2 inches and 4 inches. Repeat the steps from the last layer so you end up with a smaller “plus” sign shape.
For the top of the box, start with an 8 x 8 inch piece of cardstock and score at 2 inches and 6 inches. Rotate the paper 90 degrees and score at 2 and 6 inches again. Then cut a slit along the score line in the bottom right hand corner up to the intersecting score lines. Rotate your paper 90 degrees and make another slit. Repeat this step until all 4 corners are cut. Then fold along the score marks and make the folds crisp.
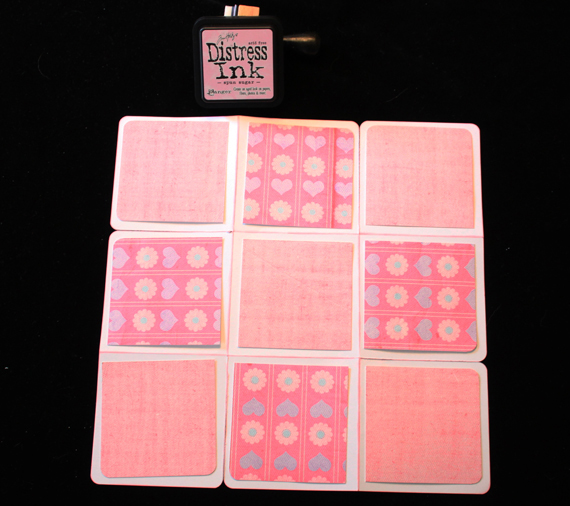
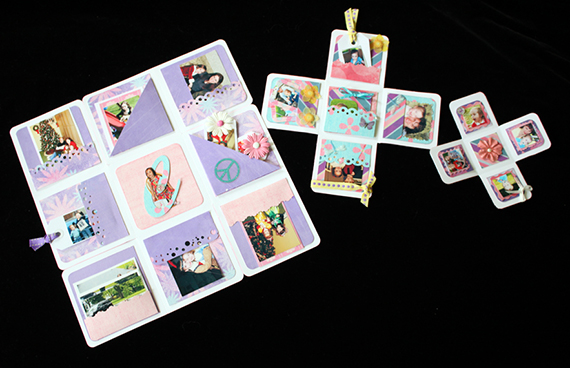
At this point, I print out my digital scrapbooking papers I plan to use for mats and pockets. I’m using Andrea Trump’s Spring Is Here Collection Biggie. Using those papers, cut a total of 18 squares as mats, size 3.5 x 3.5 inches. Mix and match patterns and solids for a fun look. Now is the time to ink any edges you would like to, as well. Once your squares are cut, decide on where to place those squares, keeping in mind which way patterns will face. You don’t want a heart or text patterned paper to be upside down when the box is assembled! If you are rounding corners or inking edges, make sure you do that before you tape down the mats. Once you attach the mats, flip the template over and repeat the matting process.
Pockets:
I’m making pockets for tags and photos to slide into! I used all scraps for them, too. For my project, I’m only putting pockets on the inside of the boxes, but feel free to put pockets on the inside and outside if you’d like. The first kind of pocket I made just used a strip of scrap paper, measuring 3.5 X 1.5 inches. For a bit of decoration, I used border punches and decorative scissors on the top edge of the pocket. I glued down 3 sides to form a pocket, right on top of the mat.
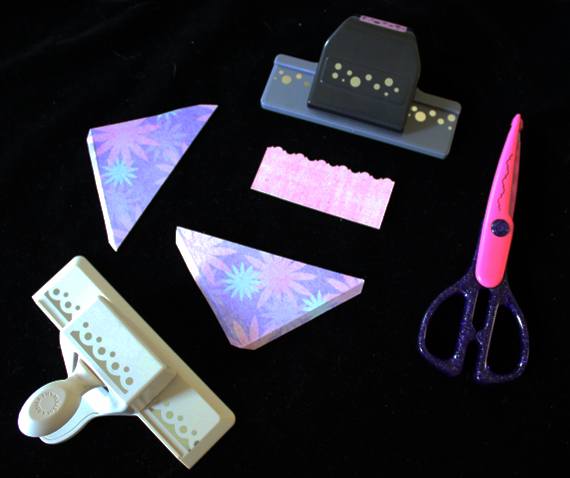
I also used a diagonal pocket. I started with a 4 x 4 inch square piece of scrap paper. I scored all the way around the square at 0.25 inches. Then I cut the square diagonally from corner to corner. I tapered the folded corners for a smoother edge. Then I used tape to attach the edges to the mat. I can get two pockets from one 4 inch square! Alternate patterns, pocket types and location of the pockets for a fun look!

Before you start the next layer of your box, you have to make a decision about your middle squares. You can leave them with just a blank mat, or you can add a pocket or photo to that square. Do you want each layer of your box to come apart, or do you want them attached by the middle bottom square? If you want them attached, then tape the next layer directly to the middle bottom square (once it is matted and decorated). I decided to use this space for more photos and embellishments, so mine will not be attached.
Once you have decided that, you can move on to decorating the middle layer of your box. You will need either 9 or 10 squares for mats (10 if you are not attaching your boxes to each other, 9 if you are), size 2.5 x 2.5 inches. Repeat the steps for the last layer, with the adjusted sizes for the smaller box.
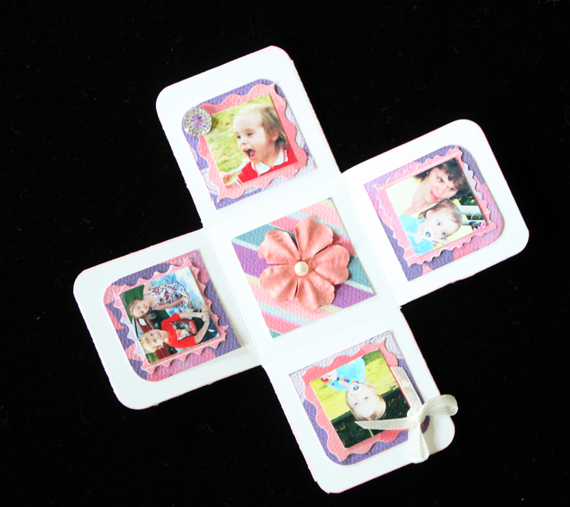
The final, smallest layer will require 9 or 10 mats, size 1.5 x 1.5 inch squares, depending on whether you are attaching your boxes to each other or not. Since this layer is so small, I decided to skip the pockets and attach 1 inch square photos, or “inches” and some small embellishments. You could definitely continue with the pockets if you would like!
Now that the layers are finished, let’s get working on the top of the box! You will need 2 squares, 3.5 x 3.5 inches. One will go on the top, outside of the box, and one will go on the inside top. Don’t forget to ink the edges if you did so on the other layers. The sides of the box will need 4 mats that are 3.5 x 2.5 inches for the outside and 4 mats for the inside. Decorating the inside of the box is optional, but it gives a finished look to your box. Once my mats were inked and in place, I used a border punch to finish off the edges to give it more interest. I had to shorten the tabs so they wouldn’t show through the punched area. Then I used lots of tape to tape the tabs. Make sure the tabs were taped to the inside of the box. Add a few embellishments and Voila! The box top is finished!

Look through your photos and embellishments to add to your pockets. I used photos attached to tags, matted photos and just plain photos. Some are removable and some are permanently attached.
Assembling Your Box:
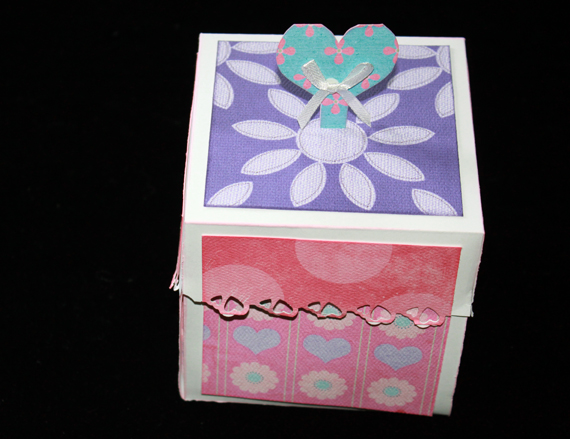
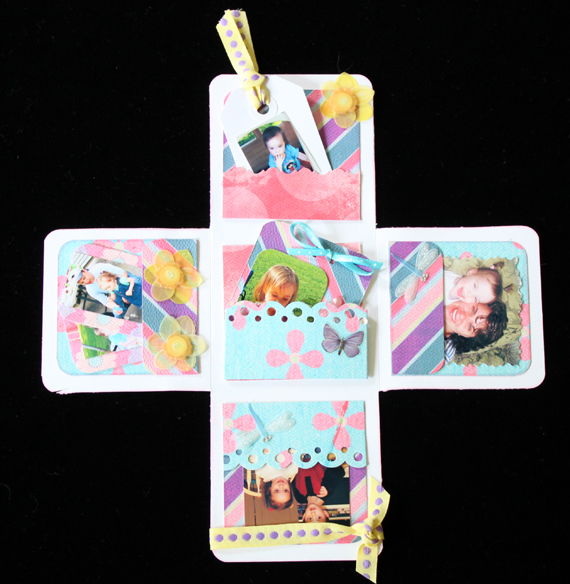
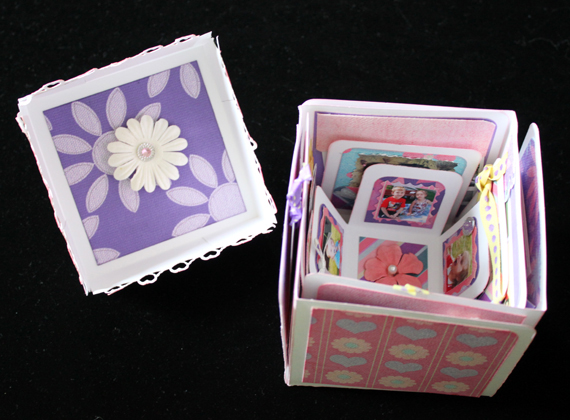
Starting with the largest layer, fold up your box, making sure that the sides you want are facing out. Since I used a different pattern on every other mat, I wanted to make sure that the same pattern was on the outside of each side. Once you have folded up the layer and created a “box”, insert the next layer by gently setting it inside. Finish up with the last layer and add the top to the box! Your unique mini-album is now a work of art!
When you decide to tackle this mini-album, we’d love to see it! Please post your art in the Scrap Girls Hybrid Gallery. If this project is too time consuming, why not try out the ScrapSimple Craft Templates: Exploding Box? You can add photos and embellishments digitally and just print, cut and fold for a great album with much less time involved. Whichever way you decide to create your Exploding Box, have fun!

Tutorial written by Carla Shute


