

I live in a small community and until recently I had to drive 80 miles to shop at a craft store. In the past month Hobby Lobby and JoAnn’s have opened within five miles of my house. Both are currently filled with Halloween and fall decorating ideas. After several trips I couldn’t resist the urge to create a Halloween centerpiece for my table.
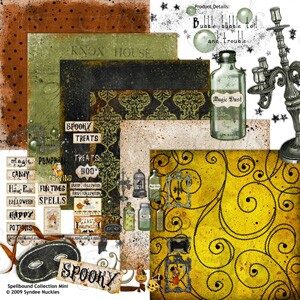
I haven’t used many of my Halloween themed Scrap Girls digital scrapbooking supplies in a long time so I had a lot of fun browsing through all of the papers and embellishments. It was hard to not pick them all but I loved the witch in Syndee’s Hex Digital Kit so that was the inspiration for the style of my centerpiece. As I was creating the printable digital embellishments for my centerpiece I also realized I could quickly add a background to my layout, resize and make a coordinating party invitation or a greeting card.
Digital Scrapbooking products used:


Supplies List:
Scissors
Paper – Double sided Matte Photo, coordinating piece of colored cardstock
Spray Adhesive
18” Styrofoam Cone
Nylon Witches Hat
Black Spray Paint
Embellishments – printed digital embellishments, wide wired edge ribbon, fall floral leaves, plastic spiders
Distress ink
Gelly Roll Pen – Stardust
Instructions:
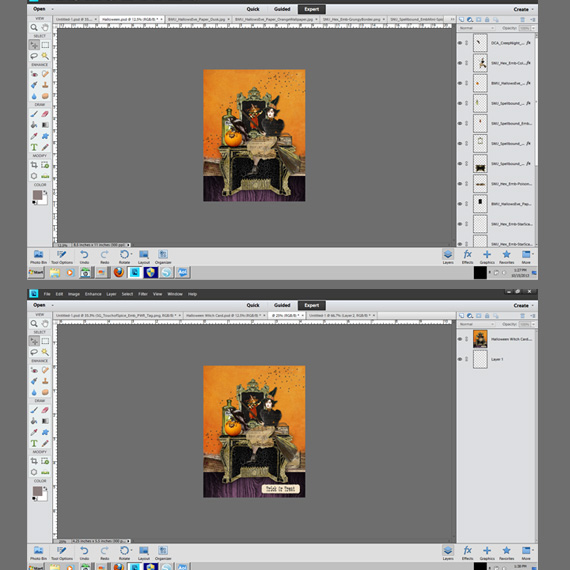
Step 1 – Open an 8.5” x 11” inch document in your photo editing software. Create a layout with a scene and print. Using a spray adhesive adhere cardstock to back of layout. Cut out layout.

Step 2 – Spray paint a Styrofoam cone Black. Wrap with wide wired edge ribbon. Push the pointy crown of the witches hat thru the brim. Place the Styrofoam cone in the middle of the brim.
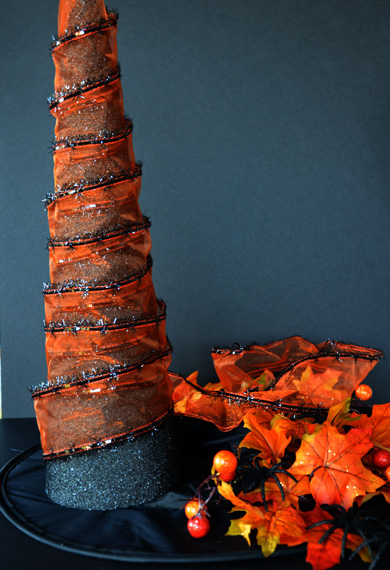
Step 3 – Embellish with Scrap Girls printable digital scrapbooking layout, floral leaves and plastic spiders.
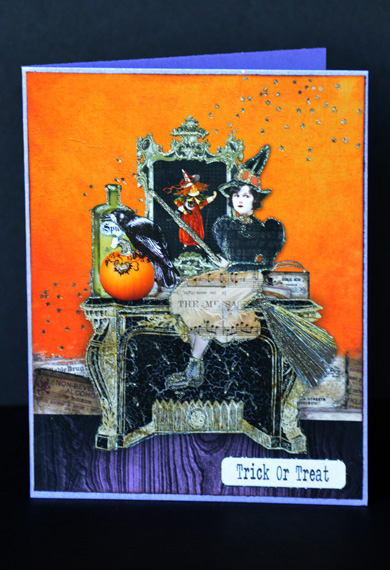
Step 4 – Rename the layout you created in Step 1. Create a background. Reduce the size of your scene and word art. Open a 4.25” x 5.5” inch document in your photo editing software. Drag layout onto document and resize. Print.
Step 5 – Randomly add some bling with a Gelly Roll pen. Adhere layout to card base.
We would love to see how you use your digital scrapbooking supplies to create your own Halloween Decorations and Cards. Post them in the Scrap Girls Hybrid Layout Gallery.
Live each day creatively,
Karen
Tutorial written by Karen Webb


