
For many months my sister-in-law, Cindy, and I have been discussing my mother-in-law, Tressie Webb’s 80th Birthday party. She is a very special lady who has always put everyone in her life before herself. We were excited and honored to be able to do something special for her on this milestone of a birthday.
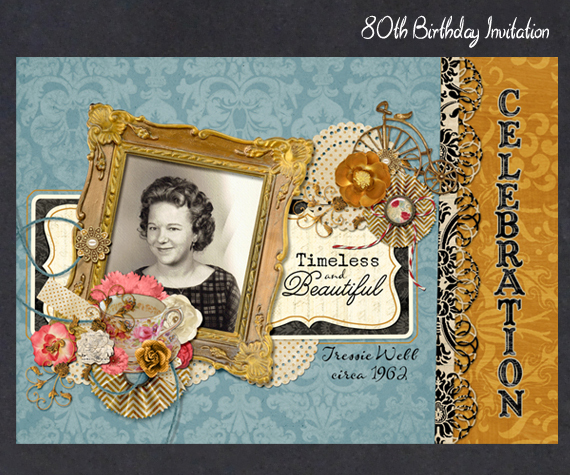
In early January we finalized the party date in March so I could create a digital invitation for printing and mailing. We wanted a shabby chic look with a little bit of glam. I knew that Syndee Nuckles’ Flea Market digital scrapbooking kit and coordinating products, would provide me with the right color palette and some beautiful digital supplies. This is the front of the party invitation.
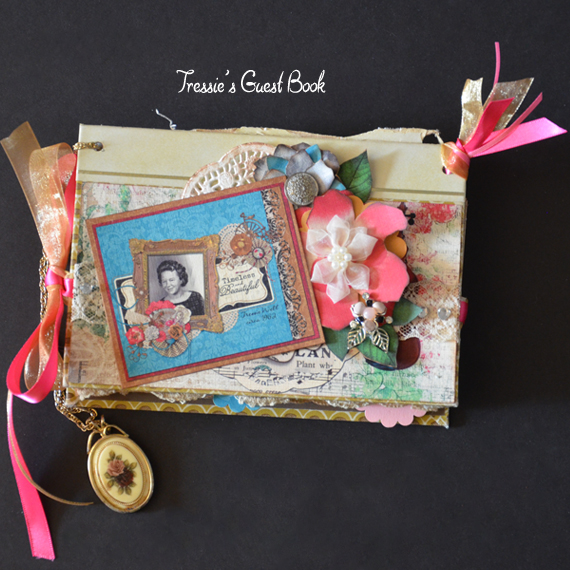
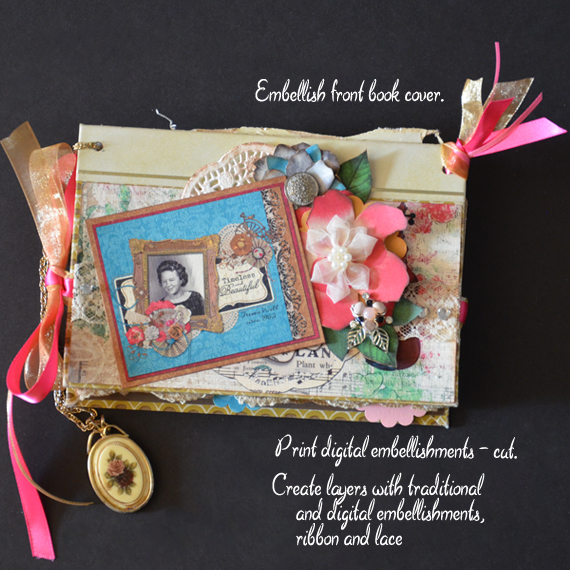
Once the invitations were completed and mailed, Cindy, my niece, and I started working on decorations for the party using the color palette and theme from the invitation. My first project was to create a hybrid guestbook. I used the same collection and added several other digital scrapbooking products that coordinated nicely.
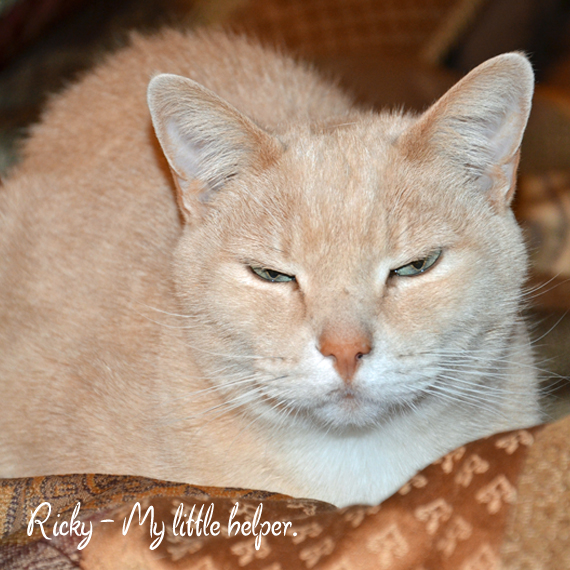
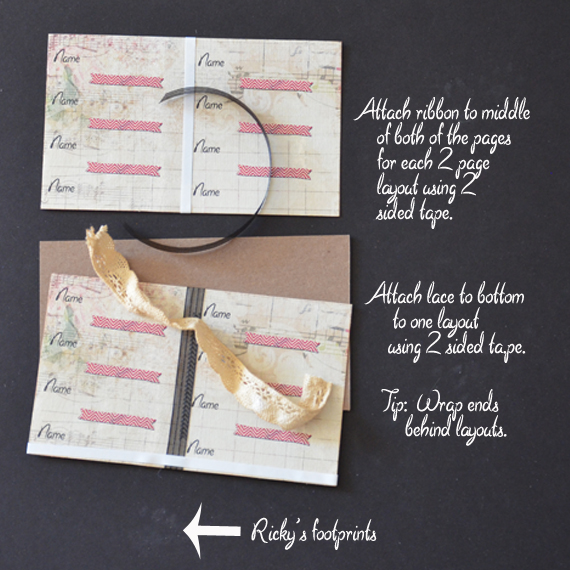
You should also note I had a little helper while preparing the photography portion of this tutorial. I wish I had noticed his dusty paw prints on my background before I shot and had to clean up all of my tutorial layouts (see pictures 9 & 10). Good thing for him he is spoiled rotten!
Digital scrapbooking supplies used:
Flea Market Collection Biggie
Flea Market Embellishment Mini
JIF 6 Plus: Flea Market
Craft supplies used:
Cardboard or chipboard
adhesive, double stick tape
scissors and/or paper trimmer
ribbon, lace and any other desired embellishments
necklace
scallop punch
Instructions:
The finished size on my Guest Book is 5” x 7”. Your size will vary based on the book covers you select. I used a unique item for binding. You could substitute with ribbon, a ring or a binding machine.
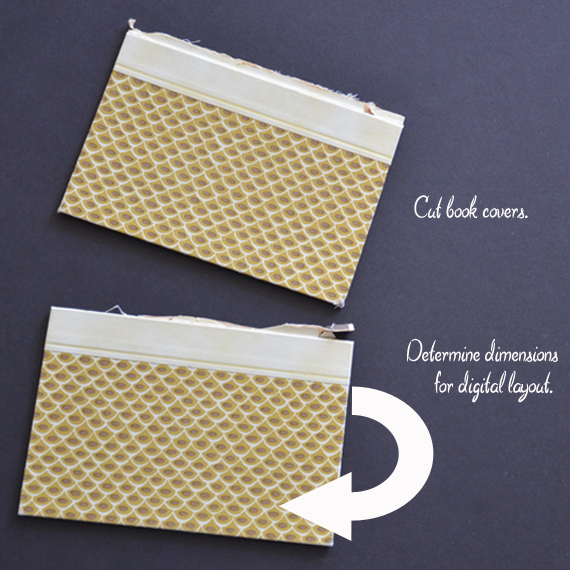
Step 1 – Cut book covers. Determine dimensions for digital layout.
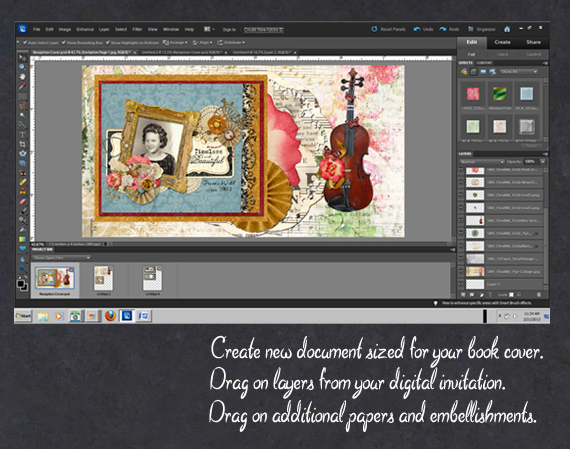
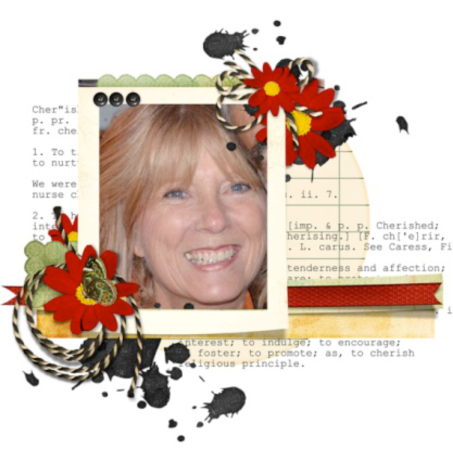
Step 2 – Create a new blank document the same dimensions as your book covers. Drag layers over from your digitally created invitation or create from scratch. Add any additional papers and embellishments.
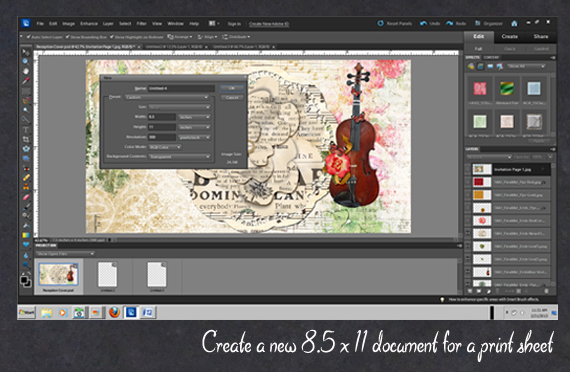
Step 3- Create a new blank 8.5×11 document that will be your printable sheet.
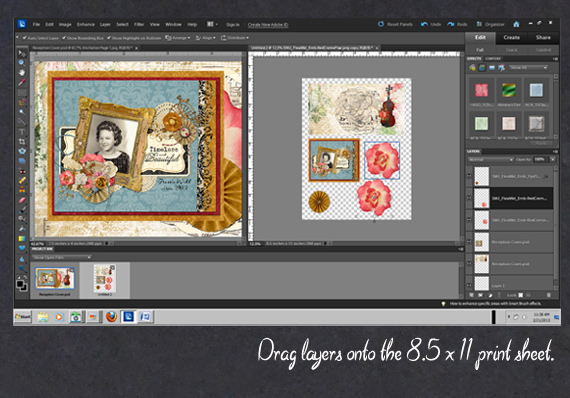
Step 4 – Drag embellishments and other items you want to include onto the printable sheet or select desired digital elements.
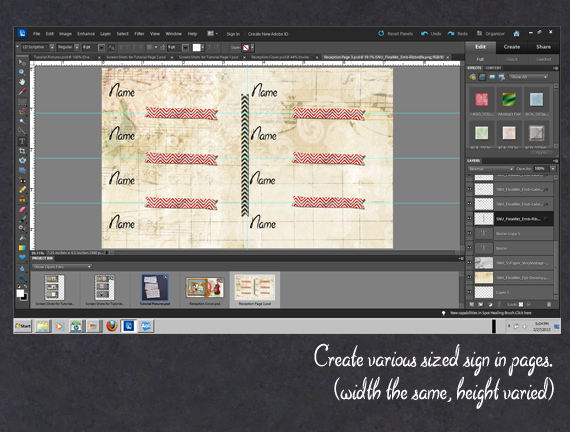
Step 5 – Create sign in pages to go inside your printable guestbook.
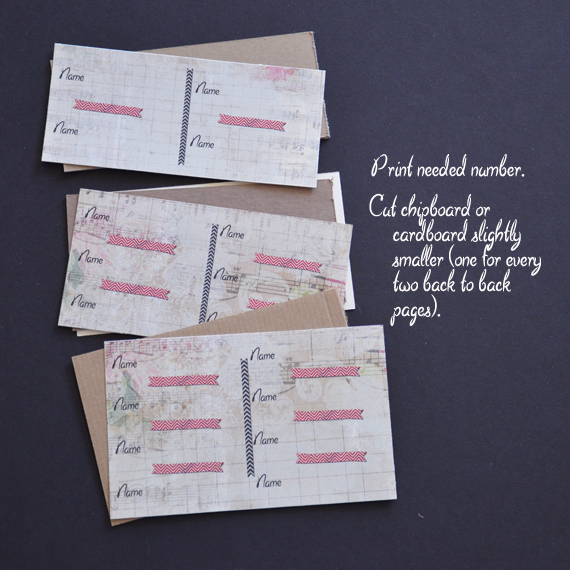
Step 6 – Print desired number of sign-in pages.
Step 7 – Cut chipboard or cardboard slightly smaller (one for every back to back set of pages).
Step 8 – Attach ribbon to middle of both of the pages for each 2 page layout using double sided tape. Attach lace to bottom of one layout using double sided tape. Tip: Wrap ends behind layouts.
Step 9 – Punch out 2 tabs from paper. Glue together with adhesive and adhere to chipboard. Then adhere sign-in pages to chipboard. Flip the chipboard and adhere 2nd layout on back.
Hint: Make sure that the second layout is facing the proper direction when book is opened.

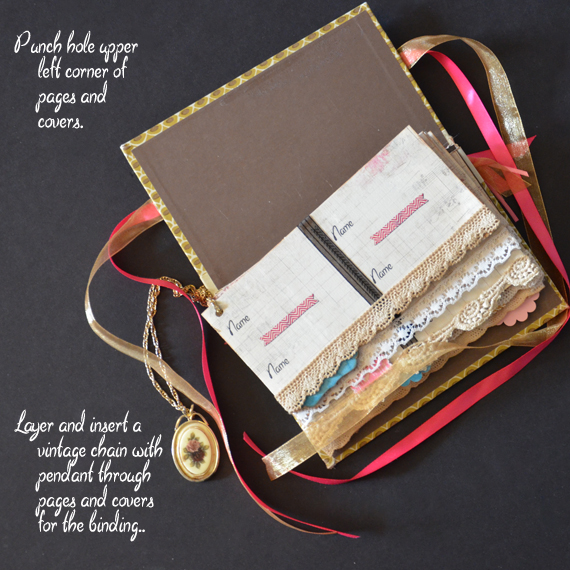
Step 10 – Punch hole in upper left corner of pages and covers. Layer and insert a necklace through pages and covers for binding.
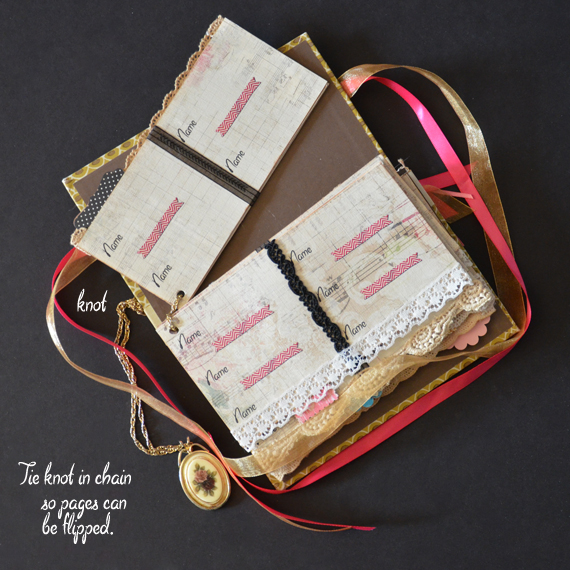
Step 11 – Tie knot in chain so pages can be flipped.
Step 12 – Embellish the front of your printable guestbook. Print out your printable embellishment sheet and cut out all elements. Create layers with traditional and digital scrapbooking embellishments, ribbons and lace.
 As was looking through my boxes of trims, I found some small pieces of vintage lace that my mother-in-law had given me. I was able to use some of these “leftovers” in this reception book and that touched my heart. Know she will feel the love on each page!
I have several other hybrid projects in the works for her party. Who knows, they may make an appearance in a future tutorial! Hope to see your projects posted in the Scrap Girls Hybrid Gallery!
Live each day creatively,
Karen
Tutorial by Karen Webb


