

I have found that there are generally three types of fabulous members and designers at Scrap Girls. The first group creates exclusively with digital products. They don’t like messy projects so glitter, gesso, paint, ink and glue must be digital. The second group creates with digital and/or traditional supplies. Their traditional supplies probably include adhesives, card stock, paper cutters, punches, scissors and embellishments. They tend to tolerate slightly more mess than group one. The members of the third group have never seen a digital supply, a traditional supply or for that matter a found object that doesn’t have potential. Messy projects make them very happy.
I fit squarely in the third group – lol. My favorite projects combine the mediums of digital and traditional. Like many of you, I also love challenges where many talented designers, artists and crafters create a project from a common sketch, template or theme. I am always inspired by the amazing and diverse art work that is created from one idea. With Father’s Day quickly approaching, I needed to design some cards. I thought it would be fun to start with a 12” x 12” digital scrapbook page template and make three similar cards with these different design approaches.
Supplies List:
Digital Scrapbooking Supplies
Tools – Scissors, paper cutter, bone folder, rubber stamps, Silhouette Cameo
Paper – Card stock, various handmade papers, cardboard scrap
Adhesive – Narrow two sided tape, glue dots, Xyron Create a Sticker
Embellishments – Paint, brads
Ink, distress pens
Instructions
Step 1 – Select and open a digital scrapbooking template in your photo editing software. Open a document the desired size of your card (sample measures 5.5” x 4.25”). Change the view so both documents are side by side (layout, all grid) and drag the template layers onto your card document (select the top layer, scroll to the bottom layer and select all layers via ctrl shift). Remember to name your card document and close your original template file.
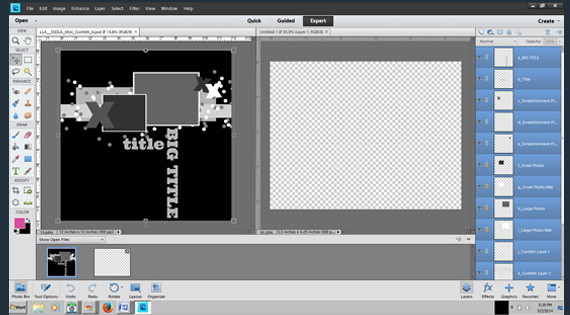
Step 2 – With all layers selected resize (ctrl t). Deselect, move and resize individual template layers as desired to fit your card size. Select digital scrapbooking papers, word art and embellishments for your card layout.

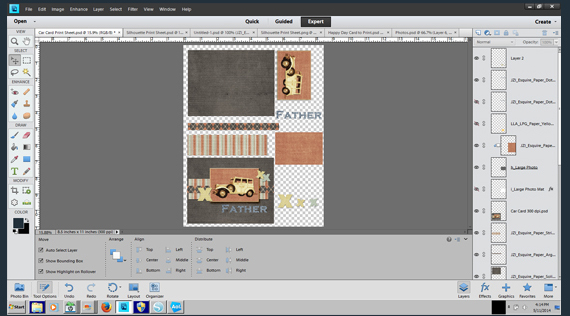
Step 3 – Create a print sheet, print and cut out. Note that for card #2 and #3 some digital elements were cut with a Silhouette Cameo. You could also cut with scissors.
Step 4 – Assemble
Card #1 – Distress edges with ink. Adhere to card stock base with two-sided tape.
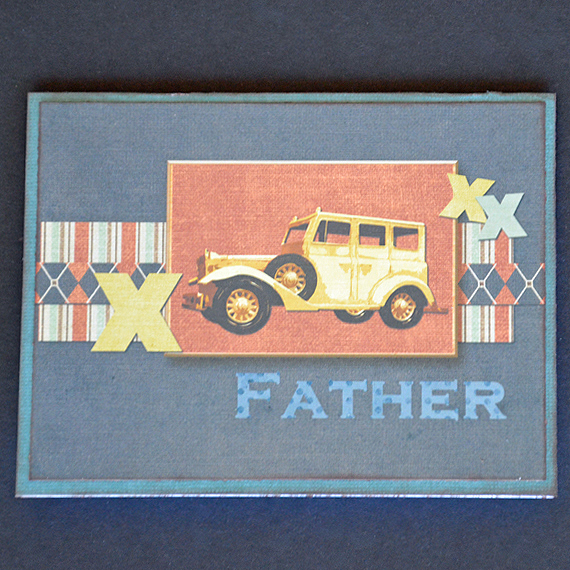
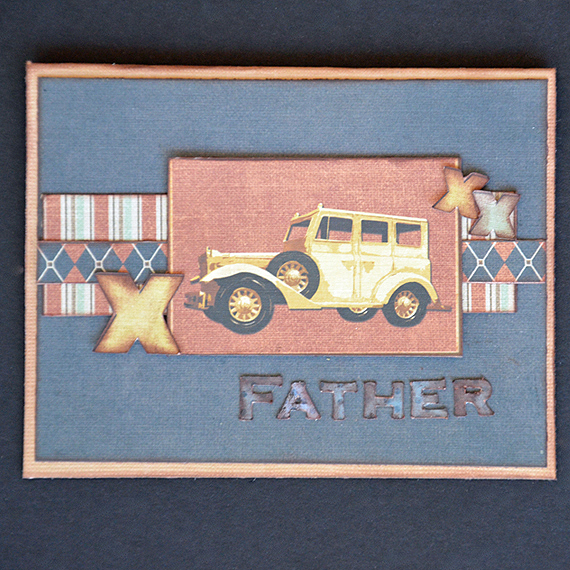
Card #2 – Distress edges with ink. Adhere paper strips, jalopy mat and X embellishments with two-sided tape and glue dots. Run digital word art letters through Xyron Sticker Maker and adhere.
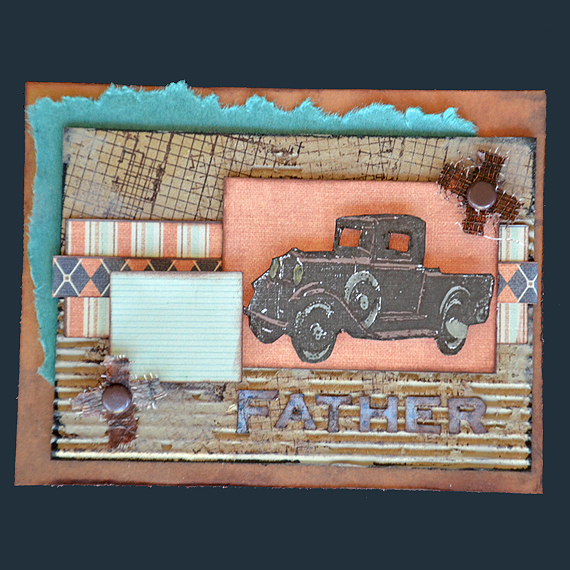
Card #3 – Tear edges of handmade paper and adhere to card base. Cut a piece of cardboard (5” x 4”). Tear off top layer of paper to expose some ribbing. Stamp with texture stamp, distress edges and randomly add acrylic paint with fingers. Layer on top of torn paper with two-sided tape. Distress edges of strips and jalopy mat with ink and layer with tape. Stamp truck with rubber stamp, cut out, distress edges, color with distress markers and adhere to mat with dimensional adhesive. Adhere small mat with dimensional adhesive. Create two X’s with torn paper and brads. Adhere with glue dots. Run digital word art letters through Xyron Sticker Maker and adhere.
We would love to see how you use your digital scrapbooking supplies and one of Scrap Girls wonderful layout templates to create your own masculine cards. Post them in the Scrap Girls Hybrid Gallery
Live each day creatively,
Karen

Tutorial written by Karen Webb


