
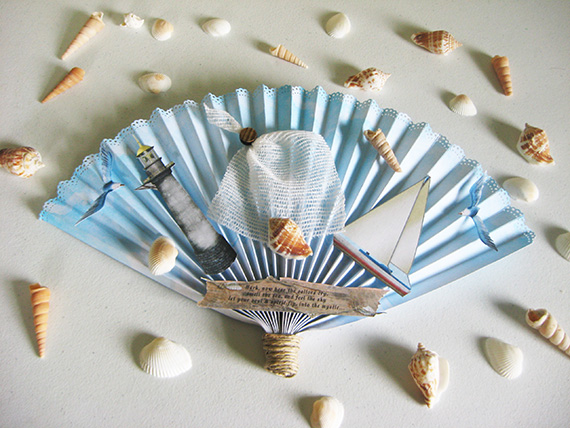
This is such a fun easy project. All you have to do is decide your theme, create the fan and then the sky is the limit on what you use to decorate it.
Digital scrapbooking products used:
Under The Boardwalk Collection Biggie
Chesapeake Collection Biggie
Craft supplies used:
8.5 x 11 cardstock for printing
Paper cutter And/Or scissors
Score Board or Ruler and Bone Folder
Sticky Strip Tape or Other Adhesive
Glue Gun
Decorative Edge Punch
Sea Shells
Twine
Beads
Glue Dots
Gauze
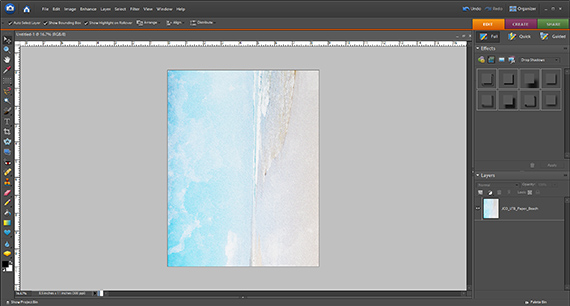
Step 1: Take 2 pieces of cardstock, choose the paper from the digital kit you are going to use and print on both sides. *Note, if you are creating a fan that has an orientation i.e. mine is a sky/beach scene paper, you will want to make sure that the orientation is on the long side (the 11 inch side) of your paper.
Step 2: Choose the digital embellishments you are going to use, print and cut. I used my Silhouette Cameo to cut mine.

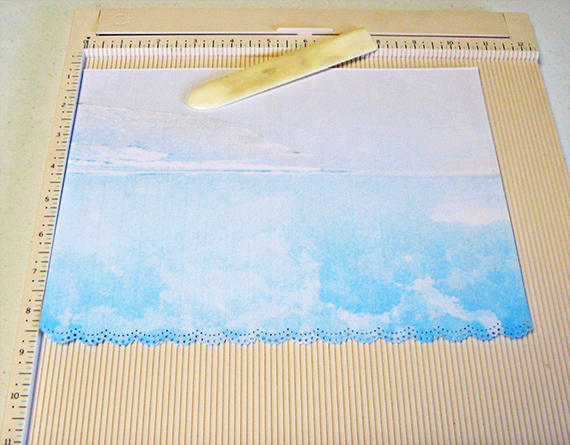
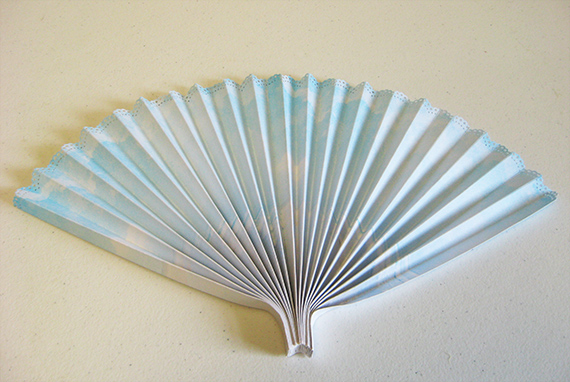
Step 3: Use the decorative punch on one of the long sides of each piece of your printed cardstock. Place the long un-punched edge of the cardstock at the top of your score board and score every ½ inch.
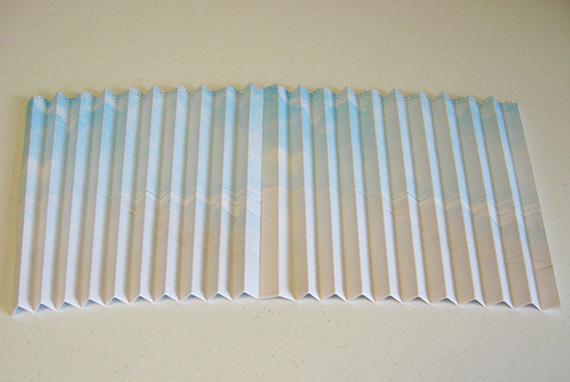
Step 4: After you have scored both sheets you will accordion fold them (sometimes referred to as peaks and valleys).
Place score tape on the valley side of one of the pieces of cardstock, line up the peak of the other piece of cardstock and press down to adhere the 2 pieces.

Step 5: At the bottom of the fan place approximately an inch of score tape on each pleat – I found it easiest to place all my tape on and then pull the backing off and adhere the pleats together one by one. Form the fan by pinching approximately an inch on the bottom of the joined pieces and wrap with the twine or whatever you are using to “pretty up” the bottom of your fan.
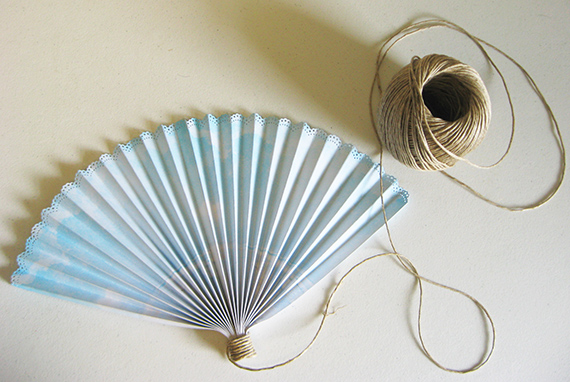
Step 6: You are now ready to start embellishing your fan!
I hope you enjoyed this tutorial and will give this basket and card set a try. Please share your decorative fan projects in the Scrap Girls Hybrid Gallery.

Tutorial written by Sherry Davis


