
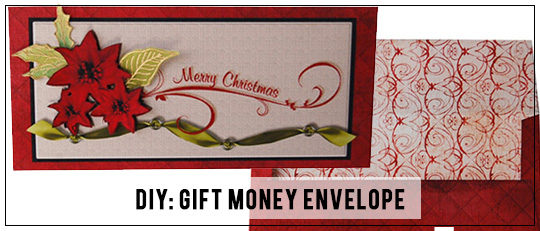
My grandkids have gotten older and now prefer a gift of cash instead of toys and presents. Sometimes this gift feels a little impersonal, so making a money gift envelope using your digital scrapbooking supplies is a great way to add that special touch.
Digital Scrapbooking Supplies Used:
ScrapSimple Craft Templates: Gift Card & Money Holders
Holiday Time Digital kit
Jingleberry Digital kit
Supplies used:
Trimmer
Scissors
Score Board
Adhesive
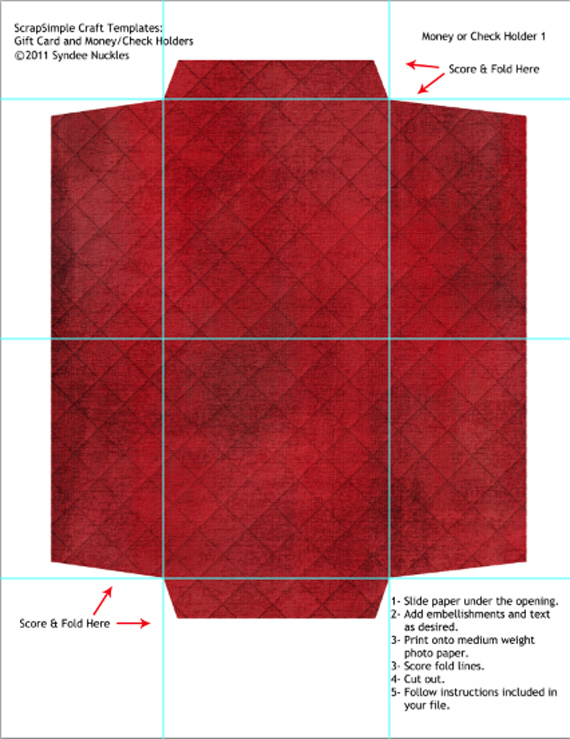
For this project I’ve chosen Syndee Nuckles’ ScrapSimple Craft Templates: Gift Card & Money Holders and Keri Schueller’s Holiday Time Digital kit. Syndee’s Templates make this a quick and easy project and I’m going to show you how to get it done.
In the Gift Card Money Holder folder I opened up the file called SNU_SSCraft_GiftCrdMoneyHold-CKMoney1.png. Then I dragged in rulers along the score lines so I could see where my art needed to be positioned. I used a red digital paper and placed it below the template layer. I love this paper with quilted look!
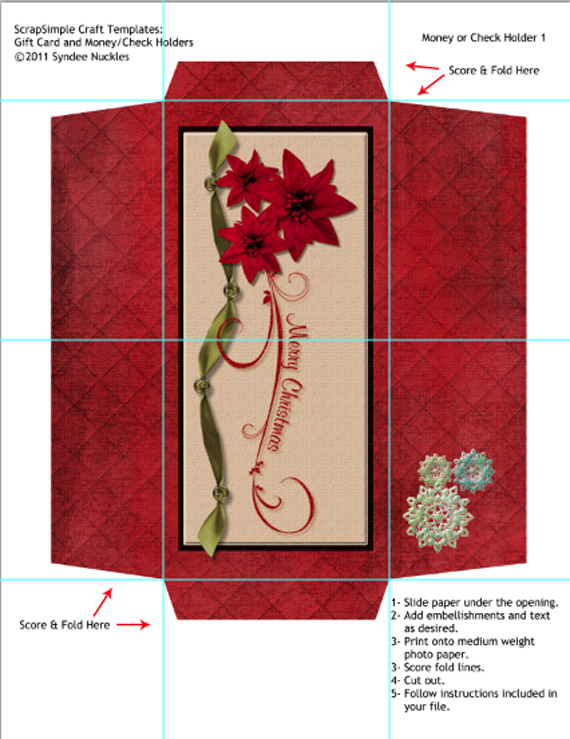
Next I decorated the front of the envelope and added some snowflakes from the Brandy Murry’s Jingleberry Digital kit to the top flap of the envelope.
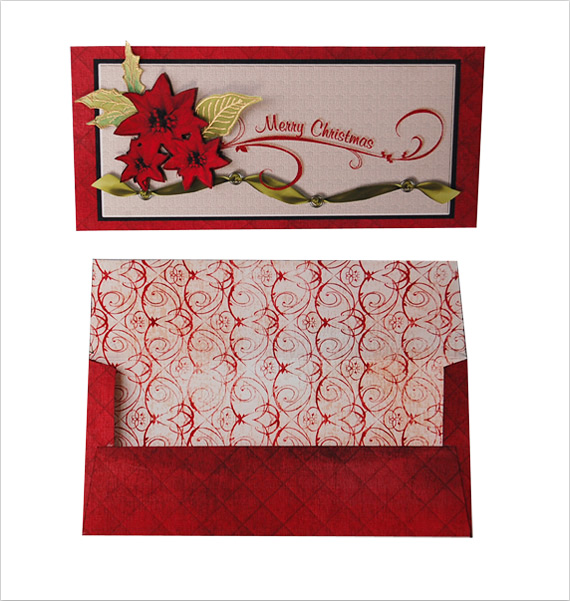
After printing it out I scored the lines and cut it out with scissors. Adorable! But… I wanted to add a little more dimension and didn’t like the stark white inside of the envelope.
I printed it out again, but before I scored and cut it I open a new psd file and dragged in this swirly cream colored paper onto it.
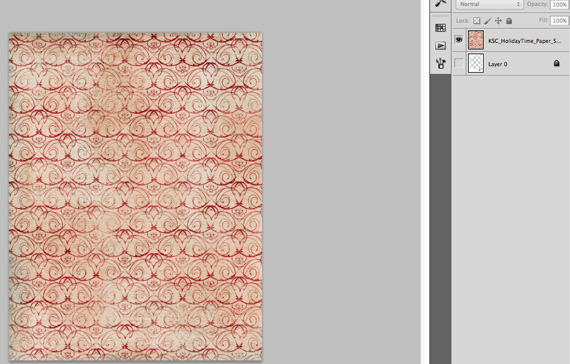
Then I ran my front through the printer again to print this creamy paper on the back (or what will be the inside of the envelope). I also printed out some pointsettia groups and cut one out to stick on the front of the envelope. Then I stamped and embossed some leaves, blended some color on them and attached them.
These templates are so easy to use and to change up for different looks – just drag different papers and embellishments on them and print!
I hope you enjoyed this tutorial and will make your own samples and post them to the Scrap Girls Hybrid Gallery so we can all enjoy them.
Tutorial written by Bobbi Start


