
Using your digital scrapbooking supplies to create printable greeting cards is a smart way to utilize your digital stash. You can create greeting cards with just the right message inside, and even after you factor in the price of paper and ink, you can save money! While I often print the outside of a card and leave the inside blank to write my own message, I really like the polished look of a card that is printed on the inside, too.
But getting the inside printed correctly can be a bit tricky. Today, I will show you a few tips that make printing folded greeting cards easier. This tutorial shows a top-fold, landscape-oriented card printed using matte, double-sided photo paper.
When you create your card, make your canvas twice the size of the card front. The example shows a 4.25×5.5-inch card. The canvas size is 8.5 inches tall and 5.5 inches wide. Before you create your card, place a guide on the fold line so you can visualize the top edge of your card. In this example, it is placed at 4.25 inches.

After you have created the outside of your card, you will need a second page for the inside of the card. It needs to be the same size and orientation as the outside of your card with a guide on the fold line. Place your greeting on the lower half of the card.


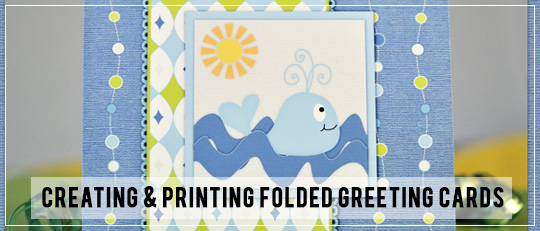
Printable Card by April Martell
A Whale of a Time Nano Collection
http://store.scrapgirls.com/product/22560
Cardstock Summer Paper Mini
http://store.scrapgirls.com/product/22563
ScrapSimple Paper Templates: Basically Bordered Eyelet
http://store.scrapgirls.com/product/22999
Lettering Delights Letterpress Inverted Font
http://store.scrapgirls.com/product/8056

Tutorial written by April Martell


