
I have a small vegetable garden and a fairly large perennial garden both of which bring me a lot of pleasure each year. From year to year I have good intentions of writing down the date I planted my tomatoes, when the roses were cut back, when I began my annual fight with big iridescent green tomato worms (YUCK) and a myriad of other important garden details. Do I actually keep track – NO! This year I have been seeing these cute garden planners and journals in some of the specialty shops. Great idea but better yet I can make a personal one using my Scrap Girls digital scrapbooking supplies and some traditional supplies.
I already had a lot of photos I had taken of local flowering roadside weeds and blooming cactus. When I saw Syndee Nuckles’ – Editable Calendar Planner – http://store.scrapgirls.com/scrapsimple-paper-templates-editable-calendar-planner-p29781.php – I knew I had a great template base for my Garden Journal. Using the templates allowed me to complete my journal quickly.
Supplies list:
Scissors, paper cutter
Paper – Cre8it Magic Matte if using an ink jet printer (Ink does not smear when gel medium is applied.) or heavy weight cardstock if you are using a laser printer or if you will not use gel medium, 150 lb hot pressed water color paper.
Adhesive – Claudine Helmuth Gel Medium (matte), E6000 glue
Mixed Media Products – Light Modeling Paste, Dimensional Glitter Paint, Mica Chips, Acrylic Paint, Dillusions Spray Ink, various distress inks, glass glitter, metal findings, embossing powder
Tools – Stencils, rubber stamps, tab punch, heat gun, various paint brushes and texture making mats (you can also use things like bubble wrap, screen, sponges)
Instructions
Step 1 – Open various Scrap Girls Editable Calendar Templates in your digital editing software. Remember to rename your documents. Create digital scrapbooking layouts for each month of the year. Create a front and back cover layout. TIP – There are multiple journal binding methods. Ensure you have chosen a binding method in advance as you will need to adjust your margins, text placement, etc accordingly for optimal printing and binding. I found that adding some additional placement guides in my digital editing software on each layout template helped with this task (PSE 11 – View, New Guide).

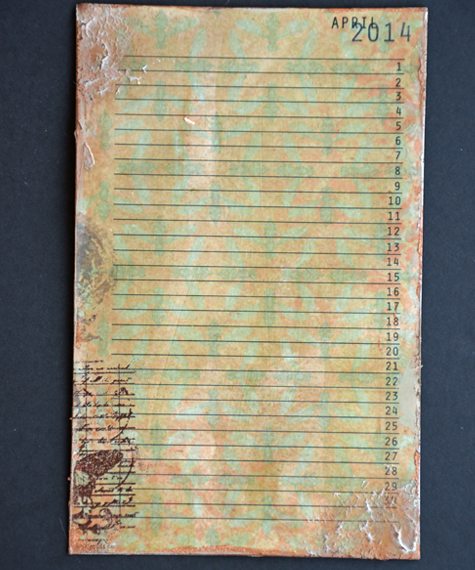
Step 2 – Print the 12 monthly layouts and covers on paper of your choice. Cut in half so you have two 5.5” x 8.5” inch pages for each layout. Pages should be assembled so that you can see the both sides of the calendar month when the planner is open. Tip: Lay out everything in Planner order before you began assembling your pages to ensure they are in the correct order.
Step 3 – Using gel medium attach calendar pages back to back to pre-cut hot pressed water color paper. Once layouts are attached and dry, cover the tops of each page with gel medium. Tip: Using a good quality gel medium is essential to creating a useable, writable, non-sticky planner.
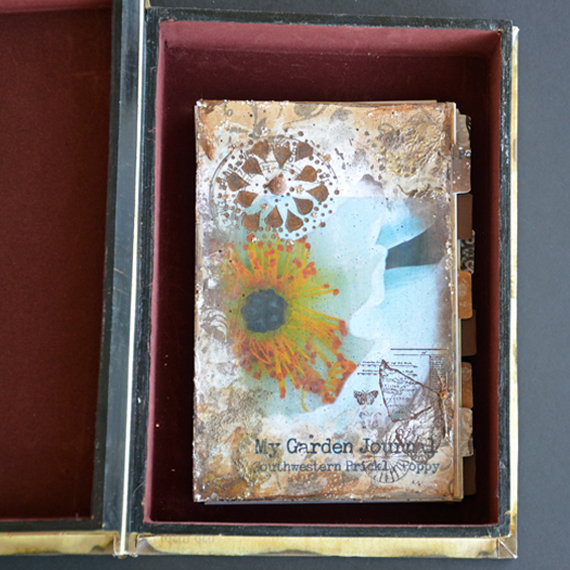
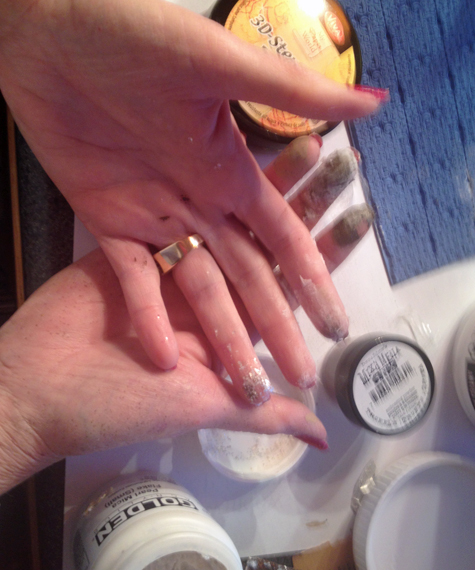
Step 4 – Grunge and alter the covers and each page with a variety of traditional supplies. Tip: Leave the area where you will write your notes and plans free of dimensional products that will interfere with a pen. Tip: Pages will buckle some but can be “mostly” flattened when you are done with a book or other item.


Step 5 – At this point you can bind your planner if desired. I want to add some photo pages, some envelopes for seeds, and additional room for notes to my planner. Since I am uncertain of how many additional pages I will need and how thick my journal will become I decided to store it unbound in a box for now. When I am done this year I will bind it all up. Watch for how I plan to alter this old, beat up box in next month’s tutorial.
Step 6 – If you don’t want your hands and your work space to look like mine or don’t have a lot of traditional supplies, print on heavy cardstock, SKIP steps 3 & 4 and assemble with 2-sided tape. Tip: You may want to adhere the layout pages onto cardboard (e.g., from a cereal box), or chipboard to increase stability. Tip: You can take it to an office supply store for binding.
This year when I want to collect seeds or make a planting schedule I finally have an artful planner to store that information. Next year when someone asks me a gardening detail from 2014 I won’t have to respond with my typical “I don’t remember.” I probably need a few more of these planners for the rest of my life – lol. We would love to see how you use your digital scrapbooking supplies to create your own Calendar Planners. Post them in the Scrap Girls Hybrid Gallery.
Live each day creatively,
Karen
Digital scrapbooking supplies used:


Tutorial written by Karen Webb


