
A week or so ago a friend of mine posted on her Facebook timeline that her house was decorated and all of her presents were wrapped. Although I want to be that girl, in reality a part of me likes the last minute rush to create gifts and stocking stuffers. Every year I make personalized note cards as gifts for my family and friends. I like to personalize them with their initials, their style or their hobby.
As Christmas draws closer I also start to feel a bit overwhelmed by everything I still want to accomplish. The layout templates from my Digital Scrapbooking Supplies are a great help in getting my card projects completed. The templates are so easy to use and can be changed to fit any need. Many of the scrapbooking digital templates can be used in a non-traditional way!
To show you a couple of template ideas I created two cards. The first one is for my Mom, Connie. She likes girly, vintage with a touch of fun. The second card is for a friend. She is creative and loves pops of graphic patterns in her decorating.
Supplies List:
Digital Scrapbooking Supplies
Scissors, paper cutter
Paper – water color, double-sided matt, card stock
Adhesive – two sided tape, pop dots
Embellishments – brads, lace
Distress ink
Punches, die cutter & dies
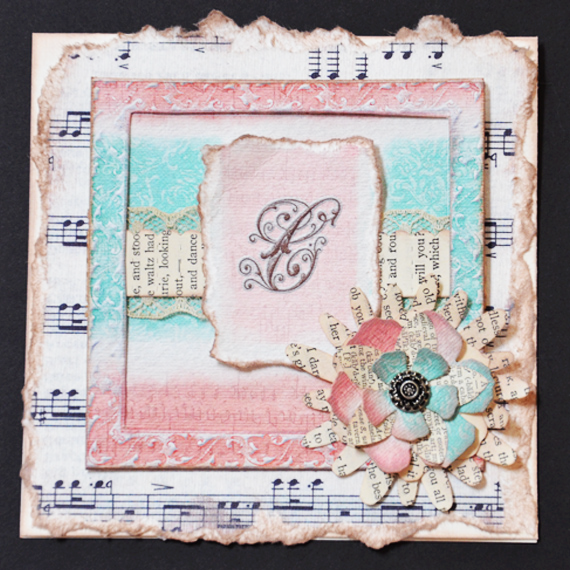
The card for my Mom might look difficult but once I break it down you will see it is easier than it looks.
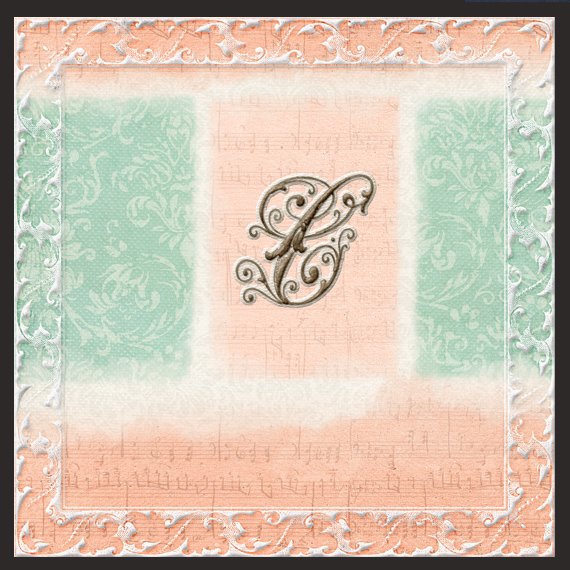
Step 1. Select a 12 x 12 template from your digital scrapbooking supplies. Remember to rename and save before you add anything to the template. Instead of photos select some pretty papers and attach them to the layers of the template. Add a frame and an alpha monogram to the layout and apply a style to the frame. Resize to 4.25” x 4.25”.
Step 2. Scan a sheet of vintage music paper or use a style to create a page of music. Resize to 6” x 6”.
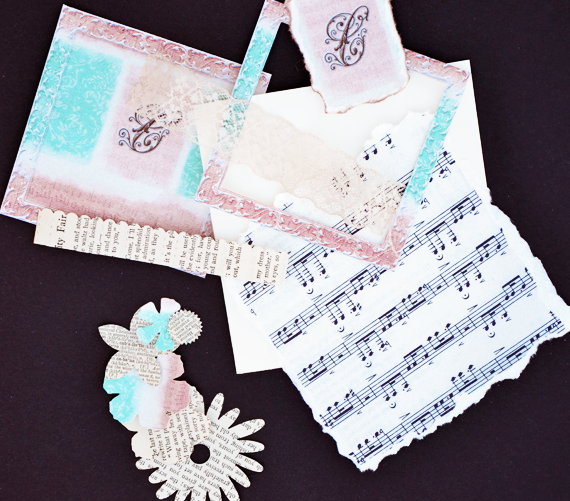
Step 3. Print two copies of the digital layout and one copy of the music paper on water color paper. Cut out with a paper cutter. Tear off the edges of the music paper so it is approximately 5.5” x 5.5”. Cut out the frame and the monogram panel from one of the digital layouts. Tear off the edges of the monogram panel.
Step 4. Create the flower embellishment by punching and die cutting various flowers from book pages and scraps of your layout. Distress, roll up edges, layer and insert a metal brad.
Step 5. Distress all edges and assemble the card. Use two sided tape. Adhere the lace onto the remaining digital layout. Layer a strip of book paper on the lace. Adhere the monogram panel to the middle of the digital layout. Adhere the frame and the flower embellishment. Layer the torn music paper and the digital layout to a 5.5” x 5.5” card base.
The card for my friend is super simple and quick.
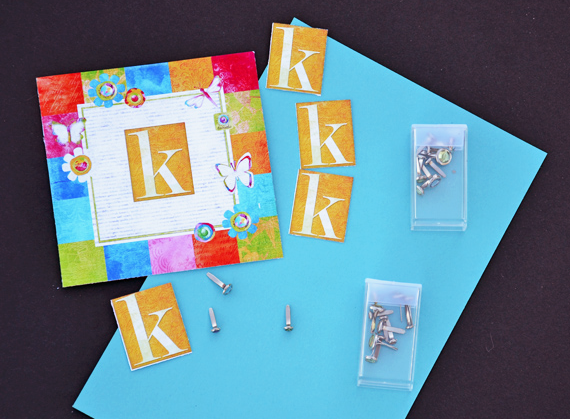
Step 1. Select a 12 x 12 quick page from your digital scrapbooking supplies. Remember to rename and save before you add anything to the quick page. Modify as desired. Resize to 4” x 4”.
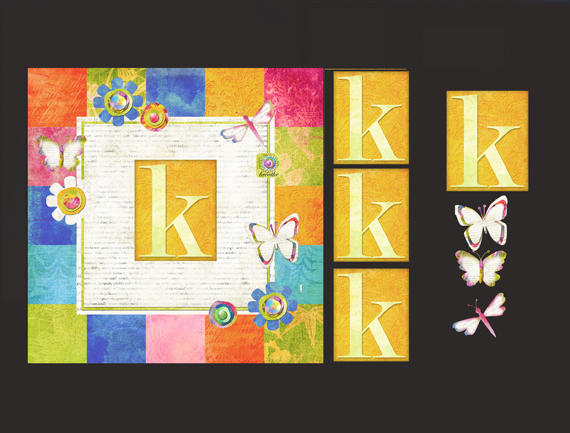
Step 2. Open a 8” x 11” document. Insert two guide lines – 5.5” wide, 4.25” tall. Drag the layout onto the document. Drag the alpha monogram onto the document. Make three duplicate layers of the alpha monogram. Move the layout and three of the alpha monogram layers inside the guide lines. Resize the three alpha monograms so they will fit vertically inside of the guide lines.
Step 3. Print on double-sided matt paper, cut out and assemble the card. Use two sided tape. Insert three brads in flower embellishments on the digital layout. Adhere one of the alpha monograms to the digital scrapbooking layout with pop dots. Adhere the digital layout to a 5.5” 4.25” card base. Adhere the remaining three alpha monograms to card base.

Once my personalized card designs are complete, I assemble and give them out in sets of four. Throughout 2013 I can put together several more to give as gifts for other occasions and to replenish their stock of personalized cards. With a little help from my digital scrapbooking templates I am well on my way to finishing these projects in time for Christmas!
We would love to see how you use your digital scrapbooking supplies and templates to create your own hybrid cards – please post them in the Scrap Girls Hybrid Gallery!
Digital Scrapbooking Supplies List:


