
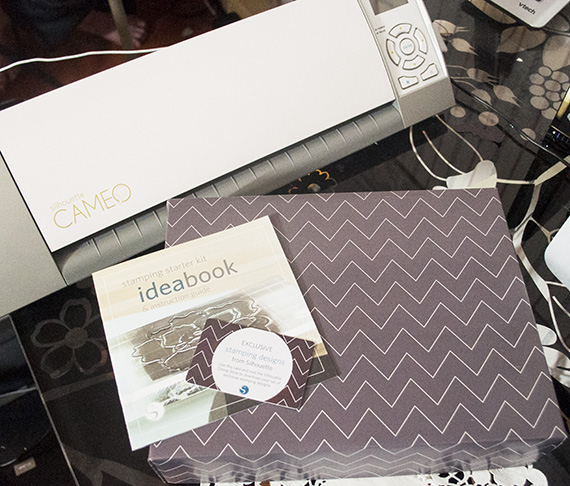
I was over the moon when my Stamping starter kit from Silhouette arrived on my doorstep! How cool is it when an already amazing kit comes in a fun chevron box?! Inside you will find an Idea Book, Instructional DVD, Stamp cutting mat, 3 stamp material sheets, 3 acrylic mounting blocks, ink pad and a download card with 10 free stamp designs! This is everything you will need to create your own stamps – how amazing is that?!!

I couldn’t help but think of all the great digital scrapbooking images in the Scrap Girls Boutique that would make amazing stamp designs! It’s easy to turn a digital brush, custom shape or template into a stamp in your Silhouette software.
To use the Trace feature to turn a PNG into a image to use with your Silhouette; check out this tutorial and follow the steps to Trace the PNG (make sure to stop before you get to the Sketch Icon part).
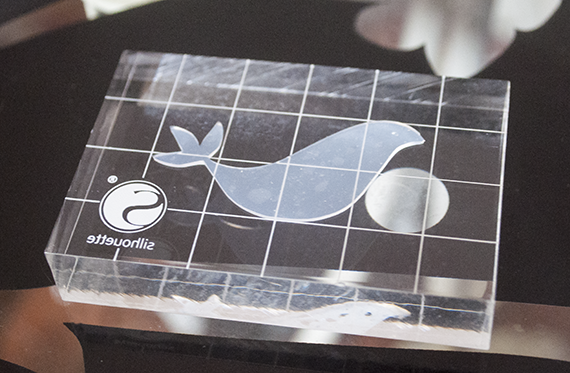
I decided to decorate a little box with a doily stamped with a design. The first stamp I wanted to make used the bird and heart from Keri Schueller’s ScrapSimple Paper Templates: Sweet Love. I modified the bird’s tail a bit so that it was all connected.
This is what it looks like after the images are traced. It’s best to stay away from images that have lots of thin lines or that are very intricate. After tracing the image in the Silhouette software I made sure that my Stamp cutting mat was selected in the Page Tools Window.
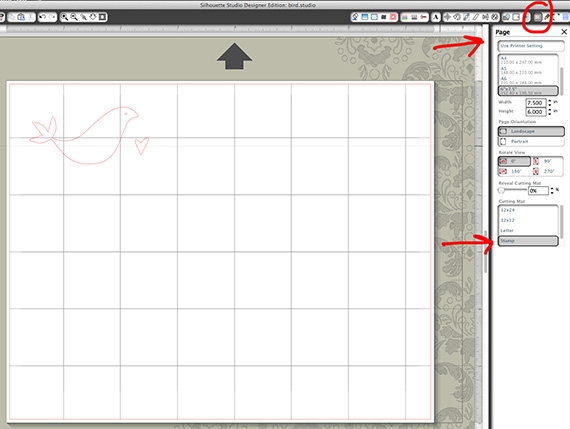
Next, I went to my Cut Settings window and selected ‘Stamp Material’ from the drop down menu. This will also show you the blade setting (which is 9) to set your blade for cutting the stamp material.

Now, we want to place the stamp material on the stamp mat that is included in your kit ( I really like this compact size!). Peel off the protective covering from the mat and the the stamp material. Place the stamp material on the mat, it does not matter which side of the stamp material you place face down. Press straight down, (don’t stretch or pull) to release any air bubbles.
Next, take out the blade and set it to ‘9’ and replace it.
**For more instruction on the stamping material, cutting mat and setting the blade check out this great Stamping 102 video from Silhouette!
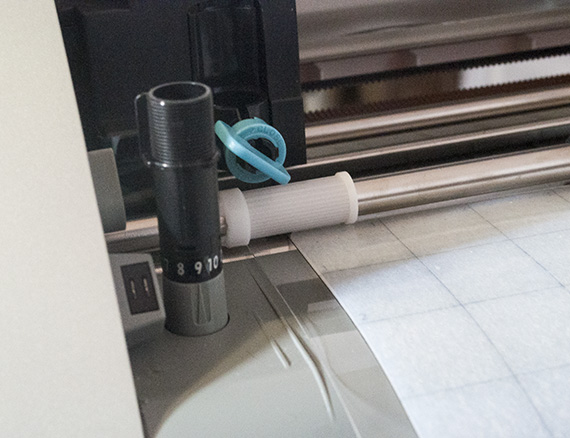
If you are using a Cameo you will also need to move the right white roller to the left: instructions for doing so are right on the inside of the Cameo lid. I really had to twist it hard to get it to move!
Place the mat to the last mark on the far left side and hit load. (Please note that the cutting mat in the photo below is NOT all the way over to the last left mark)
Now, hit ‘cut’ in your Silhouette software and await the magic! When it’s done cutting hit ‘Unload’.
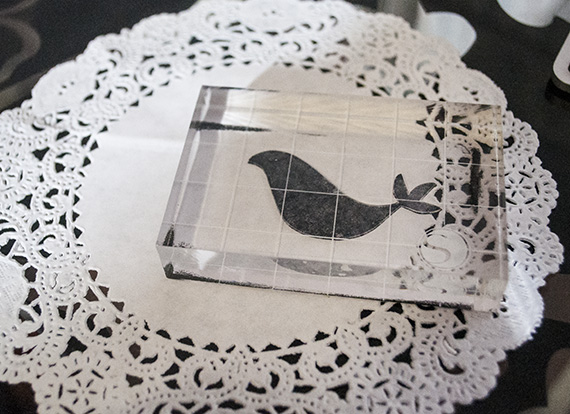
Below is the stamp all cut out. Carefully peel the stamp images out of the stamp material. Don’t worry it’s pretty hard to break the stamp material.

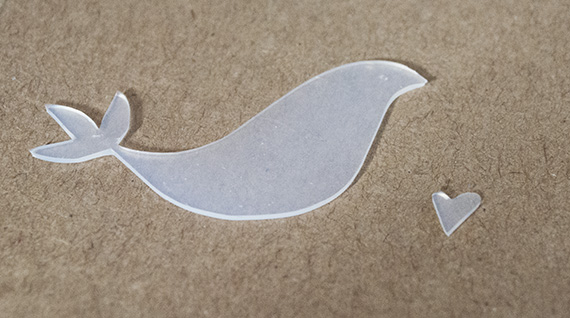
Next, place the stamp on one of the acrylic blocks included in your kit and press straight down.
Press the stamp straight down onto the stamp pad, you will most likely get ink on the block – go ahead and wipe it off with a paper towel to keep from transferring unwanted ink to your project. I stamped the bird on a doily.
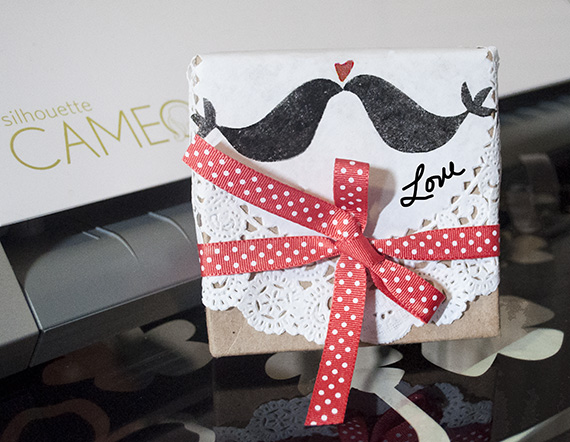
I wanted to stamp another bird so that they would be ‘kissing’, so after cleaning it I peeled the stamp off and flipped it the other direction. Pretty cool huh?!

After stamping the second bird with it’s beak touching the other bird, I stamped the little heart above their beaks. I attached the doily to a little craft gift box and tied it with ribbon! This would be a perfect box for a Valentine’s gift!
So I couldn’t stop at just one! I drew a poodle a few years back which is a cartoon version of my Mom’s poodle Rosie. Rosie has since left us but she lives on in cartoon form! I thought she would make a super cute stamp!
I opened the PNG in my Silhouette software and traced the image, the cut lines are in red. This may look a bit funny but trust me this is how we want it to cut out.
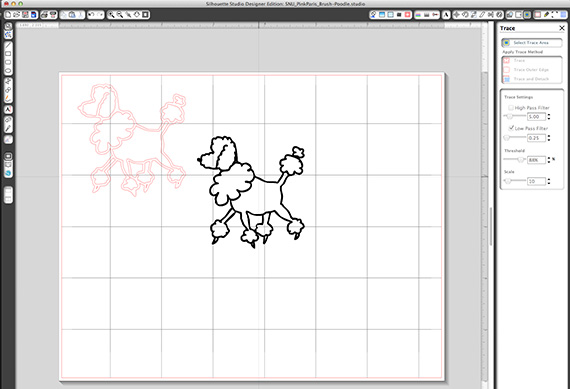
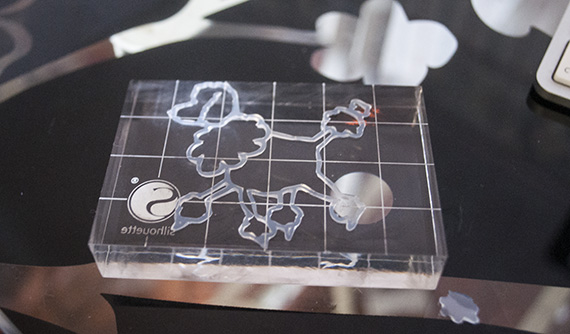
I followed the same steps above to create my poodle stamp. This image required a bit more care and time to extract from the stamp material after cutting but it turned out so cute! I can hardly stand it! LOL I gently placed the stamp on the acrylic block and pressed straight down.

Next, I stamped her on the doily and after letting it dry; I attached the doily to another little craft box and added bakers twine. So much fun!
Once you create a couple and get the hang of it you wont believe how fast and easy it is to crank them out! You will want to clean the stamps after each use, a paper towel or a baby wipe works perfectly!

Digital scrapbooking products used:
ScrapSimple Paper Templates: Sweet Love
The more you use your stamps the more ‘seasoned’ they will become and you will get better impressions.
The possibilities are really ENDLESS with this stamping starter kit, I have so many ideas running through my head and I am sure you will too!
*Please note: Any images used from the Scrap Girls boutique can only be made into stamps for your own personal use. Buying a Commercial License does not allow for you to sell the stamps made from Scrap Girls images. But if you stamp the images on cards or hand-made crafts you can sell the cards/crafts at craft fairs in small quantities. (you will need a commercial license to do so)
The great news is that there is a promotion going on right now, if you already have a Cameo or Portrait you can pick up the Stamping starter kit at a great price. But if you have been thinking about purchasing a Silhouette, they have some great bundles going on right now!
To take advantage of these great deals visit Silhouette HERE and use the CODE: SCRAPGIRLS at checkout!
**PLEASE NOTE: The stamping starter kits are sold out but are still available in the Bundles. I just KNEW this was going to be super popular! LOL


