• Facebook
  • Twitter
  • Google
ScrapGirls
  • SHOP
  • LEARN HOW
  • BLOG
  • FORUM
  • CHAT
  • CONTACT US
Select Page
Home / All Posts / Jazzing Up a Title

Jazzing Up a Title

This month’s Scrap Girls Club by Sarah Batdorf, Abundant Life, is a beautiful selection of soft colors coupled with bold navy, teal, and gold accents. The club is a perfect representation of the soft gentleness of late spring, delicate flowers in full bloom, and a promise of summer around the corner. I couldn’t wait to put it to use for photos from my daughter’s senior photo session.

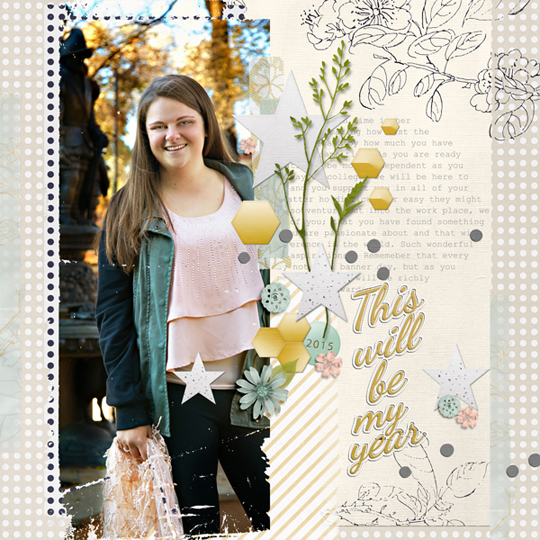
One of the characteristics of the club that first caught my eye was the word art. I loved that it was subtly bold, that it was delicate, yet it had movement. It could stand alone but was not heavy; it possessed texture without being overwhelming. Since it was created in a dark color, it occurred to me that it would lend itself well to recoloring to match or complement any layout or photo.

We think of recoloring as a standard with the ScrapSimple line of products in the Scrap Girls Design Shop, but do you think of it with the finished product lines at Scrap Girls? It’s just as easy to recolor the finished products, such as the word art in this month’s club.

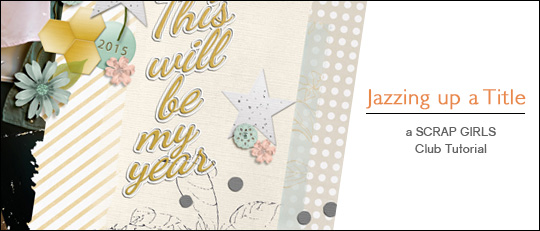
Let me show you a very simple way to recolor the word art and give it an outline to add extra dimension. As an extra bonus, this trick extends the value of your Scrap Girls Club even further than the great deal it already is! Let’s get started with this easy process.

First, select your word art from the club. Place it anywhere on your layout. Select a paper from the club and place it on a layer above the word art. Then clip it to the word art below. Technically, it’s called creating a clipping mask. If you’ve never tried it before, it’s super-easy and gives you so many options in digital scrapbooking.

In Photoshop, you can clip by hitting Ctrl+Alt+G or use my favorite shortcut key command, Hover+Click, on the line between the two layers in the Layers palette. See how easy that is? With two or three clicks you have recolored your word art! (In Photoshop Elements, highlight the layer to be clipped, then hit Ctrl+G – or go to the top menu bar and click Layer > Create Clipping Mask.)

Just imagine, with 16 papers in this club, you can create 16 additional versions of the word art just by clipping the paper to it! How cool is that? When you expand your paper choices beyond the club, your options are truly endless.

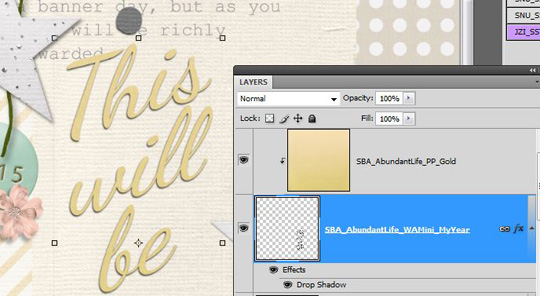
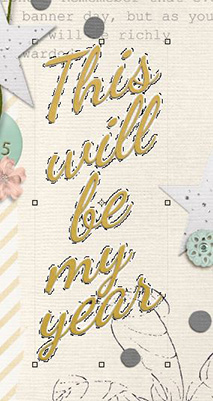
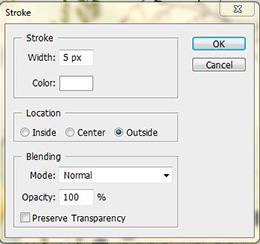
Now let’s do one more easy step that will jazz-up your word art to yet another level. Let’s place a stroke around the word art so that it really pops. The first step is to make a blank layer under your word art layer. Then with the word art layer still active, Ctrl+Click on its thumbnail so you will see the “marching ants” outlining the word art.

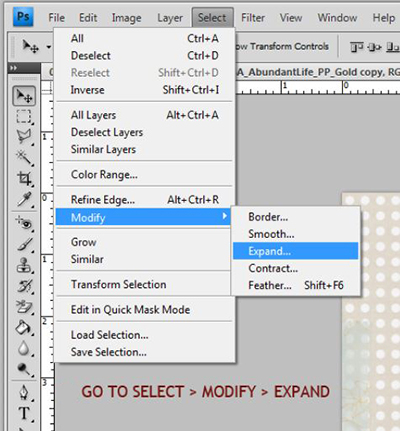
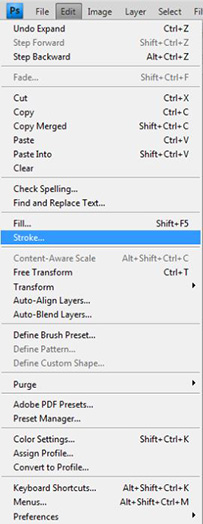
Next, from the top menu bar, go to Select > Modify > Expand. This allows you to expand your selection (the marching ants). A pop-up menu will ask you to enter the number of pixels you would like to expand the selection. You have full control as to how far you would like that to be.

This next screenshot shows you how the marching ants change once you expand the selection. In this example, the selection was expanded by 7 pixels. We’ll have a 7-pixel gap between the edge of the word art and the newly expanded marching ants.

  
Let’s now make the stroke or an outline on that outer selection. Remember that blank layer you made a few steps back? Let’s go back to that layer and make it active. Then go to the top menu bar again and select Edit > Stroke. (The expanded marching ants around the word art are still active even though you are now on the blank new layer.)

A pop-up box will open, asking how wide, what color, and where you would like the stroke to be placed, relative to your selection.

In this example, the width of the stroke is 5 pixels, the color is white, and the stroke lies outside of the marching ants. Hit OK. (Play around with the different locations of the stroke. You will quickly see how the position of the stroke changes the dynamics of the end result.)

Now that you have added your stroke, you can see the extra dimension develop within your word art. That 7-pixel gap between the word art and the stroke that was just created from the expansion is now evident. With the stroke on its own layer, the characteristics can be treated independently. You can add a shadow, clip a paper, or add a style to the stroke layer! More possibilities and more creativity! Here, a simple shadow was added to the white stroke layer, and it brings a greater depth to the title.

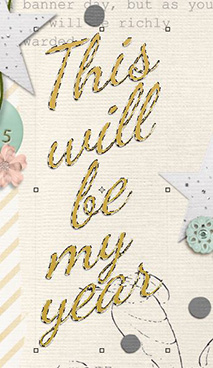
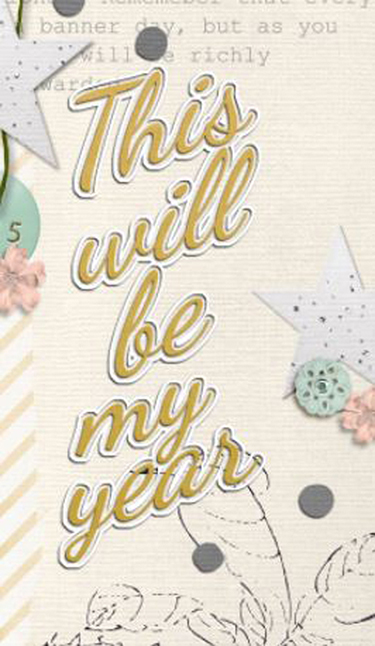
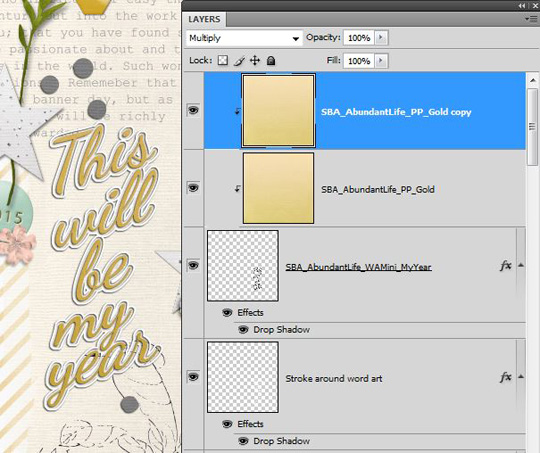
The last step taken to make the word art completely personalized was to darken the gold color just a little bit to bring out the gold in the background of the photo and to match the hexagons in the cluster. To do this, the gold paper was duplicated and the Blending mode on the top paper layer was changed to Multiply. Deepening the color just a little bit made everything more cohesive and complete.

The final Layers palette looks like this with four simple layers:

By playing around with this technique of clipping papers to already finished word art, you’ll soon discover just how many times you can recolor your word art! Doing so not only can be a fun and creative outlet, but it will also allow your scrapping dollars to stretch further than you ever imagined! As you master this technique and adjust word art to express your individuality, we hope you’ll share your layouts in the Scrap Girls Gallery so we can “leave some love” on your layouts!

Layout &Tutorial written by Amy Flanagan
Tutorial created using Adobe Photoshop CS4 on Windows 7 Professional

Welcome to the SG Design Shop Blog - where modern memory keeping meets heritage scrapbooking! Here you'll find digital products and all the inspiration you need to complete your projects.

subscribe-imgTo our Free Newsletter

Search the blog

Favorite Categories


Learn How Sidebar Badge
Tutorials Sidebar Badge
hybrid projects sidebar button
art journaling sidebar button
mobile scrapping sidebar button
planners sidebar button

Connect with us

SG Facebook Image

Partners

Qwiklearn -The easiest way to learn digital scrapbooking!

Adobe Photoshop Affiliate Badge

Links

  • About Us
  • Storefront
  • Terms of Use
  • FAQs

HELP

  • Contact Us
  • Email

FOLLOW US


© 2022 Scrap Girls - All Rights Reserved.Privacy PolicySite Map